The figs were getting too soft. You know that moment when you buy a beautiful basket of black mission figs at the farmers market, promising yourself you’ll do something special with them, and then three days later they’re sitting on the counter looking at you with that sad, wrinkled expression? That was my Tuesday. My sister was supposed to come over for a proper sit-down dinner, but between her kid’s soccer practice running late and my own workday spiraling, the whole idea of a multi-course meal felt laughable. I opened the fridge hoping for inspiration and found a block of aged manchego, some prosciutto hiding in the deli drawer, and a jar of honey that was dangerously close to crystallizing. So I did what any reasonable person would do when life throws a curveball at dinner plans—I grabbed a big wooden board and started arranging things.
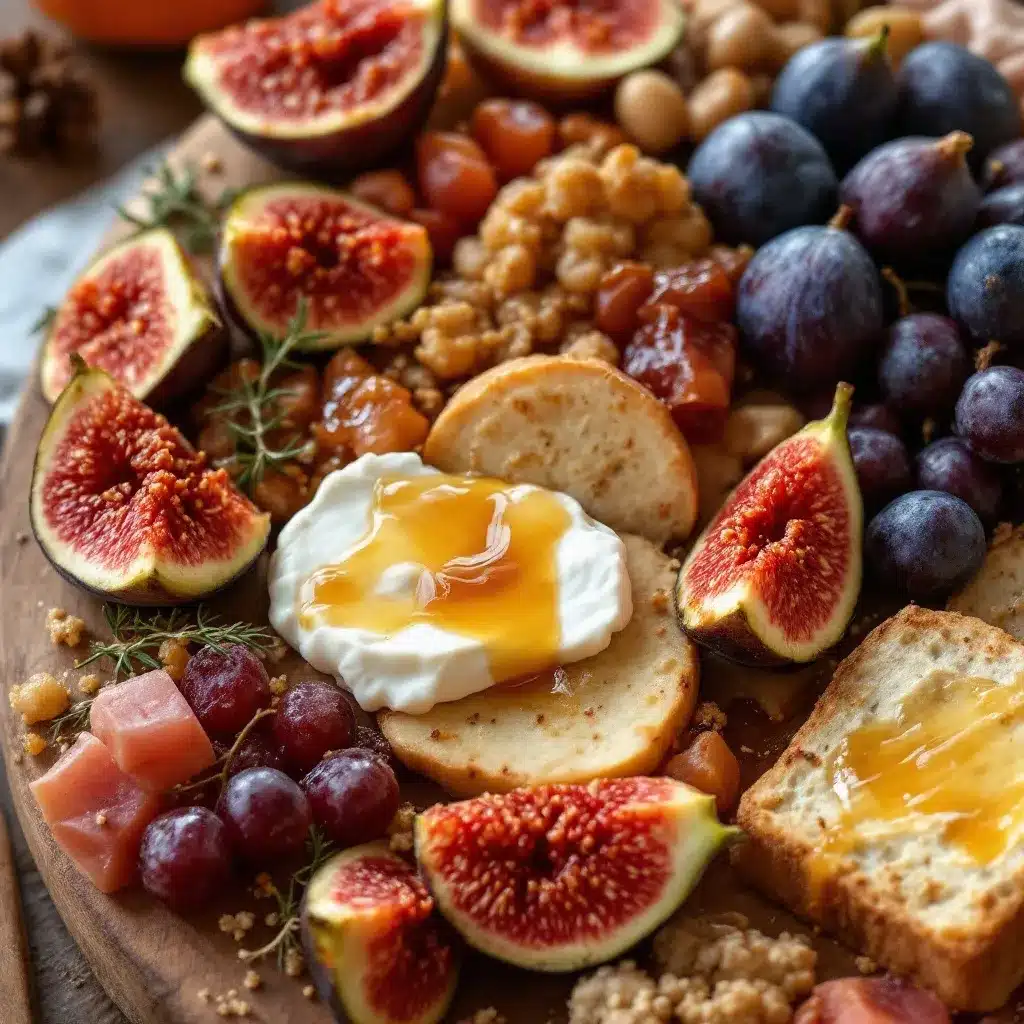
Honestly, this Perfect Fall Harvest Charcuterie Board with Figs and Honey came together in about fifteen minutes flat, and it ended up being exactly what we needed. No stress, no complicated techniques, just really good food that looks like you tried way harder than you actually did. The combination of sweet figs, salty prosciutto, creamy cheese, and that final drizzle of honey just works in a way that feels like fall on a plate. There’s something about the way the honey catches the light when it drips over the edge of a fig that makes everything feel intentional and special, even when it’s really just a gorgeous accident. And isn’t that the best kind of cooking anyway?
Why You’ll Love This Recipe
Let me tell you why this charcuterie board has become my go-to for everything from impromptu gatherings to planned celebrations. It’s the kind of recipe that makes you look like a culinary genius without actually requiring any real culinary genius.
- No Cooking Required : Seriously, there’s zero heat involved. No oven, no stove, no smoke alarm going off right when guests arrive. Just slicing, arranging, and drizzling.
- Completely Customizable : Use whatever cheese, meat, or fruit you have on hand. This board adapts to your fridge contents, your budget, and your personal cravings.
- Perfect for Entertaining : It’s the ultimate crowd-pleaser that works for dinner parties, game day snacks, holiday appetizers, or even a fancy date night at home.
- Seasonal and Stunning : Fall ingredients like figs, pears, and pomegranate seeds make this board visually spectacular with minimal effort. It practically photographs itself.
- Make-Ahead Friendly : Prep everything a few hours in advance, then just pull it out and let it come to room temperature before serving. Your future self will thank you.
What sets this board apart from typical charcuterie spreads is the intentional pairing of flavors. The honey isn’t just there for decoration—it bridges the gap between the salty prosciutto and the tangy cheese in a way that makes each bite more interesting than the last. I’ve tested this combination at least a dozen times with different groups, and every single time someone says “Wow, I wouldn’t have thought to put those together.” That’s the magic of a well-constructed board. It’s not just throwing stuff on a platter; it’s creating little flavor moments that make people stop and actually taste what they’re eating.
What Ingredients You Will Need
This recipe relies on a handful of high-quality ingredients that do all the heavy lifting for you. The key is choosing items that complement each other in texture and flavor—creamy, crunchy, salty, sweet, and tangy all in one bite.
For the Cheese Selection
- Manchego (8 ounces) – A firm, nutty Spanish sheep’s milk cheese that slices beautifully and pairs perfectly with figs. I prefer the aged version for more pronounced flavor.
- Brie (8 ounces) – Go for a double or triple cream brie for that luscious, spreadable texture. It’s the creamy counterpoint to the firmer cheeses.
- Aged Gouda (6 ounces) – Those little crunchy protein crystals in aged gouda are pure magic. Look for one aged at least 12 months.
For the Meats
- Prosciutto (4 ounces, thinly sliced) – The salty, silky ribbons that wrap around figs or cheese are non-negotiable in my book.
- Soppressata (4 ounces) – This dry Italian salami adds a nice spicy kick and chewy texture. Slice it into thin rounds.
- Finocchiona (3 ounces, optional) – A fennel-studded salami that adds an unexpected anise note. It’s my secret weapon for interesting boards.
For the Fruit and Sweet Elements
- Fresh Black Mission Figs (8-10) – The star of the show. Look for figs that are plump but not mushy, with a slight give when gently squeezed.
- Ripe Bartlett Pears (2) – Sliced thin just before serving to prevent browning. Their juicy crunch balances the rich cheeses.
- Honey (1/4 cup, preferably local and raw) – The golden drizzle that ties everything together. I love using a wildflower honey for its complex floral notes.
- Pomegranate Seeds (1/2 cup) – Those little ruby jewels add pops of tartness and gorgeous color. Plus they’re surprisingly good with aged gouda.
For the Crunchy Elements
- Toasted Almonds (1/2 cup) – Marcona almonds if you can find them, but regular toasted almonds work great. The saltiness is key.
- Fig and Olive Oil Crackers (1 box) – These have a subtle sweetness that plays nicely with the savory components. Regular water crackers work too.
- Sourdough Baguette (1 small) – Sliced thin and lightly toasted for sturdy vehicles for all that cheese and meat.
For Garnish and Accompaniments
- Fresh Rosemary Sprigs (a few) – Not just for looks! The piney aroma adds a subtle earthy note.
- Dried Apricots (1/2 cup) – Their chewy texture and concentrated sweetness offer a nice contrast to the fresh fruit.
- Cornichons (1/2 cup) – Those tiny, tangy French pickles cut through the richness and cleanse the palate between bites.
- Olive Tapenade (1/4 cup) – A briny, savory spread that adds depth. I recommend a Castelvetrano olive tapenade for milder flavor.
For the best results, I always recommend splurging a little on the cheese and honey. You can find excellent aged manchego at Trader Joe’s for under $10, and local honey is worth every penny. The rest of the ingredients are flexible—swap in whatever crackers or nuts you have on hand.
Equipment Needed
You don’t need fancy equipment to build a stunning charcuterie board, but a few key tools make the process smoother and the presentation more polished.
- Large Wooden Board or Slate Platter (at least 12×18 inches) – The foundation of your masterpiece. I use a reclaimed acacia wood board that I found at HomeGoods for $25. A large cutting board works perfectly too.
- Cheese Knives (at least 3 different ones) – A soft cheese knife with holes, a hard cheese plane, and a paring knife for cutting fruit. Having dedicated knives prevents cross-contamination of flavors.
- Small Ramekins or Bowls (3-4) – For honey, olives, tapenade, and nuts. They keep wet or loose items contained and add visual height to the board.
- Cheese Board Scraper – This little tool is surprisingly useful for cleaning up crumbs between refills. It’s like a tiny squeegee for your board.
- Paring Knife – For slicing figs and pears right before serving. A sharp blade makes clean cuts that look professional.
- Honey Dipper or Small Spoon – For drizzling honey without making a sticky mess. I’ve learned this one the hard way more times than I’d like to admit.
If you don’t have a wooden board, a large baking sheet lined with parchment paper works in a pinch. I’ve done it before when my board was in the dishwasher, and honestly, nobody noticed because they were too busy eating.
Preparation Method
Building a charcuterie board is more about strategy than cooking. The order in which you place things matters for both visual appeal and practical eating. Here’s my tried-and-true method.
- Take the cheese out of the refrigerator 30 minutes before serving. Cheese at room temperature has way more flavor and a better texture than cold cheese straight from the fridge. This is non-negotiable for the best experience.
- Place your ramekins and bowls on the board first. Position them strategically—usually in the center or offset to one side. Fill them with honey, olives, tapenade, and nuts. This creates anchor points that you’ll build around.
- Arrange the cheese in three different spots on the board. Cut the manchego into thin triangles and fan them out. Leave the brie whole with a knife beside it. Slice the aged gouda into small cubes or thin wedges. Spacing the cheeses apart encourages people to move around the board.
- Fold the prosciutto into loose ribbons. Take each slice and gently scrunch it into a ruffled pile. Place these near the brie and figs. The soppressata and finocchiona slices can be layered in overlapping rows for a neat, organized look.
- Add the fresh fruit. Halve the figs lengthwise and arrange them cut-side up in clusters. Slice the pears thin just before adding them to prevent browning. Scatter pomegranate seeds around the board like little jewels—they add pops of color that make the whole thing look intentional.
- Fill in the gaps with crackers and bread. Fan the fig and olive oil crackers in curved lines around the edges. Place the toasted baguette slices in small stacks or overlapping rows. The crackers should be easy to grab without knocking anything over.
- Add the finishing touches. Tuck dried apricots into empty spaces. Place small piles of toasted almonds near the cheese. Drizzle honey over the figs and brie in a zigzag pattern—don’t drown them, just a light ribbon that catches the light.
- Garnish with fresh rosemary sprigs. Tuck them in between items for a pop of green and a subtle herbal aroma. The rosemary also adds a lovely fall aesthetic that photographs beautifully.
Here’s a pro tip I learned after my third board-building attempt: step back and look at your board from above every few minutes. You want to see a balance of colors and textures. If one area looks too crowded or too empty, adjust accordingly. The goal is abundance without chaos.
Cooking Tips & Techniques
After building dozens of charcuterie boards for everything from casual Netflix nights to holiday parties, I’ve collected a few hard-won lessons that will save you from common mistakes.
The biggest mistake people make is overcrowding the board. I know it’s tempting to pile everything on, but a crowded board is hard to eat from and looks messy. Leave about 20% of the board surface visible—it creates visual breathing room and makes the food look more intentional. If you have too much food, use a second board or plate.
Temperature matters more than you think. I once served a board straight from the fridge because I was running late, and the cheese had zero flavor. Give everything at least 20-30 minutes at room temperature before serving. The honey will drizzle more easily, the cheese will taste richer, and the fruit will feel more aromatic.
Think about how people will actually eat. Place crackers and bread near the cheese they’re meant to accompany. Put the honey near the figs and brie because those are natural pairings. If you scatter things randomly, people end up reaching across the board and knocking things over. I learned this one when my friend’s sleeve landed in the olive tapenade.
Slice cheese in different shapes so people can identify what’s what. Cubes for gouda, triangles for manchego, wedges for brie. It’s a small detail that makes the board feel thoughtful and helps guests navigate their choices without asking “What’s that one?” a dozen times.
Don’t forget the palate cleansers. Cornichons and fresh apple slices serve this purpose beautifully. They cut through the richness of cheese and cured meat, resetting your taste buds for the next combination. I always include at least one acidic element for this reason.
Variations & Adaptations
One of the best things about charcuterie boards is how endlessly adaptable they are. Here are some variations I’ve tested and loved.
Vegetarian Version : Skip the cured meats entirely and double up on cheese varieties. Add marinated artichoke hearts, roasted red peppers, and grilled eggplant slices for savory depth. The Mediterranean chickpea and feta stuffed mini peppers from my blog would be an incredible addition to this board—they add color, texture, and a protein punch.
Dairy-Free Option : Use aged cheeses that are naturally low in lactose, like aged gouda and manchego (many people with lactose intolerance tolerate these well). Add more nuts, olives, and dried fruit to compensate for the missing cheese volume. Cashew-based cheese spreads are also excellent here.
Gluten-Free Adaptation : Replace crackers and baguette with gluten-free crackers, rice cakes, or sliced cucumbers and bell peppers for dipping. The rest of the board is naturally gluten-free, so this is an easy swap.
Fall Harvest Twist : Add roasted butternut squash cubes, candied pecans, and slices of fresh apple instead of pears. A drizzle of balsamic glaze over the figs adds a tangy-sweet depth that screams autumn. This version pairs beautifully with a fresh cucumber mint green tea cooler for a refreshing contrast to all the richness.
Spicy Version : Swap the soppressata for spicy capicola, add pickled jalapeños, and use a hot honey instead of regular honey. The heat cuts through the creamy cheese in a way that’s surprisingly addictive. I tried this for a football party and it disappeared in twenty minutes.
Serving & Storage Suggestions
This board is best served at room temperature, ideally within an hour of assembling. The cheese should be soft and spreadable, the honey should flow freely, and the fruit should be at peak ripeness. If you’re serving outdoors in cooler weather, bring the board out right before guests arrive so it doesn’t get too cold.
For presentation, I love to set the board on a low coffee table or kitchen island where people can gather around it. Add small plates, napkins, and a separate knife for each cheese wedge. A small bowl for discarded fig stems and olive pits is a thoughtful touch that keeps the eating area tidy.
Storage : If you have leftovers (which rarely happens in my house), separate the components before storing. Cheese should be wrapped in wax paper or cheese paper and stored in the fridge. Wrap cured meats tightly in plastic wrap. Store crackers in an airtight container to keep them crisp. Fresh fruit will last about a day in the fridge, but figs get soft quickly—eat those first.
Reheating : You don’t really reheat a charcuterie board, but if the cheese has been refrigerated, let it sit out for 20 minutes before serving again. The honey might crystallize if stored in the fridge, so keep it at room temperature. If your baguette slices go stale, pop them in a 350°F oven for 3-4 minutes to crisp them back up.
Here’s something I’ve noticed: the flavors actually get better after a few hours. The honey soaks into the cheese slightly, the fruit releases a bit of juice that mingles with the prosciutto, and everything starts to meld together in a beautiful way. So don’t stress if you assemble it a bit early—it might even taste better.
Nutritional Information & Benefits
While charcuterie boards aren’t exactly health food, they do offer some surprising nutritional benefits when you choose quality ingredients. Here’s a rough estimate per serving (about 1/6 of the board):
| Nutrient | Amount Per Serving |
|---|---|
| Calories | 420-480 |
| Protein | 18-22g |
| Fat | 28-34g |
| Carbohydrates | 32-38g |
| Fiber | 5-7g |
| Sugar | 18-22g |
| Sodium | 800-1000mg |
Pin This Recipe!
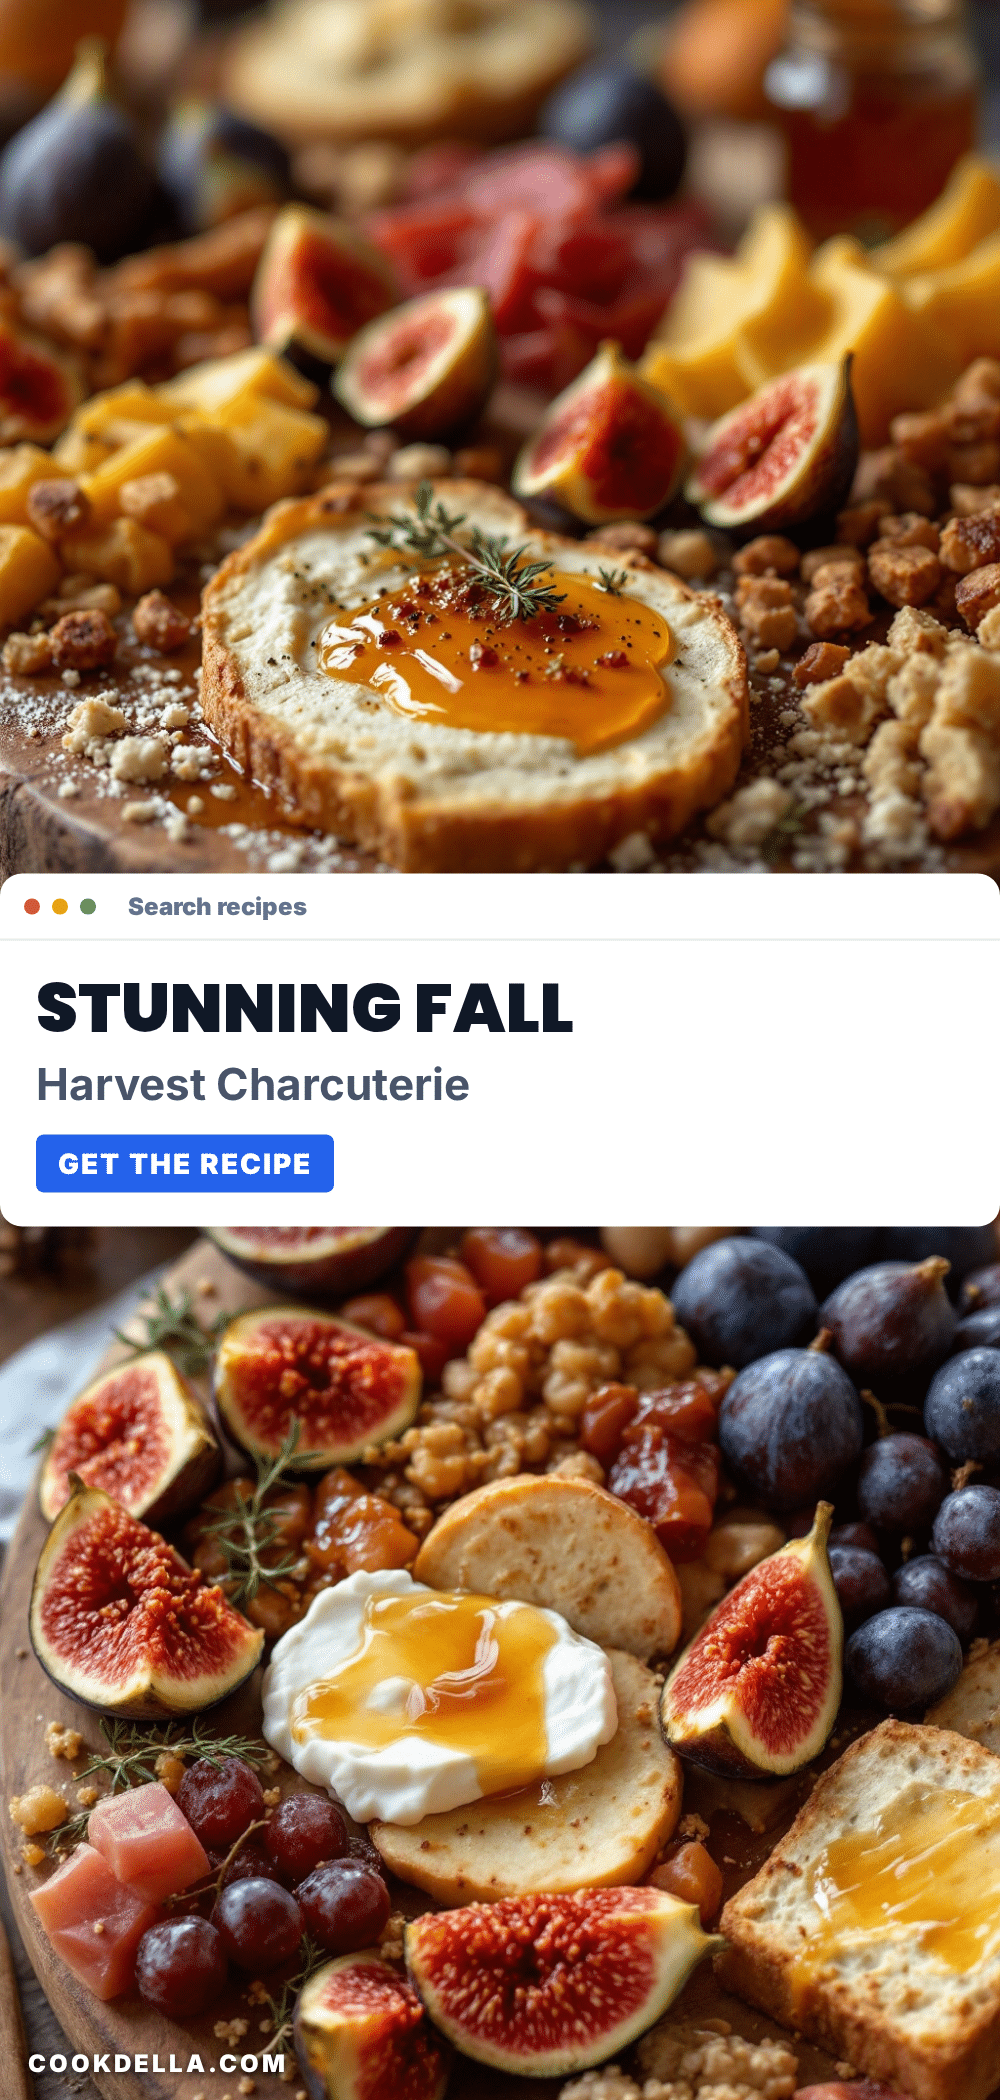
Perfect Fall Harvest Charcuterie Board with Figs & Honey
A stunning no-cook charcuterie board featuring sweet figs, salty prosciutto, creamy cheeses, and a drizzle of honey. Perfect for effortless entertaining with minimal prep.
- Prep Time: 15 minutes
- Cook Time: 0 minutes
- Total Time: 15 minutes
- Yield: 6-8 servings 1x
- Category: Appetizer
- Cuisine: American
Ingredients
- 8 ounces Manchego cheese
- 8 ounces Brie cheese (double or triple cream)
- 6 ounces Aged Gouda cheese
- 4 ounces Prosciutto, thinly sliced
- 4 ounces Soppressata, thinly sliced
- 3 ounces Finocchiona (optional)
- 8–10 fresh Black Mission figs
- 2 ripe Bartlett pears
- 1/4 cup honey (preferably local and raw)
- 1/2 cup pomegranate seeds
- 1/2 cup toasted almonds (Marcona preferred)
- 1 box fig and olive oil crackers
- 1 small sourdough baguette, sliced and lightly toasted
- Fresh rosemary sprigs for garnish
- 1/2 cup dried apricots
- 1/2 cup cornichons
- 1/4 cup olive tapenade
Instructions
- Take the cheese out of the refrigerator 30 minutes before serving to bring to room temperature.
- Place ramekins or small bowls on the board first, positioning them in the center or offset. Fill with honey, olives, tapenade, and nuts.
- Arrange the cheese in three different spots: cut manchego into thin triangles and fan out, leave brie whole with a knife beside it, slice aged gouda into small cubes or thin wedges.
- Fold prosciutto into loose ribbons and place near brie and figs. Layer soppressata and finocchiona slices in overlapping rows.
- Halve figs lengthwise and arrange cut-side up in clusters. Slice pears thin just before adding. Scatter pomegranate seeds around the board.
- Fill gaps with crackers and bread: fan fig and olive oil crackers in curved lines, place baguette slices in small stacks or overlapping rows.
- Add finishing touches: tuck dried apricots into empty spaces, place small piles of toasted almonds near cheese, drizzle honey over figs and brie in a zigzag pattern.
- Garnish with fresh rosemary sprigs tucked between items.
Notes
For best results, let cheese come to room temperature before serving. Leave about 20% of the board surface visible to avoid overcrowding. The flavors meld and improve after a few hours. Store leftovers separately: cheese in wax paper, meats wrapped tightly, crackers in an airtight container.
Nutrition
- Serving Size: 1/6 of board
- Calories: 450
- Sugar: 20
- Sodium: 900
- Fat: 31
- Saturated Fat: 12
- Carbohydrates: 35
- Fiber: 6
- Protein: 20
Keywords: charcuterie board, fall harvest, figs, honey, prosciutto, cheese board, appetizer, entertaining


