My kid did not believe in granola bars. To her, a granola bar was that dusty cardboard rectangle wrapped in foil that her friend’s mom handed out after soccer practice. The one she would take one polite bite of, then secretly feed to the grass. So when I announced I was making homemade peanut butter granola bars for her lunchbox, she looked at me with that specific pity reserved for parents trying too hard.
“It’s okay, Mom,” she said. “You don’t have to.”
But I did have to. Not because I needed to prove anything to a seven-year-old, but because I was tired of the mid-morning guilt. I wanted something that actually tasted good, that didn’t cost a fortune, and that I could feel halfway decent about tossing into her backpack alongside the thermos of soup and the apple slices she never eats.
So I went to the pantry and grabbed what I had—peanut butter, oats, honey, and a bag of chocolate chips I was saving for a rainy day. I didn’t have a plan. I had a hunch. And honestly? I was pretty sure it was going to fail.
An hour later, I cut into a pan of the most ridiculously good no-bake granola bars I had ever tasted. They were chewy without being sticky, sweet without being cloying, and sturdy enough to survive a lunchbox toss. My daughter ate one. Then another. Then she asked if she could bring extras for her friend.
That was the moment I knew these easy no-bake peanut butter granola bars were not just a recipe. They were a lunchbox revolution.
These bars have become my go-to for school mornings, after-school snacks, and even the occasional midnight craving when I tell myself I’m just “checking the texture.” They take ten minutes to throw together, require zero oven time, and use ingredients I almost always have on hand. If you have ever been burned by a store-bought granola bar that promised “real fruit” and delivered sadness, this one’s for you.
Why You Will Love This Recipe
Let me tell you why these bars have earned a permanent spot in my kitchen rotation. I have tested this recipe at least a dozen times—through sticky summer afternoons, rushed school mornings, and one particularly chaotic evening when I realized I had forgotten to pack snacks for a road trip. Every single time, they delivered.
- No Oven Required: It is 90 degrees outside and you do not want to turn on your oven. I get it. These bars come together on the stovetop in about five minutes, then set in the fridge. That is it.
- Pantry-Friendly Ingredients: You probably have everything you need right now. Peanut butter, honey or maple syrup, oats, and a few mix-ins. No weird stabilizers, no preservatives, nothing you have to order online.
- Perfect for Lunchboxes: These bars hold up beautifully. They do not crumble into a sad pile of crumbs by noon. They stay chewy, delicious, and intact—even after being tossed around in a backpack next to a water bottle.
- Naturally Sweetened: I use honey or maple syrup instead of refined sugar. You control how sweet they are. My kids love them as-is, and I love that I am not handing them a candy bar disguised as a health food.
- Crowd-Pleaser: I have brought these to playdates, school bake sales, and even a casual book club meeting where everyone pretended they were there for the discussion but really just wanted the snacks. They disappeared every time.
These bars are not just another healthy snack recipe. They are the kind of thing you make once, then find yourself making again three days later because you already ate the whole batch. They are forgiving, adaptable, and genuinely delicious. If you have been burned by dry, crumbly homemade granola bars in the past, I promise you—this recipe is different.
What Ingredients You Will Need
This recipe uses simple, wholesome ingredients to deliver bold flavor and satisfying texture without any fuss. Here is what you will need:
For the Bars
- 1 cup creamy peanut butter (use natural peanut butter with no added sugar for best results, or use regular peanut butter if that is what you have—both work)
- ½ cup honey or maple syrup (honey gives a classic flavor; maple syrup adds a subtle warmth that pairs beautifully with the peanut butter)
- 2 cups old-fashioned rolled oats (do not use instant oats—they turn mushy. Old-fashioned oats give the bars their signature chewy texture)
- 1 cup crispy rice cereal (this is the secret to that light, airy crunch. You can also use puffed quinoa or crushed bran flakes in a pinch)
- ½ cup mini chocolate chips (I prefer semi-sweet, but milk chocolate or dark chocolate work too. Use dairy-free chocolate chips if needed)
- ¼ cup unsalted butter or coconut oil (butter adds richness; coconut oil keeps it dairy-free. Both help the bars hold together)
- 1 teaspoon vanilla extract (pure vanilla extract makes a difference, but imitation works in a pinch)
- ¼ teaspoon salt (skip this if your peanut butter is already salted)
Optional Add-Ins
- ¼ cup shredded coconut (adds texture and a hint of tropical flavor)
- ¼ cup chopped peanuts or almonds (for extra crunch)
- 2 tablespoons chia seeds or flax seeds (for a boost of fiber and omega-3s)
- ¼ cup dried cranberries or raisins (for a sweet-tart pop)
Ingredient Notes: I have tested this recipe with both natural peanut butter and the standard Jif-style peanut butter. Natural peanut butter works, but you may need to stir it well before measuring because the oil separates. If your natural peanut butter is very runny, the bars may be slightly softer—just chill them a little longer before cutting. I personally prefer using Skippy Natural for the perfect balance of flavor and texture.
For the oats, I recommend Quaker Old-Fashioned Oats or Bob’s Red Mill. They hold their shape and give the bars that satisfying chew. Instant oats will turn the bars into a paste, so steer clear of those.
If you are avoiding gluten, make sure to use certified gluten-free oats. Most standard oats are processed in facilities that also handle wheat, so check the label if that is a concern.
Equipment Needed
You do not need much to make these bars, which is one of the reasons I love them. Here is what you will need:
- 8×8-inch baking pan (a 9×9-inch pan also works, but the bars will be slightly thinner. Line it with parchment paper for easy removal)
- Medium saucepan (for melting the peanut butter and honey mixture. A non-stick saucepan works best for easy cleanup)
- Large mixing bowl (for combining the dry ingredients. Any large bowl will do)
- Rubber spatula or wooden spoon (for stirring. A rubber spatula is great for scraping every last bit of the mixture into the pan)
- Measuring cups and spoons (accuracy matters here—too much liquid and the bars will be sticky; too little and they will crumble)
- Parchment paper (optional but highly recommended for easy lifting and cutting)
- Sharp knife (a chef’s knife or a large serrated knife works best for clean cuts)
Tips: If you do not have an 8×8 pan, you can use a 9×5 loaf pan and make thicker bars, or press the mixture into a 9×13 pan for thinner, snack-sized pieces. Just adjust the chilling time accordingly—thicker bars need about 30 more minutes in the fridge.
I have made these bars using a microwave instead of a stovetop when I was in a hurry. Just melt the peanut butter, honey, and butter in a microwave-safe bowl in 30-second intervals, stirring between each. It works perfectly and saves you a dish to wash.
Preparation Method
Now let us get to the good part. These bars come together in about 10 minutes of active work, plus about an hour of chill time. Here is exactly how to do it:
Step 1: Prepare Your Pan
Line an 8×8-inch baking pan with parchment paper. Leave a little overhang on two opposite sides—this will act as handles to lift the bars out later. If you do not have parchment paper, you can lightly grease the pan with butter or cooking spray, but parchment makes life so much easier.
Step 2: Combine the Dry Ingredients
In a large mixing bowl, whisk together the rolled oats, crispy rice cereal, and mini chocolate chips. If you are adding any optional mix-ins like shredded coconut or chopped nuts, toss them in now. Set the bowl aside.
Step 3: Melt the Wet Ingredients
In a medium saucepan over low heat, combine the peanut butter, honey (or maple syrup), and butter (or coconut oil). Stir constantly with a rubber spatula or wooden spoon. You are not trying to cook anything here—just melt everything together until it is smooth and well combined. This usually takes about 2 to 3 minutes.
Once the mixture is smooth, remove the pan from the heat. Stir in the vanilla extract and salt. Give it one more good stir.
Pro tip: Do not let the mixture boil. If it gets too hot, the honey can caramelize and make the bars overly sticky. Low and slow is the way to go.
Step 4: Combine Wet and Dry
Pour the warm peanut butter mixture over the dry ingredients. Use your rubber spatula to fold everything together until every oat and cereal piece is coated. This takes a little elbow grease—the mixture will be thick and sticky. Do not rush it. You want everything evenly distributed.
Sensory cue: The mixture should look glossy and smell deeply of peanut butter and honey. If you see dry patches of oats, keep stirring.
Step 5: Press into the Pan
Transfer the mixture to your prepared pan. Spread it out as evenly as you can with your spatula. Then, here is the important part—place a piece of parchment paper or wax paper over the top and press down firmly with your hands or the bottom of a flat measuring cup. Press hard. Really compact the mixture. This is what keeps the bars from falling apart later.
I like to use the bottom of a glass measuring cup to really get into the corners. Make sure the surface is as flat and even as possible.
Step 6: Chill
Place the pan in the refrigerator for at least 1 hour. If you are in a hurry, you can pop it in the freezer for 30 minutes. The bars need to be fully firm before you cut them, or they will crumble.
Time-saving tip: I often make the mixture at night, press it into the pan, and let it chill overnight. In the morning, I cut the bars and pack them straight into lunchboxes. It makes school mornings so much smoother.
Step 7: Cut and Serve
Once the bars are firm, lift them out of the pan using the parchment overhang. Place the block on a cutting board. Use a sharp knife to cut into 12 even bars (or 16 smaller squares if you are packing snacks for little ones). For clean cuts, wipe your knife clean between slices.
If the bars are too hard straight out of the fridge, let them sit at room temperature for 5 minutes before cutting. They soften slightly and cut more cleanly.
Cooking Tips & Techniques
Over the many batches I have made, I have learned a few things the hard way. Here are my best tips for perfect bars every time:
Do not skip the pressing step. I cannot emphasize this enough. The first time I made these, I gently patted the mixture into the pan and thought, “That looks fine.” It was not fine. The bars crumbled into a million pieces when I tried to cut them. You need to press firmly and evenly. Think of it like packing a snowball—you want it dense and compact.
Watch your heat. Peanut butter and honey burn faster than you think. Keep the heat on low and stir constantly. If you walk away for even 30 seconds, you risk scorching the bottom. I learned this the hard way when I tried to multitask and ended up with a grainy, burnt-smelling mess.
Let them chill completely. I know it is tempting to sneak a warm bite, but trust me—warm bars are a sticky, crumbly disaster. They need that full hour in the fridge to set properly. If you cut them too early, you will regret it.
Use room temperature ingredients. If your honey or maple syrup is cold, it will be harder to mix smoothly. Let everything come to room temperature before you start. It makes a noticeable difference in how evenly the mixture comes together.
Store them properly. These bars keep well in an airtight container in the fridge for up to a week. You can also wrap them individually in plastic wrap and keep them in the freezer for up to three months. They thaw in about 10 minutes at room temperature, so you can grab one straight from the freezer and toss it into a lunchbox—it will be perfectly soft by snack time.
Variations & Adaptations
One of the best things about this recipe is how flexible it is. Here are some variations I have tried and loved:
Nut-Free Version
Swap the peanut butter for sunflower seed butter or WowButter. The flavor changes slightly, but the texture stays the same. Just note that sunflower seed butter can react with baking soda if you ever decide to bake these, but since this is a no-bake recipe, you are in the clear. I have made these for nut-free classrooms, and they were a hit.
Vegan Version
Use maple syrup instead of honey, and swap the butter for coconut oil. Make sure your chocolate chips are dairy-free. Everything else is already plant-based. These bars are naturally vegan-friendly with just those two swaps.
Lower Sugar Version
Reduce the honey to ⅓ cup and add an extra tablespoon of peanut butter to maintain the right consistency. You can also use sugar-free chocolate chips or skip them altogether and add extra dried fruit instead. The bars will be less sweet, but still plenty satisfying.
Crunchy Version
Add ½ cup of chopped peanuts or almonds to the dry ingredients. You can also swap the crispy rice cereal for crushed cornflakes or puffed millet. The texture becomes wonderfully crunchy, which my husband prefers over the chewy version.
Seasonal Twist
In the fall, I add ½ teaspoon of cinnamon and a pinch of nutmeg to the dry ingredients. In the summer, I swap the chocolate chips for dried cherries or chopped dried apricots. You can really play with the flavors depending on what you have on hand.
Serving & Storage Suggestions
These bars are incredibly versatile when it comes to serving. Here is how I like to enjoy them:
Serving Temperature: I prefer them straight from the fridge—they are firm, chewy, and hold their shape perfectly. But my kids like them at room temperature, where they are a little softer and more pliable. Both ways work. If you are packing them for lunch, they will be at room temperature by the time lunch rolls around, and they taste just as good.
Pairing Ideas: These bars pair beautifully with a cold glass of milk, a hot cup of coffee, or a thermos of soup for a balanced lunch. I often pack one alongside some apple slices and a cheese stick for a simple, satisfying snack plate. They also travel well for picnics, road trips, and hiking snacks.
Storage Instructions: Store the bars in an airtight container in the refrigerator for up to one week. If you stack them, place a piece of parchment paper between the layers to prevent sticking. They also freeze beautifully—wrap each bar individually in plastic wrap, then place them in a freezer-safe bag. They will keep for up to three months. To thaw, just leave them at room temperature for about 10 to 15 minutes, or pop one directly into a lunchbox—it will be perfectly soft by snack time.
Flavor Development: Interestingly, these bars taste even better the next day. The flavors meld together overnight, and the texture becomes more uniform. I actually prefer them on day two. So do not be discouraged if they taste a little one-note right after you make them—give them a day in the fridge, and they will transform.
Nutritional Information & Benefits
Here is the approximate nutritional breakdown for one bar (based on 12 servings):
- Calories: 245
- Fat: 14g
- Carbohydrates: 27g
- Fiber: 3g
- Sugar: 14g
- Protein: 7g
- Sodium: 120mg
Health Benefits: These bars pack a surprising nutritional punch. Peanut butter provides healthy fats and plant-based protein that keeps you full and satisfied. Oats are rich in beta-glucan, a type of soluble fiber that supports heart health and helps stabilize blood sugar. Honey offers natural sweetness along with antioxidants and antimicrobial properties. And if you add chia seeds or flax seeds, you get an extra boost of omega-3 fatty acids and fiber.
Dietary Considerations: This recipe is naturally vegetarian. With the swaps mentioned above, it can easily be made vegan, gluten-free (using certified gluten-free oats), and nut-free (using sunflower seed butter). It is also free from artificial preservatives and refined sugar when you use maple syrup or honey.
Potential Allergens: This recipe contains peanuts (or tree nuts if you use almond butter) and gluten (from oats). It may also contain dairy depending on the chocolate chips and butter you use. Always check your labels if you are serving someone with allergies.
My Personal Take: I love that these bars feel like a treat but actually have some redeeming qualities. They are not a health food by any stretch, but they are a whole lot better than the processed bars you buy at the store. And honestly? Knowing exactly what went into them gives me peace of mind that I just cannot get from a packaged snack.
Conclusion
These easy no-bake peanut butter granola bars have become a staple in my kitchen for a reason. They are quick, forgiving, and genuinely delicious. They solve the eternal lunchbox problem of finding something that is healthy enough to feel good about but tasty enough that kids actually eat it. And they do not require turning on the oven, which is a win in my book any day of the week.
I love that this recipe is a blank canvas. You can tweak it based on what is in your pantry, what your family likes, or what season it is. You can make them nut-free, vegan, lower sugar, or loaded with extra crunch. They adapt to you, not the other way around.
If you make these bars, I would love to hear how they turned out. Did you add something unexpected? Did your kids devour them? Did you accidentally eat three in one sitting? (No judgment here—I have been there.) Leave a comment below or tag me in your photos. Your feedback helps me keep creating recipes that actually work for real people in real kitchens.
Now go make a batch. Your lunchboxes (and your taste buds) will thank you.
Frequently Asked Questions
Can I use quick oats instead of old-fashioned oats?
I do not recommend it. Quick oats are finer and more processed, which means they absorb moisture differently and can turn the bars into a dense, pasty texture. Old-fashioned rolled oats give the bars that signature chewy texture that makes them so satisfying. If you only have quick oats, you can still use them, but expect a softer, less structured bar. You might need to chill them a little longer before cutting.
Why are my bars falling apart?
This usually happens for one of three reasons: you did not press the mixture firmly enough into the pan, you cut them before they were fully chilled, or your wet-to-dry ratio was off. Make sure you press down with serious force—use the bottom of a measuring cup or glass to really compact the mixture. And give them at least a full hour in the fridge. If they still crumble, try adding an extra tablespoon of peanut butter or honey next time to help bind everything together.
Can I make these without a stovetop?
Absolutely. You can melt the peanut butter, honey, and butter together in a microwave-safe bowl. Microwave in 30-second intervals, stirring well between each, until everything is smooth and combined. It usually takes about 90 seconds total depending on your microwave wattage. Just be careful not to overheat the mixture, as it can bubble up and make a mess. This method is great for dorm rooms, camping, or hot summer days when you do not want to stand over a stove.
How long do these bars last at room temperature?
These bars are best kept in the refrigerator, but they can sit at room temperature for a few hours without issue. If you are packing them in a lunchbox, they will be fine for the morning. For longer storage, keep them in the fridge or freezer. If left out at room temperature for more than a day, they may become too soft and lose their structure, especially in warm weather. I always recommend refrigerating them for the best texture and longest shelf life.
Can I double this recipe?
Yes, and I do it all the time. Simply double all the ingredients and press the mixture into a 9×13-inch pan. The chilling time may need to be extended by about 30 minutes since the bars will be thicker. I like to double the recipe at the beginning of the week so I have enough for school lunches and after-school snacks without having to make another batch mid-week. Just make sure your saucepan is large enough to hold the doubled wet ingredients without overflowing.
Pin This Recipe!
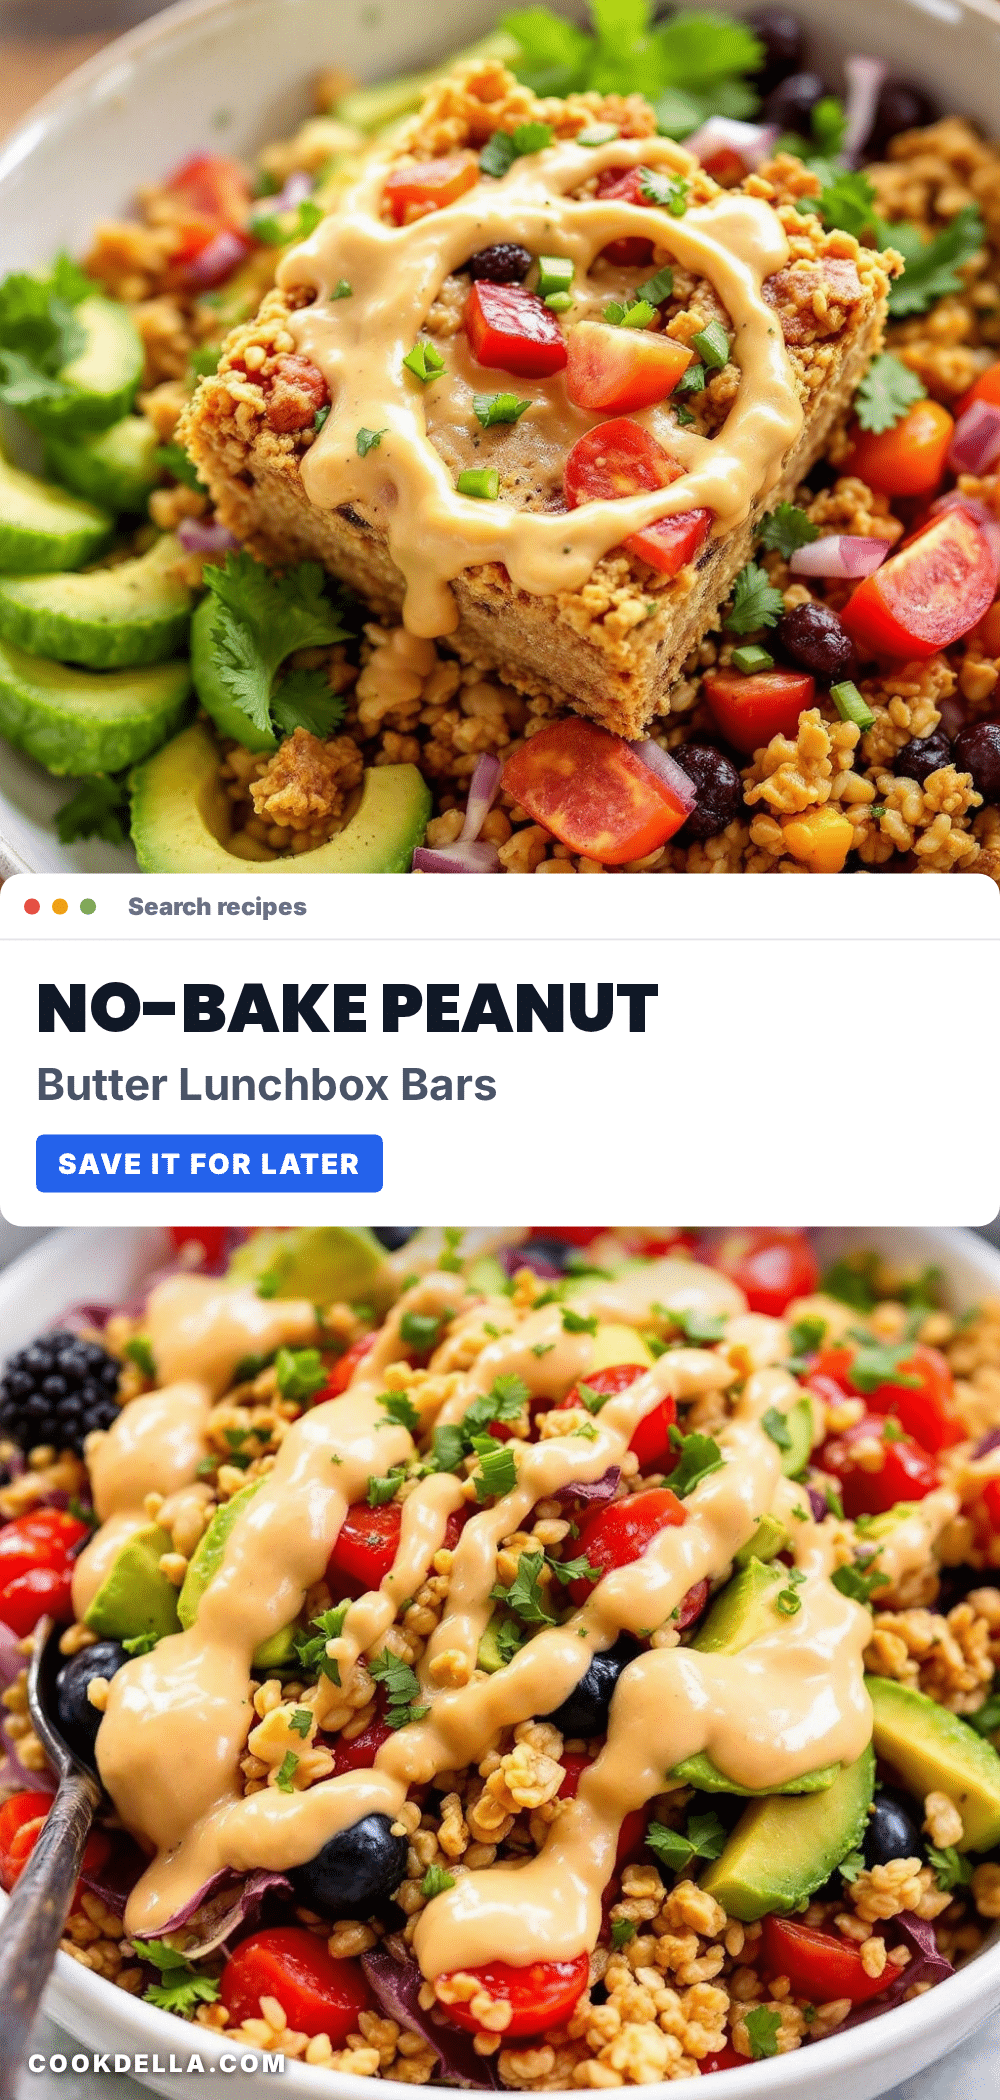
Easy No-Bake Peanut Butter Granola Bars
These easy no-bake peanut butter granola bars are chewy, sweet, and sturdy enough to survive a lunchbox toss. Made with simple pantry ingredients, they come together in 10 minutes and require no oven time.
- Prep Time: 10 minutes
- Cook Time: 0 minutes
- Total Time: 1 hour 10 minutes
- Yield: 12 servings 1x
- Category: Snack
- Cuisine: American
Ingredients
- 1 cup creamy peanut butter
- ½ cup honey or maple syrup
- 2 cups old-fashioned rolled oats
- 1 cup crispy rice cereal
- ½ cup mini chocolate chips
- ¼ cup unsalted butter or coconut oil
- 1 teaspoon vanilla extract
- ¼ teaspoon salt
Instructions
- Line an 8×8-inch baking pan with parchment paper, leaving overhang on two opposite sides.
- In a large mixing bowl, whisk together the rolled oats, crispy rice cereal, and mini chocolate chips. Set aside.
- In a medium saucepan over low heat, combine the peanut butter, honey (or maple syrup), and butter (or coconut oil). Stir constantly until smooth and well combined, about 2 to 3 minutes. Do not let it boil.
- Remove the pan from heat and stir in the vanilla extract and salt.
- Pour the warm peanut butter mixture over the dry ingredients. Fold together until every oat and cereal piece is coated.
- Transfer the mixture to the prepared pan. Spread evenly, then place a piece of parchment paper over the top and press down firmly with your hands or the bottom of a flat measuring cup to compact the mixture.
- Refrigerate for at least 1 hour (or freeze for 30 minutes) until firm.
- Lift the bars out of the pan using the parchment overhang. Place on a cutting board and cut into 12 even bars with a sharp knife. Wipe the knife clean between slices for clean cuts.
Notes
Press the mixture firmly into the pan to prevent crumbling. Chill completely before cutting. Store in an airtight container in the fridge for up to a week, or freeze individually wrapped for up to 3 months. For vegan version, use maple syrup and coconut oil. For nut-free version, use sunflower seed butter.
Nutrition
- Serving Size: 1 bar
- Calories: 245
- Sugar: 14
- Sodium: 120
- Fat: 14
- Saturated Fat: 4
- Carbohydrates: 27
- Fiber: 3
- Protein: 7
Keywords: no-bake granola bars, peanut butter granola bars, homemade granola bars, lunchbox snacks, healthy snacks, easy granola bars


