My husband asked for nachos four nights in a row without being prompted, and honestly, I didn’t see that coming. We’re talking about a guy who usually forgets what he ate for lunch by dinner time. But the first time I set out this loaded nacho bar with ground beef and queso, he just kept going back for another plate. It wasn’t even game day—it was a random Tuesday. That’s when I knew this wasn’t just another snack. It was a full-blown dinner situation that actually made everyone happy without me having to cook three different meals.
The thing about a nacho bar is that it feels like a party, even when nobody’s celebrating anything. You get that warm, melty cheese situation happening with seasoned beef and all the crunchy, fresh toppings you can pile on. It’s the kind of meal where everyone builds their own plate, so no one complains. And let’s be real—that’s a win in any household.
This isn’t some fancy restaurant version with truffle oil or weird garnishes. It’s the real deal—the kind of nachos you actually want to eat. The ground beef is perfectly seasoned, the queso is smooth and creamy (no Velveeta required, though I won’t judge if that’s your thing), and every bite has the perfect ratio of chip to topping. I’ve tweaked this over maybe a dozen batches, and I can honestly say this version is the one that finally made my husband stop asking for takeout.
So whether you’re feeding a crowd on game day or just trying to get dinner on the table without a fight, this loaded nacho bar delivers. It’s messy, it’s satisfying, and it’s exactly what you need tonight.
Why You’ll Love This Recipe
I’ve tested this loaded nacho bar more times than I care to admit, and every single batch taught me something new. The first time I made it, the queso broke. The second time, the beef was too dry. But by the third attempt, everything clicked. Here’s why this version works so well:
- Quick & Easy: From start to finish, this comes together in about 30 minutes. Perfect for those nights when you need dinner on the table fast but still want something that feels special.
- Simple Ingredients: No weird specialty items here. Ground beef, cheese, chips, and pantry staples—you probably already have most of what you need.
- Perfect for Game Day: This is the ultimate crowd-pleaser for football Sundays, watch parties, or any gathering where people want to graze. It pairs beautifully with my creamy crockpot jalapeño popper dip for a full spread.
- Crowd-Pleaser: Kids love building their own plates, adults appreciate the customization, and everyone agrees the queso is the star of the show.
- Unbelievably Delicious: The combination of seasoned beef, creamy queso, and fresh toppings creates layers of flavor and texture that make store-bought nachos taste sad in comparison.
What makes this recipe different from the rest? It’s the technique. Instead of just dumping cheese on chips and hoping for the best, I layer the beef and queso strategically so every chip gets some love. The queso itself is made with real cheese and evaporated milk for that ultra-smooth, never-grainy texture. This isn’t just another nacho recipe—it’s the one you’ll come back to again and again.
Honestly, this recipe is the kind that makes you close your eyes after the first bite. It’s comfort food at its finest—hearty, cheesy, and completely satisfying. Perfect for impressing guests without breaking a sweat, or turning a regular Tuesday into something worth looking forward to.
What Ingredients You Will Need
This loaded nacho bar uses simple, wholesome ingredients to deliver bold flavor and satisfying texture without any fuss. Most of these are pantry staples, so you’re probably already halfway there.
For the Seasoned Ground Beef
- 1 pound ground beef (80/20 works best for flavor; drain excess fat if needed)
- 1 tablespoon olive oil (for sautéing; adds richness)
- 1 small yellow onion, finely diced (about ¾ cup)
- 3 cloves garlic, minced
- 1 tablespoon chili powder (I prefer McCormick for consistent heat)
- 1 teaspoon ground cumin
- 1 teaspoon smoked paprika (adds that subtle smoky depth)
- ½ teaspoon dried oregano
- ½ teaspoon salt
- ¼ teaspoon black pepper
- ¼ cup beef broth (keeps the meat juicy; use low-sodium)
For the Queso
- 2 tablespoons unsalted butter
- 2 tablespoons all-purpose flour
- 1 cup evaporated milk (not sweetened condensed milk—this is key for smooth texture)
- 8 ounces sharp cheddar cheese, freshly shredded (pre-shredded won’t melt as smoothly)
- 4 ounces Monterey Jack cheese, freshly shredded
- 1 (4-ounce) can diced green chiles, drained
- ¼ teaspoon cayenne pepper (optional, for heat)
- Salt to taste
For the Nacho Bar
- 1 large bag (13-16 ounces) restaurant-style tortilla chips (look for thick, sturdy chips that won’t break under toppings)
- 1 (15-ounce) can black beans, drained and rinsed
- 1 cup canned corn kernels, drained
- 1 large tomato, diced
- 1 avocado, diced or sliced
- ½ cup sour cream
- ¼ cup fresh cilantro, chopped
- 2-3 green onions, sliced
- Pickled jalapeños, to taste
- Lime wedges, for serving
For the queso, I really recommend shredding your own cheese. Pre-shredded bags have anti-caking agents that make the sauce grainy. Trust me on this one—I learned the hard way. And if you want to switch things up, you can swap the ground beef for shredded chicken or seasoned black beans for a vegetarian option.
Equipment Needed
You don’t need a ton of fancy equipment for this loaded nacho bar, which is part of why I love it. Here’s what you’ll need:
- Large skillet or frying pan (12-inch works best for browning the beef evenly)
- Medium saucepan (for the queso)
- Cutting board and sharp knife
- Wooden spoon or spatula (for breaking up the beef)
- Whisk (for smooth queso—don’t skip this)
- Cheese grater (box grater or microplane)
- Large serving platter or sheet pan (for assembling the nachos)
- Small bowls (for setting up the bar with toppings)
If you don’t have a whisk, a fork works in a pinch, but you’ll have to work a little harder to get the queso smooth. For the serving platter, I use a rimmed baking sheet lined with foil—makes cleanup a breeze. And honestly, that’s it. No special gadgets required.
Preparation Method
Let’s get cooking. This comes together in about 30 minutes, and the steps are straightforward. I’ll walk you through each one.
Step 1: Prep Your Toppings (5 minutes)
Before you start cooking, get all your toppings ready. Dice the tomato, slice the avocado, chop the cilantro, and slice the green onions. Drain and rinse the black beans and corn. Set everything out in small bowls so you can grab them easily when it’s time to build the bar. This makes the whole process feel less chaotic—trust me.
Step 2: Cook the Ground Beef (10 minutes)
Heat the olive oil in a large skillet over medium-high heat. Add the diced onion and cook for 2-3 minutes until it starts to soften and turn translucent. Add the minced garlic and cook for another 30 seconds until fragrant—don’t let it burn.
Add the ground beef to the skillet. Break it up with a wooden spoon and cook for 5-6 minutes until browned and no longer pink. If there’s a lot of excess fat, drain it off, leaving about a tablespoon in the pan for flavor.
Reduce the heat to medium. Add the chili powder, cumin, smoked paprika, oregano, salt, and pepper. Stir everything together and cook for 1 minute until the spices are fragrant. Pour in the beef broth and let it simmer for 2-3 minutes until the liquid reduces slightly and the meat is coated in a rich, flavorful sauce. The beef should look moist and glossy, not dry. Set aside and keep warm.
Step 3: Make the Queso (10 minutes)
In a medium saucepan, melt the butter over medium heat. Once melted, whisk in the flour and cook for 1 minute, stirring constantly. This creates a roux that will thicken the queso and keep it smooth.
Slowly pour in the evaporated milk while whisking continuously. Keep whisking until the mixture thickens slightly, about 2-3 minutes. It should be smooth with no lumps.
Reduce the heat to low. Add the shredded cheddar and Monterey Jack cheese one handful at a time, whisking after each addition until fully melted. This gradual approach prevents the cheese from clumping. Once all the cheese is melted and the sauce is smooth, stir in the drained green chiles and cayenne pepper (if using). Taste and add salt if needed—the cheese is already salty, so go easy.
Keep the queso warm over very low heat, stirring occasionally. If it thickens too much, add a splash of milk to thin it out.
Step 4: Assemble the Nacho Bar (5 minutes)
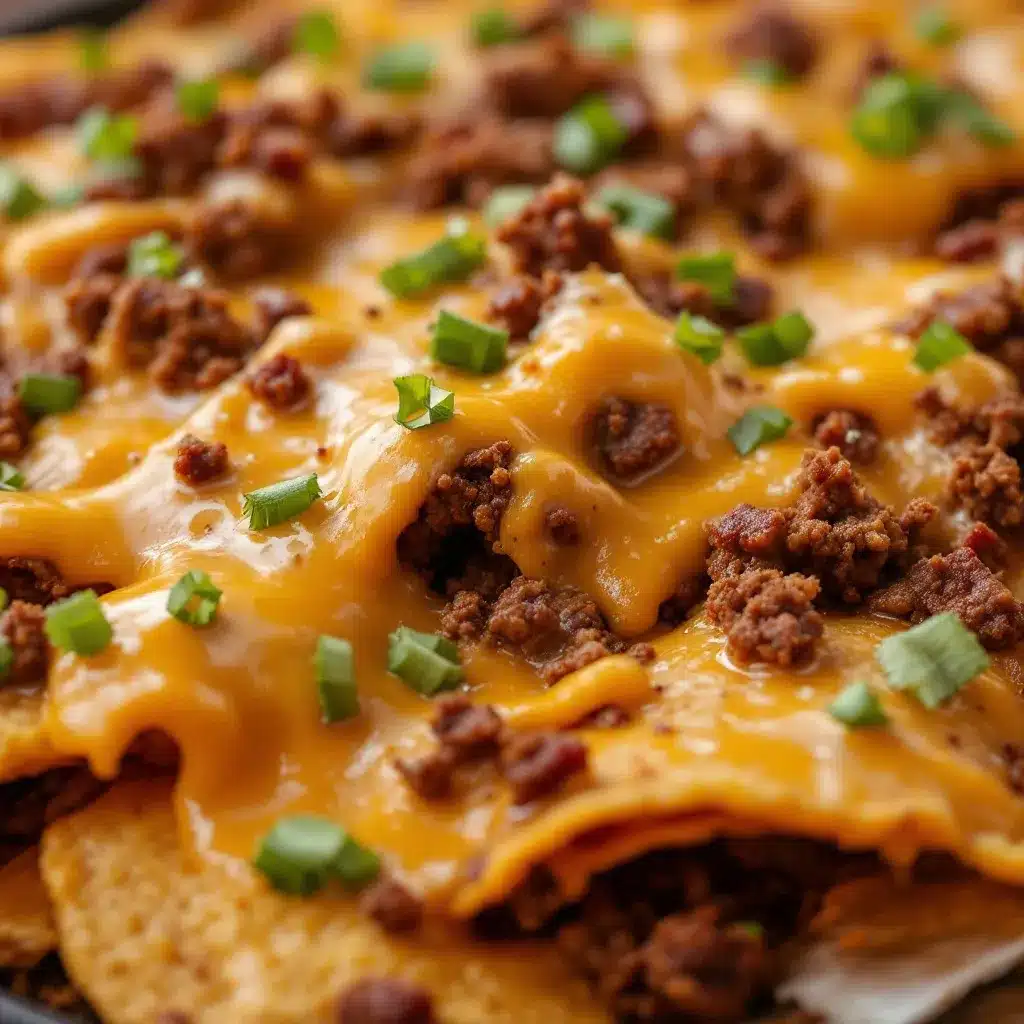
Spread a generous layer of tortilla chips on your serving platter or sheet pan. Spoon half of the seasoned ground beef evenly over the chips. Drizzle half of the queso over the beef and chips. Add another layer of chips, the remaining beef, and the remaining queso. This layering ensures every chip gets some topping—no sad, naked chips at the bottom.
Top with the black beans and corn. Let everyone add their own fresh toppings—tomato, avocado, sour cream, cilantro, green onions, and pickled jalapeños. Serve immediately with lime wedges on the side.
Cooking Tips & Techniques
I’ve made this loaded nacho bar more times than I can count, and I’ve definitely had my share of failures. Here’s what I’ve learned so you don’t have to make the same mistakes.
Don’t overcrowd the pan. When browning the beef, give it space. If you pile too much meat in the skillet, it steams instead of browning, and you lose that deep, savory flavor. Work in batches if you’re doubling the recipe.
Shred your own cheese. I know I said this already, but it bears repeating. Pre-shredded cheese has cellulose and other anti-caking agents that prevent it from melting smoothly. Your queso will be grainy and clumpy. Freshly shredded cheese melts like a dream.
Keep the queso warm, not hot. If you overheat the queso, it will break and separate. Keep it on the lowest possible heat and stir occasionally. If you need to reheat leftovers, do it slowly over low heat with a splash of milk.
Layer strategically. The biggest mistake people make with nachos is piling everything on top and leaving the bottom chips bare. By layering the beef and queso, you ensure every chip has flavor. It’s a small step that makes a huge difference.
Use sturdy chips. Thin, delicate chips will break under the weight of the toppings. Look for restaurant-style or “thick and hearty” tortilla chips. They hold up much better.
One time I forgot to drain the beef fat before adding the spices, and the whole thing turned into a greasy mess. Not my finest moment. Learn from my mistake—take that extra 30 seconds to drain the fat.
Variations & Adaptations
This loaded nacho bar is endlessly customizable. Here are some of my favorite variations:
- Vegetarian Version: Swap the ground beef for two cans of black beans or a package of crumbled tofu seasoned with the same spices. Add sautéed bell peppers and onions for extra texture.
- Chicken Nachos: Use shredded rotisserie chicken instead of ground beef. Toss it with the same spice mix and a splash of chicken broth for moisture.
- Spicy Kick: Add a diced jalapeño to the beef while it cooks, use pepper jack cheese in the queso, and top with extra pickled jalapeños. This is my personal favorite when I’m cooking just for myself.
- Breakfast Nachos: Top the chips with scrambled eggs, crumbled breakfast sausage, and the queso. Add pico de gallo and avocado for a brunch-worthy twist.
- Low-Carb Option: Skip the tortilla chips and use bell pepper halves or zucchini slices as the base. Bake them for a few minutes to soften before adding the toppings.
I tried a version with ground turkey once, and honestly, it was fine but not as flavorful. The beef really carries the dish. If you’re looking for another hearty ground beef recipe, my best easy cheesy ground beef and rice casserole is another family favorite.
Serving & Storage Suggestions
This loaded nacho bar is best served immediately while the chips are still crunchy and the queso is warm and gooey. Set up the toppings in individual bowls so everyone can build their own plate. It’s perfect for parties because people can graze at their own pace.
For drinks, I love pairing this with a cold Mexican beer like Corona or a spicy margarita. If you’re hosting a game day party, this nacho bar goes perfectly with my easy sweet and salty football snack mix for a complete spread.
Storage: If you have leftovers (which is rare in my house), store the components separately. The seasoned beef and queso can be refrigerated in airtight containers for up to 4 days. The chips, once topped, don’t store well—they get soggy. So only assemble what you plan to eat.
Reheating: Reheat the beef in a skillet over medium heat with a splash of water or broth. Reheat the queso slowly over low heat, stirring frequently. Add a splash of milk if it’s too thick. Do not microwave the queso—it will separate and become grainy.
The flavors actually develop overnight. The next day, the beef tastes even richer and more seasoned. I’ve been known to make extra beef just so I can have leftovers for nachos the next day.
Nutritional Information & Benefits
Let’s be real—this isn’t a health food. But it’s comfort food made with real ingredients, and that counts for something. Here’s the estimated nutritional breakdown per serving (about 1/6 of the recipe):
- Calories: 520
- Protein: 28g
- Fat: 32g
- Carbohydrates: 35g
- Fiber: 6g
- Sugar: 8g
- Sodium: 780mg
The ground beef provides a good source of iron and B vitamins, while the black beans and corn add fiber and plant-based protein. The avocado offers healthy monounsaturated fats and potassium. And the cheese? Well, it’s calcium-rich, so there’s that.
If you’re watching your sodium, use low-sodium beef broth and go easy on the salt in the queso. You can also use reduced-fat cheese and lean ground beef (90/10) to lighten it up. But honestly, this is a treat meal. Enjoy it as is, and maybe have a salad for lunch the next day.
Conclusion
This loaded nacho bar with ground beef and queso is the kind of recipe that becomes a staple in your rotation. It’s quick enough for a weeknight, impressive enough for company, and endlessly customizable so nobody gets bored. The seasoned beef is juicy and flavorful, the queso is smooth and creamy, and the fresh toppings add brightness and crunch.
I love this recipe because it brings people together. There’s something about building your own plate of nachos that makes everyone feel involved. It’s interactive, it’s fun, and it’s delicious. Whether you’re hosting a game day party or just trying to get dinner on the table without a fight, this nacho bar delivers every single time.
I’d love to hear how yours turns out! Leave a comment below and let me know what toppings you used, or tag me in your photos if you share them online. Happy cooking, friend—go make some nachos.
Frequently Asked Questions
Can I make the queso ahead of time?
Yes, you can make the queso up to 2 days in advance. Store it in an airtight container in the refrigerator. Reheat it slowly over low heat on the stovetop, stirring frequently and adding a splash of milk if it’s too thick. Avoid microwaving it, as that can cause the cheese to separate.
What’s the best way to keep the nachos from getting soggy?
Layer your chips strategically. Start with a sturdy chip, add a thin layer of beef and queso, then another layer of chips and toppings. Serve immediately after assembling. If you’re setting up a bar for a party, keep the chips, beef, and queso separate and let guests build their own plates as they eat.
Can I use a different type of cheese for the queso?
Absolutely. Sharp cheddar and Monterey Jack are my go-to, but you can use Colby Jack, pepper jack, or even a mild gouda. Avoid using only pre-shredded cheese, as it won’t melt as smoothly. A mix of two cheeses gives the best flavor and texture.
How do I make this recipe gluten-free?
To make this gluten-free, skip the roux in the queso. Instead, use a gluten-free all-purpose flour blend or cornstarch slurry (1 tablespoon cornstarch mixed with 2 tablespoons cold water) to thicken the sauce. Add it after the evaporated milk and whisk until thickened. Also, double-check that your chili powder and beef broth are certified gluten-free.
Can I freeze the seasoned ground beef?
Yes! The seasoned beef freezes beautifully. Let it cool completely, then transfer it to a freezer-safe bag or container. It will keep for up to 3 months. Thaw overnight in the refrigerator and reheat in a skillet with a splash of beef broth. The queso doesn’t freeze well, so make that fresh when you’re ready to serve.
Pin This Recipe!
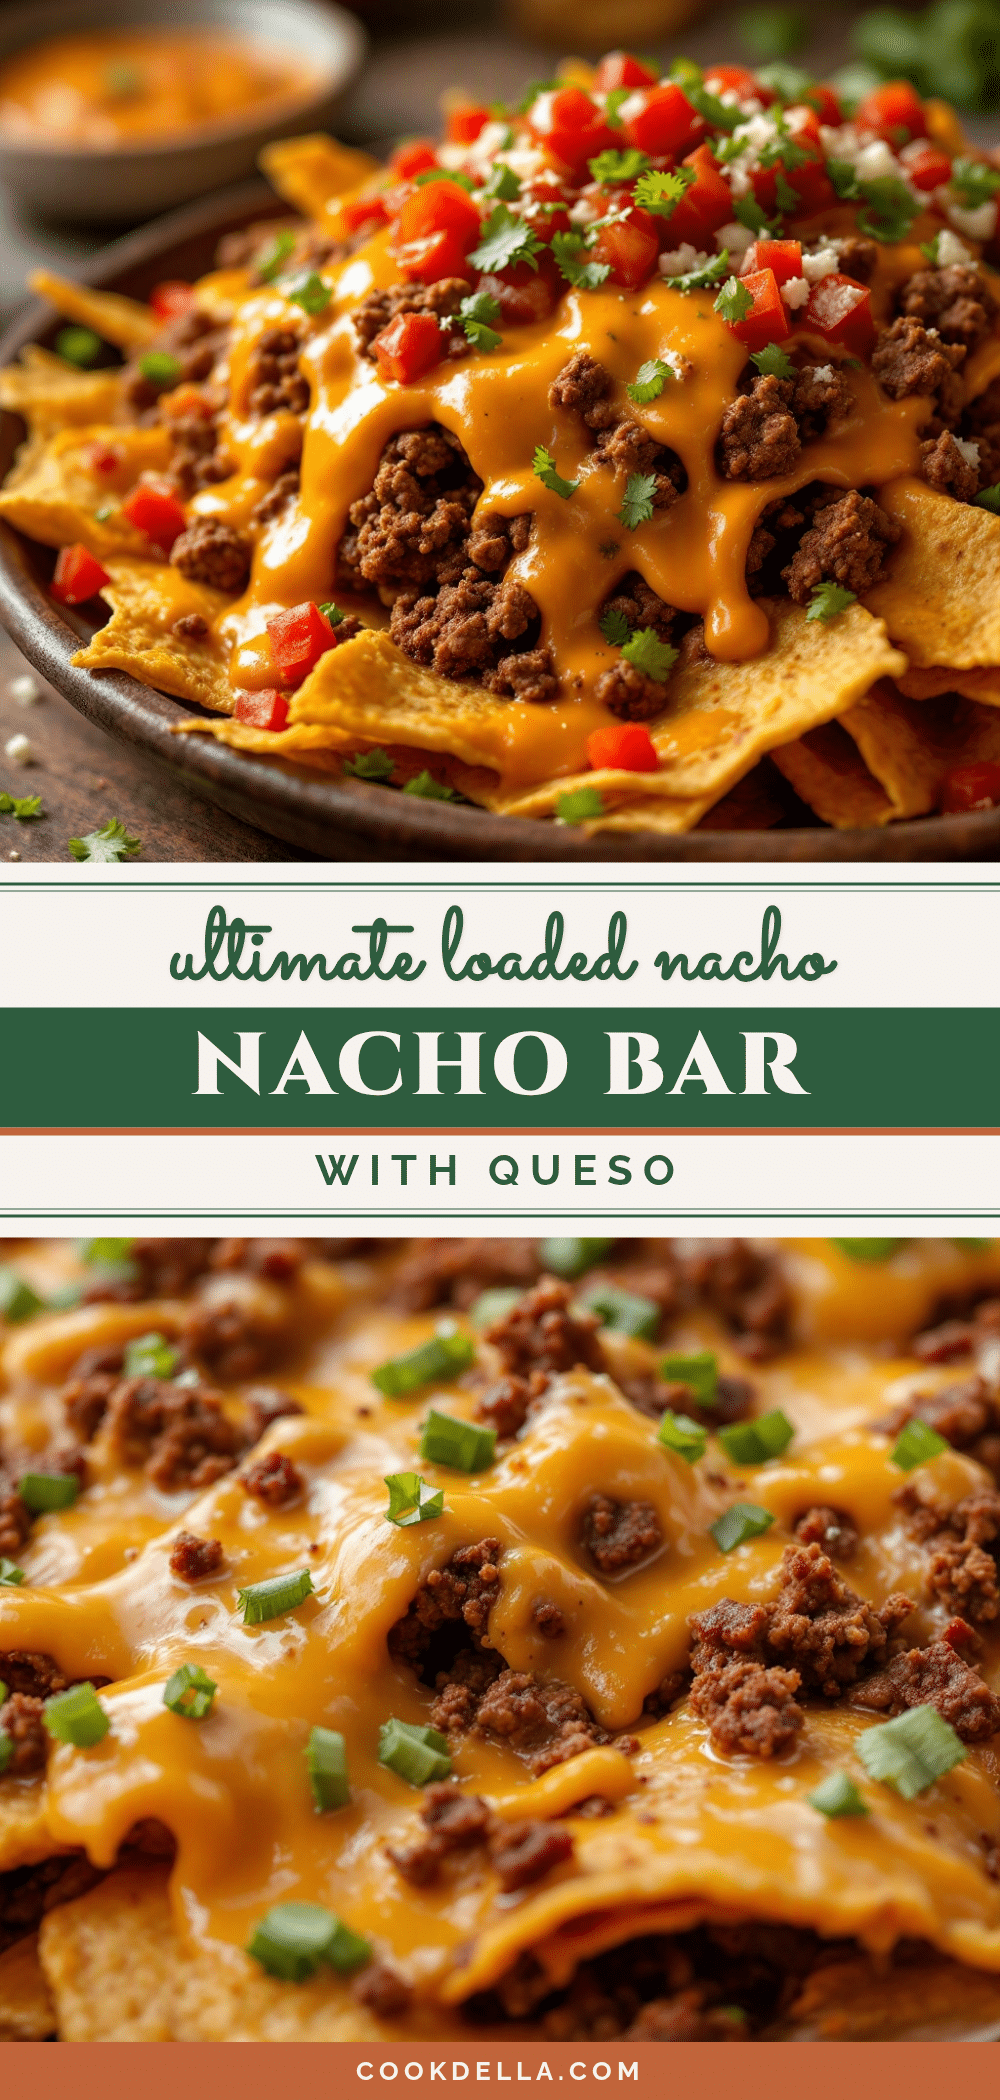
Easy Loaded Nacho Bar with Ground Beef and Queso
A quick and easy loaded nacho bar featuring seasoned ground beef, creamy homemade queso, and all your favorite fresh toppings. Perfect for game day, weeknight dinners, or any gathering where everyone builds their own plate.
- Prep Time: 15 minutes
- Cook Time: 20 minutes
- Total Time: 35 minutes
- Yield: 6 servings 1x
- Category: Main Course
- Cuisine: Mexican-American
Ingredients
- 1 pound ground beef (80/20 works best)
- 1 tablespoon olive oil
- 1 small yellow onion, finely diced (about ¾ cup)
- 3 cloves garlic, minced
- 1 tablespoon chili powder
- 1 teaspoon ground cumin
- 1 teaspoon smoked paprika
- ½ teaspoon dried oregano
- ½ teaspoon salt
- ¼ teaspoon black pepper
- ¼ cup beef broth (low-sodium)
- 2 tablespoons unsalted butter
- 2 tablespoons all-purpose flour
- 1 cup evaporated milk (not sweetened condensed)
- 8 ounces sharp cheddar cheese, freshly shredded
- 4 ounces Monterey Jack cheese, freshly shredded
- 1 (4-ounce) can diced green chiles, drained
- ¼ teaspoon cayenne pepper (optional, for heat)
- Salt to taste
- 1 large bag (13–16 ounces) restaurant-style tortilla chips
- 1 (15-ounce) can black beans, drained and rinsed
- 1 cup canned corn kernels, drained
- 1 large tomato, diced
- 1 avocado, diced or sliced
- ½ cup sour cream
- ¼ cup fresh cilantro, chopped
- 2–3 green onions, sliced
- Pickled jalapeños, to taste
- Lime wedges, for serving
Instructions
- Prep your toppings: Dice the tomato, slice the avocado, chop the cilantro, and slice the green onions. Drain and rinse the black beans and corn. Set everything out in small bowls.
- Cook the ground beef: Heat olive oil in a large skillet over medium-high heat. Add diced onion and cook for 2-3 minutes until softened. Add minced garlic and cook for 30 seconds until fragrant. Add ground beef and cook for 5-6 minutes until browned, breaking it up with a spoon. Drain excess fat if needed. Reduce heat to medium, add chili powder, cumin, smoked paprika, oregano, salt, and pepper. Stir and cook for 1 minute. Pour in beef broth and simmer for 2-3 minutes until reduced and glossy. Ke…
- Make the queso: In a medium saucepan, melt butter over medium heat. Whisk in flour and cook for 1 minute. Slowly pour in evaporated milk while whisking continuously. Cook for 2-3 minutes until thickened. Reduce heat to low. Add shredded cheddar and Monterey Jack cheese one handful at a time, whisking until melted. Stir in drained green chiles and cayenne pepper (if using). Add salt to taste. Keep warm over low heat.
- Assemble the nacho bar: Spread a generous layer of tortilla chips on a serving platter or sheet pan. Spoon half of the seasoned ground beef over the chips. Drizzle half of the queso over the beef and chips. Add another layer of chips, remaining beef, and remaining queso. Top with black beans and corn. Let everyone add their own fresh toppings—tomato, avocado, sour cream, cilantro, green onions, and pickled jalapeños. Serve immediately with lime wedges.
Notes
Shred your own cheese for the smoothest queso—pre-shredded cheese contains anti-caking agents that can make the sauce grainy. Layer the beef and queso between chips to ensure every chip gets topped. Use sturdy restaurant-style tortilla chips to prevent breakage. For a vegetarian version, swap ground beef for two cans of black beans or crumbled tofu seasoned with the same spices. Leftover beef and queso can be refrigerated separately for up to 4 days; reheat beef in a skillet and queso slowly on the stovetop.
Nutrition
- Serving Size: 1/6 of recipe
- Calories: 520
- Sugar: 8
- Sodium: 780
- Fat: 32
- Saturated Fat: 14
- Carbohydrates: 35
- Fiber: 6
- Protein: 28
Keywords: loaded nachos, ground beef nachos, queso, nacho bar, game day food, easy dinner, party food, Tex-Mex


