I want a snickerdoodle that tastes like fall, but I don’t want a flat, dense cookie. That’s the thought that hit me last September, standing in my kitchen with a stick of butter melting in a pan and a can of pumpkin staring at me from the pantry. I had everything except a plan that actually worked. Every pumpkin cookie I’d tried before turned out cakey in a disappointing way—like a muffin that gave up on itself. I wanted the pillowy softness of a classic snickerdoodle, but with that nutty, toasty depth that only brown butter brings. And I wanted pumpkin to actually show up, not just whisper its name from the ingredient list.
So I started experimenting. First batch? Too flat. Second batch? Too pumpkin-y, like eating spiced paste. Third batch? Now we’re talking. The brown butter does this thing where it makes the pumpkin taste richer, almost caramelized. And the cream of tartar gives it that signature snickerdoodle tang that cuts through the sweetness. (Honestly, I think the tang is what makes people reach for a second cookie without thinking.)
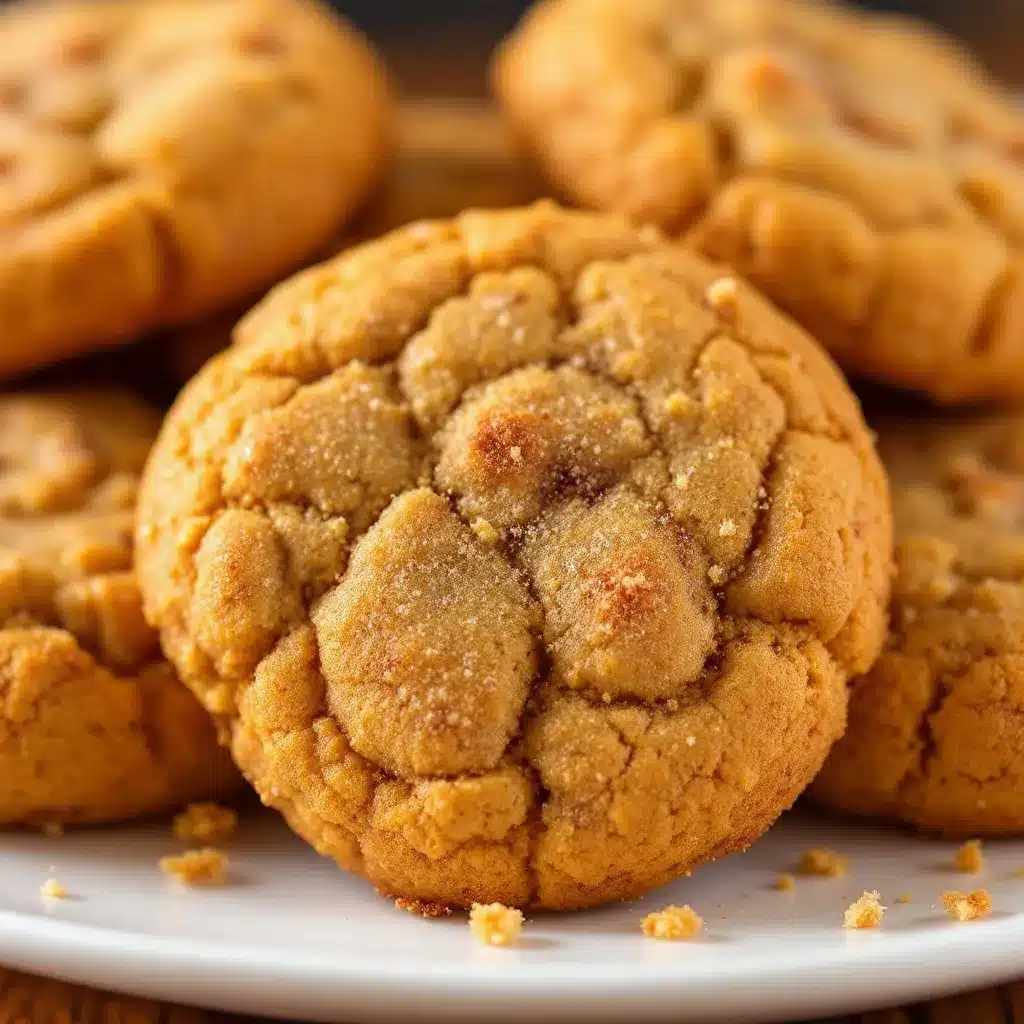
These cookies are fluffy—like, cloud-adjacent fluffy. They have that slight crackle on top from the cinnamon-sugar coating, but the inside stays tender and almost melt-in-your-mouth soft. I’ve made about six batches since that first successful one, and I keep tweaking little things. A pinch more cinnamon here, a slightly longer chill time there. But this version? This is the one I keep coming back to. It’s the cookie that finally made my fall baking feel complete.
Why You’ll Love This Recipe
I’ve tested this recipe more times than I care to admit, and each round taught me something new about how brown butter and pumpkin actually want to work together. Here’s why I think you’ll fall for these cookies the same way I did:
- Quick & Easy: From start to finish, you’re looking at about 30 minutes of active work. The dough needs a short chill, but that’s hands-off time you can use to clean up or pour yourself a coffee.
- Simple Ingredients: No weird specialty flours or hard-to-find extracts. If you’ve got butter, pumpkin puree, and basic baking staples, you’re already most of the way there.
- Perfect for Fall Gatherings: These cookies show up to every pumpkin patch trip, Thanksgiving potluck, and cozy movie night I host. They disappear fast.
- Crowd-Pleaser: Kids love the cinnamon-sugar coating. Adults love the sophisticated brown butter undertone. Everyone wins.
- Unbelievably Fluffy: The texture is what sets these apart. They’re not cakey, not dense—just perfectly pillowy with a slight chew on the edges.
What makes this recipe different from the dozens of pumpkin cookie recipes out there? It’s the brown butter, hands down. Most recipes just toss in melted butter or oil and call it a day. But taking those extra few minutes to brown the butter unlocks a nutty, almost toffee-like flavor that makes the pumpkin taste deeper and more complex. And the cream of tartar? That’s the secret to the snickerdoodle texture—it gives the cookies that soft, chewy interior with just a hint of tang. This isn’t just another pumpkin cookie. It’s the one that makes you close your eyes after the first bite.
What Ingredients You Will Need
This recipe uses simple, wholesome ingredients that come together to create something genuinely special. Most of these are pantry staples, but a few deserve a little extra attention.
- Unsalted butter, 1 cup (2 sticks) — You’ll brown this, so unsalted is important. I prefer Kerrygold for its lower water content, which means better browning and richer flavor.
- Granulated sugar, 1 cup — Adds sweetness and helps with that slightly crispy edge.
- Light brown sugar, ½ cup, packed — Brings moisture and a hint of molasses that plays beautifully with the pumpkin and brown butter.
- Pumpkin puree, ½ cup — Not pumpkin pie filling! Make sure you grab 100% pure pumpkin. I like Libby’s for consistent texture and moisture content.
- Large egg, 1, room temperature — Room temperature eggs incorporate more evenly into the brown butter.
- Vanilla extract, 2 teaspoons — Pure vanilla, not imitation. It rounds out the warm spices.
- All-purpose flour, 2 cups — Spoon and level your flour. Packing it down will give you dense cookies.
- Cream of tartar, 2 teaspoons — This is non-negotiable for snickerdoodles. It creates that signature tang and helps with the fluffy texture.
- Baking soda, 1 teaspoon — Works with the cream of tartar for lift.
- Salt, ½ teaspoon — Fine sea salt is best. Don’t skip it—it balances the sweetness.
- Ground cinnamon, 1½ teaspoons — For the dough. I use Saigon cinnamon for a warmer, spicier kick.
- Ground nutmeg, ½ teaspoon — Freshly grated if you have it. It makes a noticeable difference.
- Ground ginger, ¼ teaspoon — Adds a little warmth without being overpowering.
- Ground cloves, ⅛ teaspoon — Just a whisper. Cloves are strong.
- For the coating: ¼ cup granulated sugar mixed with 2 teaspoons ground cinnamon
If you’re out of pumpkin puree, you can substitute sweet potato puree in a pinch—just make sure it’s well-drained. For a dairy-free version, use vegan butter that has a high fat content (like Miyoko’s) and brown it carefully, as it can burn faster than dairy butter.
Equipment Needed
You don’t need a fancy bakery setup for these cookies, but a few tools make the process smoother.
- Light-colored saucepan or skillet — A lighter pan helps you see the butter browning so you don’t accidentally burn it. Stainless steel is ideal.
- Stand mixer or hand mixer — A stand mixer with the paddle attachment makes creaming easier, but a hand mixer works perfectly fine.
- Mixing bowls — At least two: one for dry ingredients, one for wet.
- Whisk and rubber spatula — For combining and scraping down the bowl.
- Baking sheets — Light-colored, rimmed baking sheets are best. Dark sheets can cause the bottoms to brown too fast.
- Parchment paper or silicone baking mat — Parchment is my preference. It prevents sticking without adding extra grease.
- Cookie scoop (1.5-tablespoon size) — A scoop gives you evenly sized cookies. I use a #40 scoop.
- Cooling rack — Wire racks let air circulate so the cookies cool evenly without soggy bottoms.
- Fine-mesh strainer — Optional, but helpful if you want to sift flour and spices together for a smoother dough.
If you don’t have a cookie scoop, use two spoons to portion the dough. It’s a little messier but works just as well. And if you don’t have a light-colored pan for browning butter, just keep a close eye on it—dark pans make it harder to spot when the butter goes from golden to burnt.
Preparation Method
Let’s get to the fun part. Here’s how to make these cookies step by step, with all the little details I’ve learned from making them over and over.
- Brown the butter. Cut the butter into pieces and add it to a light-colored saucepan over medium heat. Stir frequently with a rubber spatula. The butter will melt, foam up, and then start to crackle. After about 5-7 minutes, you’ll see golden brown specks form at the bottom. The second it smells nutty and toasty—like toasted hazelnuts—remove it from the heat immediately. Pour it into a heatproof bowl, including all those brown bits. Let it cool for 15-20 minutes until it’s warm but not hot. (Hot butter will cook the egg, and we don’t want that.)
- Mix the dry ingredients. In a medium bowl, whisk together the flour, cream of tartar, baking soda, salt, cinnamon, nutmeg, ginger, and cloves. Set aside.
- Cream the butter and sugars. In a large bowl (or the bowl of a stand mixer), combine the cooled brown butter, granulated sugar, and brown sugar. Beat on medium speed for 2-3 minutes until the mixture looks smooth and slightly lighter in color. It won’t get fluffy like room-temperature butter does, and that’s okay.
- Add the pumpkin, egg, and vanilla. Add the pumpkin puree, room-temperature egg, and vanilla extract. Beat on medium-low until everything is fully combined. The mixture might look a little separated at first—that’s just the pumpkin and butter not wanting to emulsify. Keep mixing for another 30 seconds, and it will come together.
- Combine wet and dry. Gradually add the dry ingredients to the wet mixture, mixing on low speed. Stop as soon as the flour disappears. Overmixing will make the cookies tough. Scrape down the sides and bottom of the bowl with a spatula to make sure everything is incorporated.
- Chill the dough. Cover the bowl with plastic wrap and refrigerate for at least 30 minutes. This step is crucial. Chilling solidifies the brown butter, which prevents the cookies from spreading too much. The dough will be slightly sticky but scoopable after chilling.
- Preheat and prepare. While the dough chills, preheat your oven to 350°F (175°C). Line two baking sheets with parchment paper or silicone mats.
- Make the cinnamon-sugar coating. In a small bowl, mix ¼ cup granulated sugar with 2 teaspoons ground cinnamon.
- Scoop and coat. Use a 1.5-tablespoon cookie scoop to portion the dough. Drop each dough ball into the cinnamon-sugar mixture and roll to coat evenly. Place the coated dough balls on the prepared baking sheets, spacing them about 2 inches apart. (I fit 12 per sheet.)
- Bake. Bake one sheet at a time for 10-12 minutes. The cookies will look puffed and slightly cracked on top. The edges should be set but the centers will still look soft and slightly underdone. That’s exactly what you want—they’ll continue baking on the hot sheet.
- Cool. Let the cookies rest on the baking sheet for 5 minutes. This allows them to set without breaking apart. Then transfer them to a wire cooling rack to cool completely. Or, let’s be honest, eat one warm. You’ve earned it.
Sensory cue check: When you pull the cookies out of the oven, the kitchen should smell like warm cinnamon, nutty brown butter, and cozy pumpkin spice. The tops will have a beautiful crackled appearance, and the edges will be just barely golden. If you gently press the center of a cookie, it should feel soft but not raw.
Cooking Tips & Techniques
I’ve made plenty of mistakes with these cookies, and I’m sharing them so you don’t have to repeat them. Here’s what I’ve learned.
Don’t rush the brown butter. I know it’s tempting to crank up the heat to speed things along, but medium heat is your friend. High heat burns the butter before it has a chance to develop that nutty flavor. And keep stirring—the butter can go from perfectly browned to burnt in about 15 seconds. If you see black specks instead of golden brown ones, you’ve gone too far. Start over.
Measure your pumpkin carefully. Too much pumpkin puree makes the cookies gummy and dense. Spoon it into your measuring cup and level it off with a knife. Don’t pack it down. And if your pumpkin puree looks watery, blot it with a paper towel before measuring. (This happens sometimes with homemade pumpkin puree.)
Chill the dough. No shortcuts. I once skipped the chill because I was impatient, and the cookies spread into flat, sad discs. The brown butter needs time to firm up, and the flour needs time to hydrate. Thirty minutes is the minimum. An hour is better. Overnight is fantastic—the flavors deepen and the texture improves.
Use a cookie scoop for even baking. Unevenly sized cookies bake unevenly. Some will be underdone while others are overdone. A scoop gives you consistent results every time. If you don’t have one, use a measuring tablespoon and roll the dough into balls by hand.
Bake one sheet at a time. If you put two sheets in the oven at once, the heat doesn’t circulate properly, and the cookies on the bottom sheet will spread more and brown unevenly. If you’re in a hurry, rotate the sheets halfway through and swap their positions.
Let them rest on the sheet. Those 5 minutes of resting time are critical. The cookies are fragile when they first come out of the oven. Moving them too early will cause them to fall apart. Be patient. Set a timer if you have to.
Variations & Adaptations
One of the best things about this recipe is how easily it adapts to different tastes and dietary needs. Here are a few variations I’ve tried and loved.
Gluten-Free Version: Swap the all-purpose flour with a 1:1 gluten-free baking flour blend that contains xanthan gum. I’ve had good results with King Arthur Measure for Measure. The texture will be slightly more tender, but the flavor is spot-on. Don’t overmix, and chill the dough for at least 45 minutes to give the gluten-free flour time to absorb moisture.
Vegan Version: Use vegan butter (like Miyoko’s or Country Crock Plant Butter) and brown it carefully—it can burn faster than dairy butter. Replace the egg with a flax egg (1 tablespoon ground flaxseed mixed with 3 tablespoons water, let sit for 5 minutes). The cookies will be slightly less fluffy but still delicious.
Extra Spiced Version: If you love a punchy pumpkin spice flavor, add an extra ½ teaspoon of cinnamon and ¼ teaspoon of nutmeg to the dough. You can also add ¼ teaspoon of cardamom for a slightly floral, aromatic note that pairs beautifully with the brown butter.
White Chocolate Chip Version: Fold in ¾ cup of white chocolate chips after mixing the dough. The sweetness of the white chocolate complements the warm spices and nutty brown butter. Just be careful not to overmix when folding them in.
Pumpkin Seed Topping: Before baking, press a few pumpkin seeds (pepitas) into the top of each coated dough ball. They add a nice crunch and make the cookies look extra pretty for fall gatherings.
I once tried making these with coconut oil instead of butter, thinking it would be a healthier swap. Don’t do it. The cookies turned out greasy and flat, and they lost all that beautiful brown butter flavor. Some things just can’t be replaced.
Serving & Storage Suggestions
These cookies are wonderful warm, but they also age beautifully—if they last long enough to age.
Serving: Serve these cookies at room temperature or slightly warm. If you want to reheat them, pop them in a 300°F oven for 3-4 minutes. They come out tasting freshly baked. For a special treat, serve them with a glass of cold milk, a scoop of vanilla ice cream, or alongside a warm mug of homemade pumpkin spice latte. The combination is pure fall comfort.
Storage: Store the cookies in an airtight container at room temperature for up to 5 days. To keep them soft, add a slice of bread to the container—the cookies will absorb the moisture from the bread and stay pillowy. (Replace the bread slice every other day.)
Freezing: These cookies freeze beautifully. You have two options. Freeze the baked cookies: let them cool completely, then layer them in a freezer-safe container with parchment paper between layers. They’ll keep for up to 3 months. Thaw at room temperature for about 30 minutes. Or freeze the dough balls: scoop and coat the dough in cinnamon sugar, then place them on a baking sheet and freeze until solid. Transfer the frozen dough balls to a freezer bag. Bake from frozen, adding 2-3 minutes to the baking time.
Make-Ahead Tip: The dough can be refrigerated for up to 3 days before baking. In fact, I think the cookies taste even better on day two or three—the brown butter flavor has more time to develop, and the texture becomes even more tender. If you’re planning ahead for a fall party or Thanksgiving, this is a great way to get a head start.
If you’re looking for another fall treat to round out your baking spread, these cookies pair beautifully with a slice of easy one-bowl chocolate chip pumpkin bread. The chocolate chips add richness, while the pumpkin bread stays moist and tender—a perfect duo for a cozy afternoon snack.
Nutritional Information & Benefits
While these cookies are definitely a treat, they do offer a few nutritional perks thanks to the pumpkin and brown butter.
Estimated nutritional values per cookie (based on 24 cookies):
- Calories: 165
- Total Fat: 8g
- Saturated Fat: 5g
- Cholesterol: 30mg
- Sodium: 95mg
- Total Carbohydrates: 22g
- Dietary Fiber: 1g
- Sugars: 14g
- Protein: 2g
Health Benefits: Pumpkin puree is packed with vitamin A (in the form of beta-carotene), which supports eye health and immune function. It’s also a good source of fiber, which helps with digestion and keeps you feeling full. The brown butter, while not exactly a health food, provides a small amount of vitamin A and healthy fats that help your body absorb the fat-soluble vitamins from the pumpkin. Cinnamon has anti-inflammatory properties and may help regulate blood sugar levels. (Though, full disclosure, the sugar in these cookies probably cancels out that benefit!)
Dietary Considerations: These cookies are vegetarian. For gluten-free and vegan adaptations, see the Variations section above. They contain dairy (butter), eggs, and gluten (flour). If you have allergies, please adjust accordingly.
I like to think of these cookies as a way to enjoy fall flavors without feeling like you’re eating a total sugar bomb. They’re sweet enough to satisfy a craving, but the pumpkin and warm spices make them feel a little more substantial—like a treat that also happens to have a vegetable in it. (We’ll take the win where we can get it.)
Conclusion
These fluffy brown butter pumpkin snickerdoodle cookies are everything I want in a fall cookie—soft, tender, packed with warm spices, and that irresistible nutty depth that only brown butter can deliver. They’re the kind of cookie that makes you slow down and actually enjoy the season, whether you’re baking them for a holiday party, a cozy night in, or just because you deserve something special.
I hope you give these a try and make them your own. Maybe you’ll add extra cinnamon, or fold in some white chocolate chips, or sneak a few for breakfast (no judgment here). The beauty of this recipe is that it’s forgiving enough to adapt and reliable enough to count on. And if you make them, I’d love to hear how they turned out. Leave a comment below, tag me in your photos, or tell me about your own variations. That’s the best part of sharing recipes—seeing how they come to life in other people’s kitchens.
Happy baking, and here’s to a season full of warm cookies, cozy sweaters, and the kind of simple joy that a really good snickerdoodle brings.
Frequently Asked Questions
Can I use salted butter instead of unsalted?
You can, but reduce the added salt in the recipe to ¼ teaspoon. Salted butter has varying amounts of salt depending on the brand, so it’s harder to control the final flavor. I recommend unsalted for consistent results.
Why did my cookies turn out flat?
Flat cookies usually mean the dough wasn’t chilled long enough, or the butter was too warm when you mixed it. Make sure your brown butter has cooled to room temperature before mixing, and chill the dough for at least 30 minutes. Also, check that your baking soda and cream of tartar are fresh—expired leavening agents won’t give you proper rise.
Can I use pumpkin pie spice instead of individual spices?
Yes, absolutely. Substitute 2 teaspoons of pumpkin pie spice for the cinnamon, nutmeg, ginger, and cloves. The flavor will be slightly different (pumpkin pie spice often includes allspice), but it’s a convenient swap that still tastes delicious.
Can I make these cookies without cream of tartar?
Cream of tartar is what gives snickerdoodles their signature tang and soft texture. If you don’t have it, you can substitute 1 teaspoon of lemon juice or white vinegar mixed into the wet ingredients, but the texture won’t be quite the same. The cookies will still taste good, just not as fluffy or tangy.
How do I know when the brown butter is done?
Watch for three signs: the color turns from yellow to golden brown, you see small brown specks floating in the butter, and it smells nutty and toasty—like toasted hazelnuts or caramel. The whole process takes about 5-7 minutes over medium heat. Once you see those signs, remove it from the heat immediately to prevent burning.
Pin This Recipe!
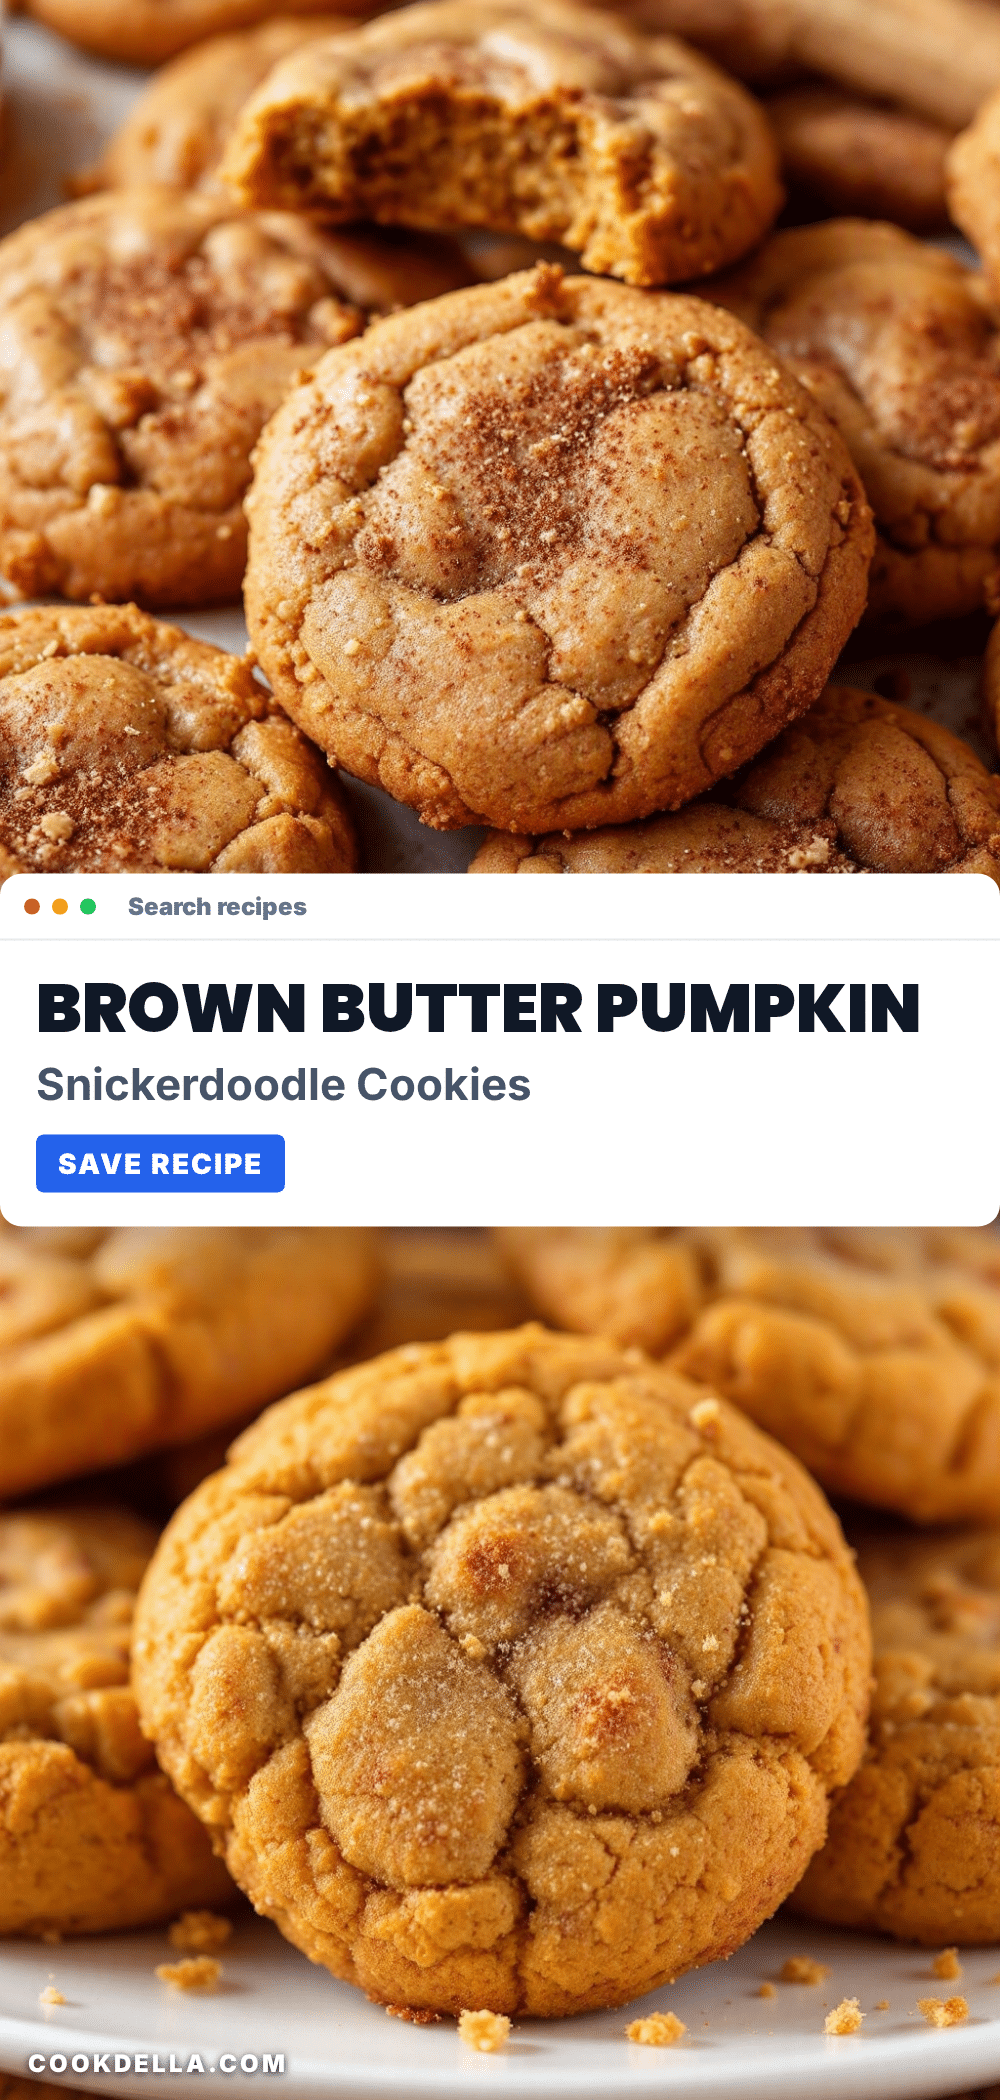
Fluffy Brown Butter Pumpkin Snickerdoodle Cookies – Easy Fall Recipe
These fluffy brown butter pumpkin snickerdoodle cookies are soft, tender, and packed with warm spices. The nutty depth of brown butter and the signature tang of cream of tartar make them the perfect fall treat.
- Prep Time: 30 minutes
- Cook Time: 12 minutes
- Total Time: 1 hour 12 minutes (includes 30 minutes chilling)
- Yield: 24 cookies 1x
- Category: Dessert
- Cuisine: American
Ingredients
- 1 cup (2 sticks) unsalted butter
- 1 cup granulated sugar
- ½ cup light brown sugar, packed
- ½ cup pumpkin puree (100% pure pumpkin)
- 1 large egg, room temperature
- 2 teaspoons vanilla extract
- 2 cups all-purpose flour
- 2 teaspoons cream of tartar
- 1 teaspoon baking soda
- ½ teaspoon fine sea salt
- 1½ teaspoons ground cinnamon
- ½ teaspoon ground nutmeg
- ¼ teaspoon ground ginger
- ⅛ teaspoon ground cloves
- For the coating: ¼ cup granulated sugar mixed with 2 teaspoons ground cinnamon
Instructions
- Brown the butter: Cut the butter into pieces and add to a light-colored saucepan over medium heat. Stir frequently. After 5-7 minutes, when golden brown specks form and it smells nutty, remove from heat. Pour into a heatproof bowl and let cool for 15-20 minutes until warm but not hot.
- Mix the dry ingredients: In a medium bowl, whisk together flour, cream of tartar, baking soda, salt, cinnamon, nutmeg, ginger, and cloves. Set aside.
- Cream the butter and sugars: In a large bowl, combine cooled brown butter, granulated sugar, and brown sugar. Beat on medium speed for 2-3 minutes until smooth and slightly lighter in color.
- Add the pumpkin, egg, and vanilla: Add pumpkin puree, room-temperature egg, and vanilla extract. Beat on medium-low until fully combined. The mixture may look separated at first; continue mixing for another 30 seconds until it comes together.
- Combine wet and dry: Gradually add dry ingredients to wet mixture, mixing on low speed. Stop as soon as the flour disappears. Scrape down sides and bottom of bowl.
- Chill the dough: Cover the bowl with plastic wrap and refrigerate for at least 30 minutes.
- Preheat and prepare: Preheat oven to 350°F (175°C). Line two baking sheets with parchment paper or silicone mats.
- Make the cinnamon-sugar coating: In a small bowl, mix ¼ cup granulated sugar with 2 teaspoons ground cinnamon.
- Scoop and coat: Use a 1.5-tablespoon cookie scoop to portion the dough. Drop each dough ball into the cinnamon-sugar mixture and roll to coat evenly. Place on prepared baking sheets, spacing about 2 inches apart.
- Bake: Bake one sheet at a time for 10-12 minutes. Cookies should look puffed and slightly cracked on top; edges set but centers still soft.
- Cool: Let cookies rest on baking sheet for 5 minutes, then transfer to a wire cooling rack to cool completely.
Notes
Chill the dough for at least 30 minutes to prevent spreading. Brown butter can burn quickly; watch for golden brown specks and a nutty aroma. For best results, use room temperature egg and measure pumpkin carefully.
Nutrition
- Serving Size: 1 cookie
- Calories: 165
- Sugar: 14
- Sodium: 95
- Fat: 8
- Saturated Fat: 5
- Carbohydrates: 22
- Fiber: 1
- Protein: 2
Keywords: pumpkin snickerdoodle, brown butter cookies, fall cookies, pumpkin cookies, snickerdoodle recipe, easy fall dessert


