I did not trust meal prep. Not even a little bit.
Honestly, I thought the whole concept was a well-marketed fantasy. You know the one—spend four hours on a Sunday chopping and cooking, only to end up with sad, soggy chicken and broccoli by Tuesday. I had tried it before. More than once. And every single time, I opened that fridge on day three and felt a little defeated. The chicken was dry, the broccoli was a weird shade of olive, and the sauce had somehow turned into a sticky puddle. Meal prep felt like a punishment, not a solution.
Then I got a new job. A good one, but one that left exactly zero time for a relaxing lunch hour. I was eating granola bars over my keyboard or spending ten dollars on sad salads that left me hungry an hour later. Something had to give. So I went back to the meal prep drawing board, but this time, I was stubborn about it. I was not going to follow a recipe that promised “easy” only to deliver disappointment. I wanted a bowl that actually tasted good on day four. A bowl that didn’t make me dread lunch.
This Easy Meal Prep Teriyaki Chicken and Broccoli Bowls recipe is the result of that stubbornness. It’s the one that finally converted me. The chicken stays juicy, the broccoli keeps its bite, and the sauce clings to everything like it’s supposed to. It’s not a compromise. It’s a genuinely good meal that happens to be ready when you are.
And honestly? It changed my whole week.
Why You’ll Love This Recipe
I have tested this recipe more times than I care to count. I have dried out chicken, oversalted sauce, and burnt enough broccoli to fill a compost bin. But these bowls? They work. Every single time. Here is why this recipe is different from every other meal prep attempt you have made.
- Stays Good All Week: The real test. This chicken stays tender and the broccoli stays vibrant even on day four. No sad, soggy leftovers here.
- Quick & Easy: From start to finish, you are looking at about 30 minutes of active work. The oven does most of the heavy lifting while you handle the stovetop.
- Simple Ingredients: You probably have soy sauce, honey, and garlic in your kitchen right now. No trips to specialty stores or ingredient hunts.
- Perfect for Busy Weeks: Whether you are meal prepping for work lunches, post-workout refuels, or just want dinner sorted for a few nights, these bowls have your back.
- Crowd-Pleaser: My picky-eater partner actually asked for these bowls again. That never happens. The sweet-savory teriyaki flavor wins over just about everyone.
- Unbelievably Delicious: The secret is in the sauce-to-protein ratio and the way the chicken is cooked. It’s not dry. It’s not bland. It’s the kind of lunch that makes you look forward to your break.
What makes this recipe stand out from all the other teriyaki chicken bowls online is the technique. Most recipes have you cook everything separately and then combine. That works, but it also dries things out. Here, we use a simple oven-roasting method for the broccoli and a quick stovetop sear for the chicken that locks in moisture. The sauce is thickened just enough to coat without becoming a gloppy mess. This is not just another version. It is the best version I have found after years of trial and error.
These bowls are the kind of meal that makes you close your eyes after the first bite. It is comfort food reimagined—healthier, faster, and with the same soul-soothing satisfaction. Perfect for impressing your future self on a Wednesday afternoon without any stress.
What Ingredients You Will Need
This recipe uses simple, wholesome ingredients to deliver bold flavor and satisfying texture without the fuss. Most of these are pantry staples, which makes this a great last-minute meal prep option.
For the Teriyaki Sauce
- Soy sauce (½ cup, low sodium): Regular soy sauce works too, but low sodium gives you better control over the saltiness. I prefer Kikkoman for its balanced flavor.
- Honey (¼ cup): Adds sweetness and helps the sauce caramelize when it hits the hot pan. You can substitute maple syrup if you prefer.
- Rice vinegar (2 tablespoons): Provides the tang that balances the sweetness. Unseasoned is best.
- Sesame oil (1 tablespoon): A little goes a long way. It adds that signature nutty flavor you expect from teriyaki.
- Garlic (3 cloves, minced): Fresh garlic is non-negotiable here. The jarred stuff just does not have the same punch.
- Ginger (1 tablespoon, freshly grated): Another ingredient where fresh makes a huge difference. It adds warmth and zing.
- Cornstarch (1 tablespoon): Mixed with 2 tablespoons of cold water to make a slurry. This thickens the sauce to the perfect consistency.
For the Chicken and Broccoli
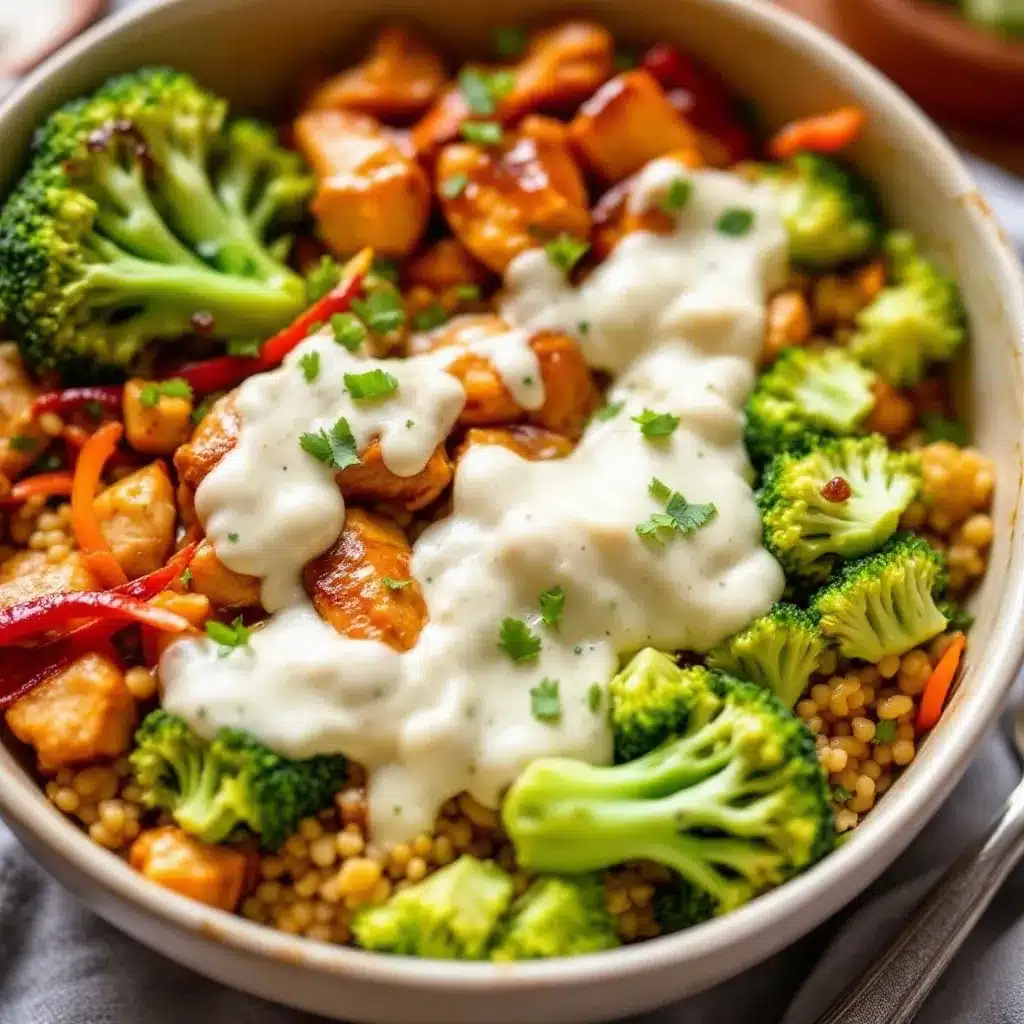
- Boneless, skinless chicken breasts (1½ pounds, about 2 large breasts): You can use chicken thighs if you prefer darker meat. They stay even juicier, but breasts work beautifully here too.
- Broccoli crowns (3 cups, cut into small florets): Fresh broccoli is best. Frozen broccoli will release too much water and get mushy.
- Olive oil (2 tablespoons): Divided between the chicken and broccoli. Avocado oil also works.
- Salt and black pepper: To taste. Go easy since the soy sauce adds plenty of salt.
- Sesame seeds (for garnish): Optional, but they add a nice visual touch and a little extra crunch.
For Serving
- Cooked white rice (4 cups): Jasmine or short-grain rice works best. Brown rice is a great whole-grain alternative.
- Green onions (2, sliced): For freshness and color on top.
I recommend using a good-quality soy sauce for this recipe. The flavor really comes through. For the honey, local raw honey adds a lovely floral note, but any honey works fine. If you are avoiding sugar, you can use a sugar-free sweetener, but the texture will be slightly different.
Equipment Needed
You do not need much fancy gear for this recipe, which is part of why I love it.
- Large baking sheet: For roasting the broccoli. A rimmed sheet works best to catch any juices.
- Large skillet or wok: A 12-inch skillet is perfect for searing the chicken. A non-stick surface makes cleanup easier.
- Small saucepan: For making the teriyaki sauce. You can also make the sauce in the skillet after the chicken is done.
- Sharp knife and cutting board: For cubing the chicken and chopping the broccoli. A good chef’s knife makes this step much faster.
- Measuring cups and spoons: Accuracy matters for the sauce, especially the cornstarch slurry.
- Mixing bowls: One for the sauce and one for tossing the broccoli with oil.
- Whisk: For mixing the sauce ingredients together smoothly.
- Meat thermometer: Not strictly necessary, but it takes the guesswork out of cooking the chicken perfectly. I love my Thermapen for this.
- Meal prep containers: You will need 4 airtight containers for storing the bowls. Glass containers are best for reheating.
If you do not have a meat thermometer, you can cut into the thickest piece of chicken to check for doneness. The juices should run clear, and there should be no pink in the center.
Preparation Method
Let me walk you through this step by step. I have made this recipe dozens of times, and these are the exact steps I follow for perfect results every time.
Step 1: Make the Teriyaki Sauce (5 minutes)
In a small saucepan, combine the soy sauce, honey, rice vinegar, sesame oil, minced garlic, and grated ginger. Whisk everything together until the honey dissolves. Place the saucepan over medium heat and bring the mixture to a gentle simmer. Let it cook for about 2 minutes, stirring occasionally.
In a small bowl, whisk together the cornstarch and cold water until smooth. Slowly pour the slurry into the simmering sauce while whisking constantly. The sauce will thicken almost immediately. Continue whisking for about 30 seconds, then remove the pan from the heat. The sauce should coat the back of a spoon. Set it aside to cool slightly.
Step 2: Prepare the Broccoli (5 minutes)
Preheat your oven to 425°F (220°C). While the oven is heating, wash and cut your broccoli into small florets. Try to make them roughly the same size so they cook evenly. Toss the florets with 1 tablespoon of olive oil, a pinch of salt, and a few grinds of black pepper. Spread them out in a single layer on a large baking sheet.
Roast the broccoli for 15-18 minutes, flipping halfway through. You want the edges to be browned and crispy, but the stems should still have a little bite. Overcooked broccoli is the enemy of good meal prep. When it comes out of the oven, it will continue to cook slightly from the residual heat, so do not overdo it.
Step 3: Prep the Chicken (5 minutes)
While the broccoli roasts, pat the chicken breasts dry with paper towels. This step is important—dry chicken sears better and browns more evenly. Cut the chicken into bite-sized cubes, about 1-inch pieces. Season them lightly with salt and pepper.
Step 4: Sear the Chicken (8-10 minutes)
Heat the remaining 1 tablespoon of olive oil in a large skillet over medium-high heat. When the oil shimmers, add the chicken pieces in a single layer. Do not overcrowd the pan. If your skillet is too small, work in two batches. Let the chicken cook undisturbed for 3-4 minutes until the bottom is golden brown. Flip the pieces and cook for another 3-4 minutes on the other side.
The chicken should be cooked through and reach an internal temperature of 165°F (74°C). If you are not using a thermometer, cut into the largest piece to check—no pink should remain.
Step 5: Combine Everything (3 minutes)
Reduce the heat to low. Pour the teriyaki sauce over the cooked chicken in the skillet. Toss to coat every piece evenly. Let it simmer together for about 1 minute so the sauce clings to the chicken. The sauce should look glossy and thick.
Add the roasted broccoli to the skillet and gently toss everything together. Be careful not to break up the broccoli florets. The residual heat will warm the broccoli through without making it soggy.
Step 6: Assemble the Bowls (5 minutes)
Divide the cooked rice evenly among 4 meal prep containers. Spoon the chicken and broccoli mixture over the rice. Drizzle any remaining sauce from the skillet over the top. Garnish with sesame seeds and sliced green onions.
Let the bowls cool completely before sealing the containers. This prevents condensation from making the rice soggy. I usually leave the lids slightly cracked for about 20 minutes.
Cooking Tips & Techniques
I have made every mistake possible with this recipe, so you do not have to. Here are the lessons I learned the hard way.
Do not skip drying the chicken. This is the number one mistake people make. Wet chicken steams instead of searing, and you end up with pale, rubbery meat. Pat those breasts dry with paper towels before cubing. It makes a world of difference.
Use a hot pan for the chicken. Medium-high heat is your friend here. If the pan is not hot enough, the chicken will release its juices and start boiling instead of browning. You want that golden crust. Trust me, the texture is so much better.
Make extra sauce. I always double the sauce recipe. I use half for cooking and keep the rest in a jar in the fridge. It is amazing drizzled over vegetables, rice bowls, or even as a dipping sauce for potstickers. It keeps for about a week.
Roast broccoli at high heat. Low and slow makes for sad, limp broccoli. High heat gives you those crispy, caramelized edges that taste almost like they are fried. Do not be afraid of a little char—it adds flavor.
Let the sauce thicken properly. The cornstarch slurry needs to come to a simmer to activate. If you pull it off the heat too early, the sauce will be thin and watery. Watch for that glossy, thick consistency before you add the chicken.
Timing is everything. Start the broccoli in the oven first. While it roasts, make the sauce and prep the chicken. By the time the broccoli is done, the chicken should be seared and ready to combine. This whole process takes about 30 minutes of active time.
Variations & Adaptations
This recipe is incredibly flexible. Here are some variations I have tried and loved.
Make it gluten-free: Swap the soy sauce for tamari or coconut aminos. Both work beautifully. Just note that coconut aminos are slightly sweeter, so you might want to reduce the honey a touch.
Add more vegetables: I have added bell peppers, snap peas, and shredded carrots to these bowls with great success. Just toss them on the baking sheet with the broccoli during the last 5 minutes of roasting. They add color and nutrients.
Use chicken thighs: If you prefer dark meat, boneless skinless chicken thighs are a fantastic substitute. They are more forgiving and stay juicy even if you accidentally overcook them a little. Cut them into the same 1-inch pieces.
Make it spicy: Add 1 teaspoon of sriracha or red pepper flakes to the teriyaki sauce. The heat cuts through the sweetness beautifully. I love this version when I need an extra kick on a Monday morning.
Try a different grain: Brown rice, quinoa, or even cauliflower rice all work well. Quinoa adds extra protein and fiber. Cauliflower rice keeps things low-carb. Just adjust your cooking method accordingly.
Meal prep for the freezer: These bowls freeze surprisingly well. Assemble them without the green onions and freeze for up to 3 months. Thaw overnight in the fridge and reheat in the microwave or a skillet.
Serving & Storage Suggestions
These bowls are designed to be served cold or reheated, depending on your preference. I actually love them cold straight from the fridge on hot days.
Serving temperature: Reheat individual bowls in the microwave for 2-3 minutes, stirring halfway through. For the stovetop, transfer the contents to a skillet and warm over medium heat with a splash of water or extra sauce to rehydrate the rice.
What to serve alongside: A simple cucumber salad with rice vinegar and sesame seeds is a refreshing side. Edamame or a light miso soup also complement the flavors beautifully. If you are feeling fancy, serve with gyoza or spring rolls.
Storage instructions: Store the bowls in airtight containers in the refrigerator for up to 4 days. I do not recommend keeping them longer than that, as the broccoli will start to lose its texture. Keep the green onions separate if you are storing for more than 2 days—they can get slimy.
Reheating tips: If you are reheating in the microwave, place a damp paper towel over the container to add moisture back into the rice. This prevents it from drying out. For the best texture, reheat the chicken and broccoli separately from the rice.
How flavors develop: Honestly, these bowls taste even better on day two. The flavors meld together overnight, and the sauce soaks into the rice in the most satisfying way. Day three is still great. Day four is still good, but the broccoli starts to soften.
Nutritional Information & Benefits
These bowls are not just convenient—they are genuinely good for you. Here is the estimated nutritional breakdown per serving (based on 4 servings).
| Nutrient | Amount Per Serving |
|---|---|
| Calories | 485 |
| Protein | 38g |
| Carbohydrates | 52g |
| Fiber | 4g |
| Sugar | 18g |
| Fat | 12g |
| Saturated Fat | 2g |
| Sodium | 890mg |
Health benefits: Chicken breast is a lean protein source that supports muscle repair and keeps you full. Broccoli is packed with vitamin C, fiber, and antioxidants. Ginger and garlic are known for their anti-inflammatory properties. This is a balanced meal that provides sustained energy without the crash.
Dietary considerations: This recipe is dairy-free and nut-free. It can easily be made gluten-free with tamari. It is not low-carb due to the rice and honey, but you can reduce the carbs by using cauliflower rice and cutting the honey in half.
Potential allergens: Soy (from the soy sauce) and sesame (from the oil and seeds). If you have a sesame allergy, simply omit the sesame oil and seeds. Use avocado oil instead.
Conclusion
I was a meal prep skeptic for years. I thought it was a compromise—a trade-off between convenience and flavor. But this Easy Meal Prep Teriyaki Chicken and Broccoli Bowls recipe proved me wrong. It is proof that you can have a delicious, satisfying lunch that is ready in minutes without sacrificing taste or texture.
This recipe is worth trying because it actually works. The chicken stays juicy. The broccoli stays crisp. The sauce is perfectly balanced. And you can make it all in under an hour on a Sunday afternoon. Your future self will thank you on Wednesday when lunch is ready and waiting.
I encourage you to make this recipe your own. Add extra vegetables, adjust the spice level, or swap the protein. The base is solid, and it welcomes creativity. I would love to hear how it turns out for you. Drop a comment below and let me know if you tried any variations. Did you add pineapple? Use chicken thighs? Make it extra spicy? Share your wins—and your happy lunch breaks.
Go ahead and give it a try. I promise, this is the meal prep recipe that will finally stick.
Frequently Asked Questions
Can I use frozen broccoli for this recipe?
I do not recommend it. Frozen broccoli releases a lot of water as it cooks, which makes the broccoli mushy and waters down the sauce. Fresh broccoli roasts beautifully and stays crisp. If you only have frozen, thaw it completely and pat it very dry before roasting. It will work, but the texture will not be the same.
How long do these bowls last in the fridge?
These bowls stay good for up to 4 days in an airtight container. I find day two and three are the sweet spot. By day four, the broccoli starts to soften, but the flavor is still great. Do not keep them longer than 4 days for food safety reasons.
Can I use a different protein instead of chicken?
Absolutely. This teriyaki sauce works beautifully with tofu, shrimp, or beef. For tofu, press it well, cube it, and pan-fry until golden before adding the sauce. Shrimp only needs 2-3 minutes per side. Beef sirloin or flank steak works great—just slice it thin against the grain.
Can I make the sauce ahead of time?
Yes, and I actually recommend it. The teriyaki sauce keeps in an airtight jar in the refrigerator for up to a week. It thickens as it cools, so just give it a good stir or warm it slightly before using. Making the sauce ahead saves you time on meal prep day.
Is this recipe kid-friendly?
Yes, most kids love these bowls. The sweet-savory flavor of the teriyaki sauce is usually a hit. If your kids are sensitive to spice, leave out the optional sriracha or red pepper flakes. You can also cut the chicken into smaller pieces for little ones. My friend’s kids call these “yummy chicken bowls” and ask for them regularly.
Pin This Recipe!
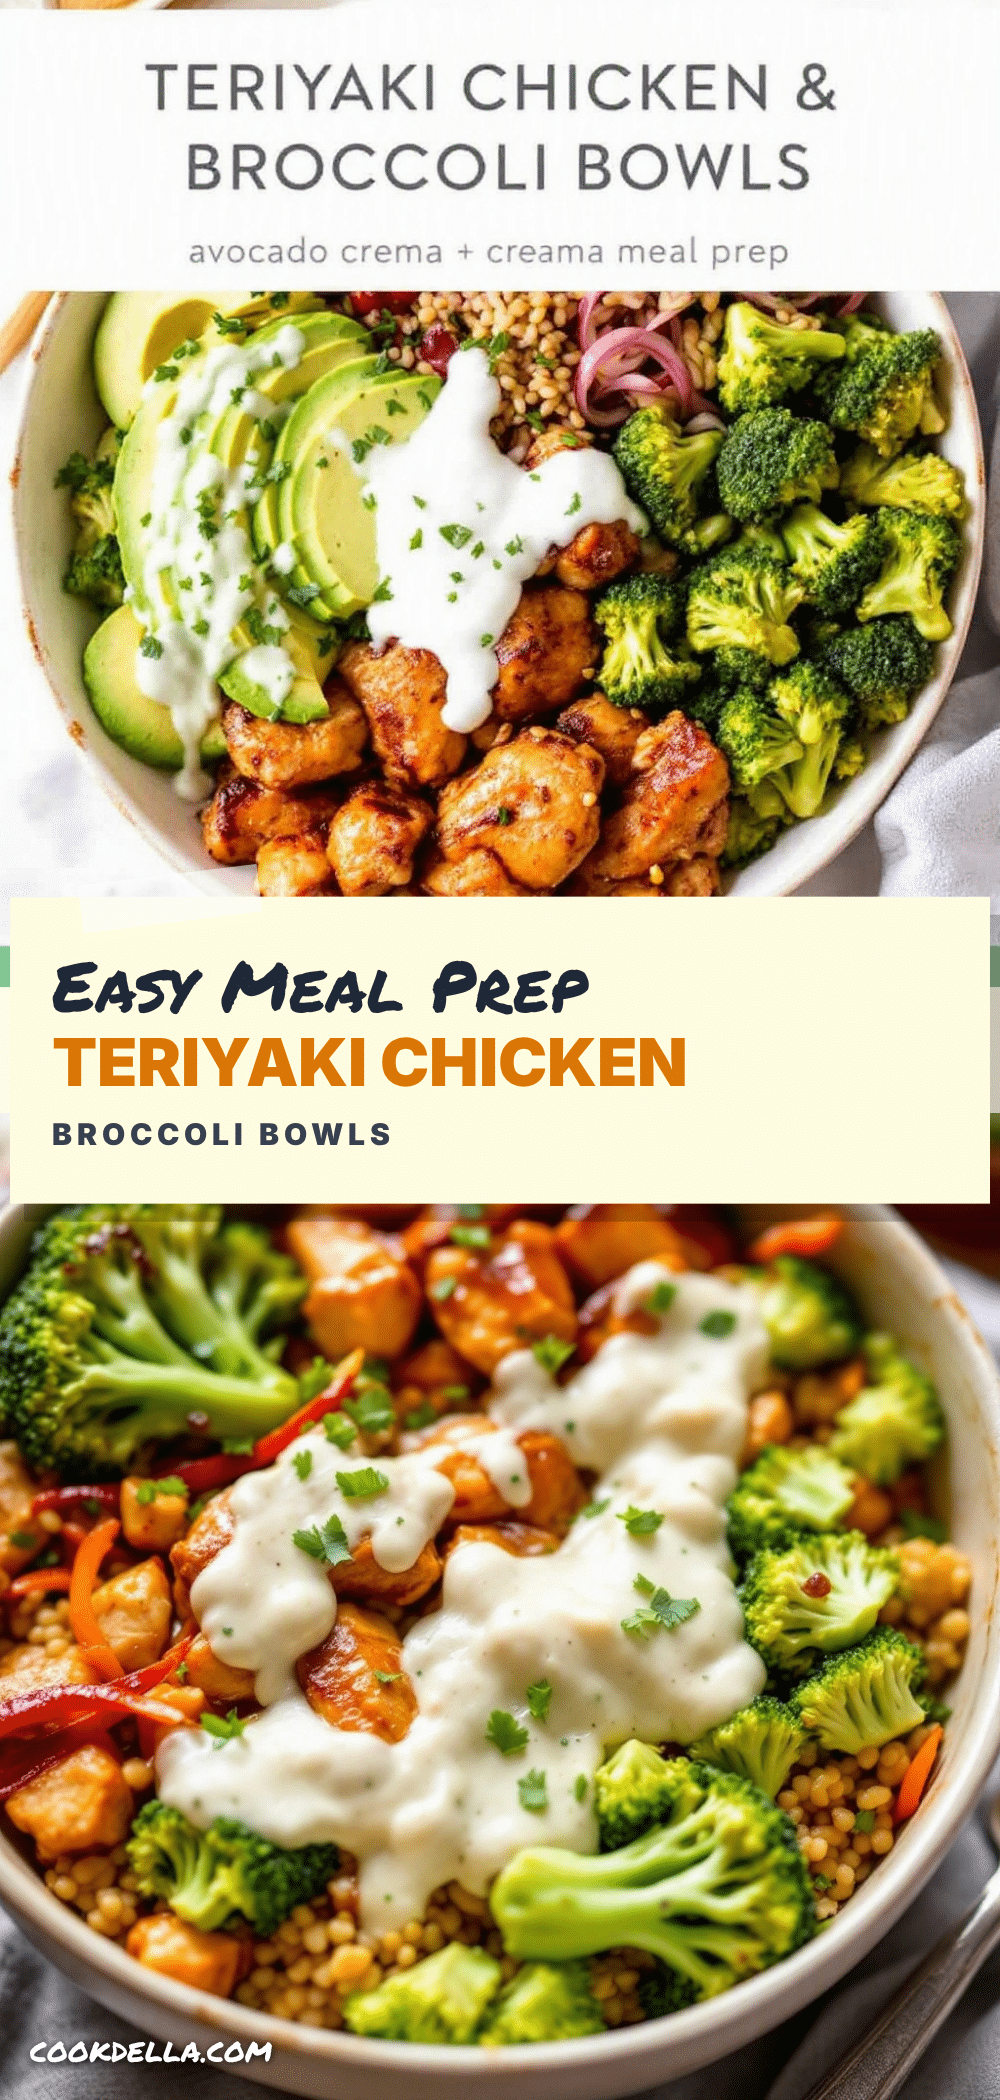
Easy Meal Prep Teriyaki Chicken and Broccoli Bowls

Juicy teriyaki chicken and crisp roasted broccoli over rice, perfect for meal prep. This recipe stays delicious all week long.
- Prep Time: 15 minutes
- Cook Time: 30 minutes
- Total Time: 45 minutes
- Yield: 4 servings 1x
- Category: Main Course
- Cuisine: Asian
Ingredients
- ½ cup low sodium soy sauce
- ¼ cup honey
- 2 tablespoons rice vinegar
- 1 tablespoon sesame oil
- 3 cloves garlic, minced
- 1 tablespoon freshly grated ginger
- 1 tablespoon cornstarch
- 2 tablespoons cold water
- 1½ pounds boneless, skinless chicken breasts (about 2 large)
- 3 cups broccoli crowns, cut into small florets
- 2 tablespoons olive oil, divided
- Salt and black pepper to taste
- Sesame seeds for garnish
- 4 cups cooked white rice (jasmine or short-grain)
- 2 green onions, sliced
Instructions
- Make the teriyaki sauce: In a small saucepan, combine soy sauce, honey, rice vinegar, sesame oil, minced garlic, and grated ginger. Whisk and bring to a gentle simmer over medium heat. Cook for 2 minutes. In a small bowl, whisk cornstarch with cold water until smooth. Slowly pour slurry into simmering sauce while whisking constantly. Cook for 30 seconds until thickened. Remove from heat and set aside.
- Prepare the broccoli: Preheat oven to 425°F (220°C). Toss broccoli florets with 1 tablespoon olive oil, salt, and pepper. Spread in a single layer on a baking sheet. Roast for 15-18 minutes, flipping halfway, until edges are browned and crispy.
- Prep the chicken: Pat chicken breasts dry with paper towels. Cut into 1-inch cubes. Season lightly with salt and pepper.
- Sear the chicken: Heat remaining 1 tablespoon olive oil in a large skillet over medium-high heat. Add chicken in a single layer (work in batches if needed). Cook undisturbed for 3-4 minutes until golden brown. Flip and cook another 3-4 minutes until internal temperature reaches 165°F (74°C).
- Combine everything: Reduce heat to low. Pour teriyaki sauce over chicken and toss to coat. Simmer for 1 minute. Add roasted broccoli and gently toss to combine.
- Assemble the bowls: Divide cooked rice among 4 meal prep containers. Top with chicken and broccoli mixture. Drizzle with remaining sauce. Garnish with sesame seeds and sliced green onions. Let cool completely before sealing containers.
Notes
Pat chicken dry for better searing. Use a hot pan for browning. Double the sauce for extra. Roast broccoli at high heat for crispy edges. Let sauce thicken properly. Bowls taste even better on day two. Store in airtight containers for up to 4 days. Reheat with a damp paper towel to keep rice moist.
Nutrition
- Serving Size: 1 bowl
- Calories: 485
- Sugar: 18
- Sodium: 890
- Fat: 12
- Saturated Fat: 2
- Carbohydrates: 52
- Fiber: 4
- Protein: 38
Keywords: meal prep, teriyaki chicken, broccoli bowls, easy lunch, healthy meal prep


