I figured meal prep meant eating bland chicken and sad rice all week. It took about three Tuesday lunches of dry, microwaved disappointment for that to fall apart completely. I was staring at another container of something that had clearly been better the day before, wondering why I even bothered. That’s when I got stubborn about it. There had to be a way to make a batch of food that actually tasted good on day four, not just day one.
This easy teriyaki chicken and rice meal prep bowls recipe came from that stubbornness. I wanted the sticky, sweet-savory glaze you get from a takeout container, but I needed it to hold up after being in the fridge for a few days. The trick, I found, was in the sauce-to-rice ratio and how you handle the chicken before it ever hits the pan. Honestly, the first time I packed these bowls, I was skeptical. By Wednesday, I was texting my sister about it. By Friday, I had already planned to make another batch for the following week. It just works.
There’s something deeply satisfying about opening your lunch bag and seeing those perfectly arranged compartments—shiny chicken, fluffy rice, bright green broccoli. It feels like you have your life together, even if the rest of the day is chaos. This recipe became my Sunday evening ritual, a little act of kindness for my future self. And once you taste it, you’ll understand why it stuck.
Why You’ll Love This Recipe
Let me tell you, I have made a lot of meal prep recipes over the years. Some were good, some were edible, and some ended up in the office trash can (we don’t talk about those). This teriyaki chicken and rice bowl is the one I keep coming back to. It checks all the boxes without any of the fuss.
- Quick & Easy: From start to finish, you’re looking at about 30 minutes of active work. The oven does most of the heavy lifting, which means you can clean up while dinner preps itself.
- Simple Ingredients: You probably have soy sauce, honey, and garlic in your kitchen right now. No need to hunt down obscure Asian ingredients at a specialty store. This is pantry-friendly cooking at its best.
- Perfect for Busy Weeks: Whether you’re packing lunches for work, school, or just want dinner ready in a flash, these bowls are your answer. They reheat beautifully and taste just as good on Friday as they did on Monday.
- Crowd-Pleaser: My picky-eating nephew devoured these. My health-conscious friend asked for the recipe. Even my dad, who claims he doesn’t like “fancy food,” went back for seconds.
- Unbelievably Delicious: The secret is in the glaze. It caramelizes on the chicken as it bakes, creating a sticky, flavorful coating that soaks into the rice just enough. It’s comfort food that makes you feel good about eating it.
What makes this different from every other teriyaki recipe out there? It’s the balance. The sauce isn’t too sweet, not too salty, and it clings to the chicken without making everything soggy. Plus, the broccoli roasts right alongside the chicken, so you get that perfect char without dirtying another pan. It’s my best version of a weeknight hero.
What Ingredients You Will Need
This recipe uses simple, wholesome ingredients to deliver bold flavor and satisfying texture without the fuss. Most of these are pantry staples, which makes this a great last-minute meal prep option.
- For the Chicken:
- 2 lbs boneless, skinless chicken thighs (about 6-8 thighs) – Thighs stay juicier than breasts during reheating. I prefer them for meal prep.
- 1/2 cup low-sodium soy sauce (or tamari for gluten-free) – Low-sodium is key here so you can control the saltiness.
- 1/4 cup honey – Adds sweetness and helps the glaze caramelize beautifully.
- 1/4 cup rice vinegar – Provides a gentle tang that balances the sweetness.
- 3 cloves garlic, minced – Fresh garlic makes a noticeable difference over jarred.
- 1 tablespoon fresh ginger, grated – Don’t skip this; it’s the heart of the teriyaki flavor.
- 1 tablespoon sesame oil – Adds a nutty aroma that makes this taste authentic.
- 1 tablespoon cornstarch mixed with 2 tablespoons water (slurry) – This thickens the sauce perfectly.
- 1 tablespoon sesame seeds (for garnish) – Optional, but they add a nice crunch.
- 2 green onions, sliced (for garnish) – A pop of color and freshness at the end.
- For the Bowls:
- 3 cups cooked jasmine rice (or brown rice) – Jasmine rice has a slightly floral aroma that pairs beautifully with the teriyaki sauce. For a healthier option, use brown rice.
- 4 cups broccoli florets – About 2 heads of broccoli. They roast up crispy and delicious.
- 1 tablespoon olive oil – For roasting the broccoli.
- Salt and pepper to taste
Ingredient Selection Tips: I recommend using Kikkoman low-sodium soy sauce for consistent results. For the honey, local honey adds a lovely floral note, but any honey works. If you can find it, fresh ginger from the produce section has so much more zing than the jarred stuff. And for the broccoli, look for firm, bright green florets without any yellowing.
Substitution Guidance: You can use boneless, skinless chicken breasts if you prefer white meat, just reduce the baking time by 5 minutes. For a gluten-free version, swap the soy sauce with tamari or coconut aminos. If you don’t have rice vinegar, apple cider vinegar works in a pinch. And if you’re out of sesame oil, just use olive oil and add a pinch of toasted sesame seeds at the end for that nutty flavor.
Equipment Needed
You don’t need a fancy kitchen to make these bowls. Here’s what you’ll need:
- 9×13 inch baking dish (or a large rimmed baking sheet)
- Mixing bowl (for the sauce)
- Small saucepan (for simmering the sauce)
- Sharp knife and cutting board
- Measuring cups and spoons
- Whisk
- 4-6 meal prep containers (glass or BPA-free plastic)
Alternative Suggestions: If you don’t have a 9×13 dish, you can use a large cast iron skillet or even a sheet pan. For the sauce, a microwave-safe bowl works if you’re in a hurry, but I find the saucepan gives you better control over the thickening process. And honestly, I’ve used old takeout containers for meal prep in a pinch—they work fine, just make sure they’re microwave-safe.
Personal Experience: I used to skip the saucepan and just pour the sauce over the chicken directly in the baking dish. It worked okay, but the sauce was always a bit thin. Taking the extra 5 minutes to simmer and thicken it on the stove makes a huge difference. Trust me on this one.
Preparation Method
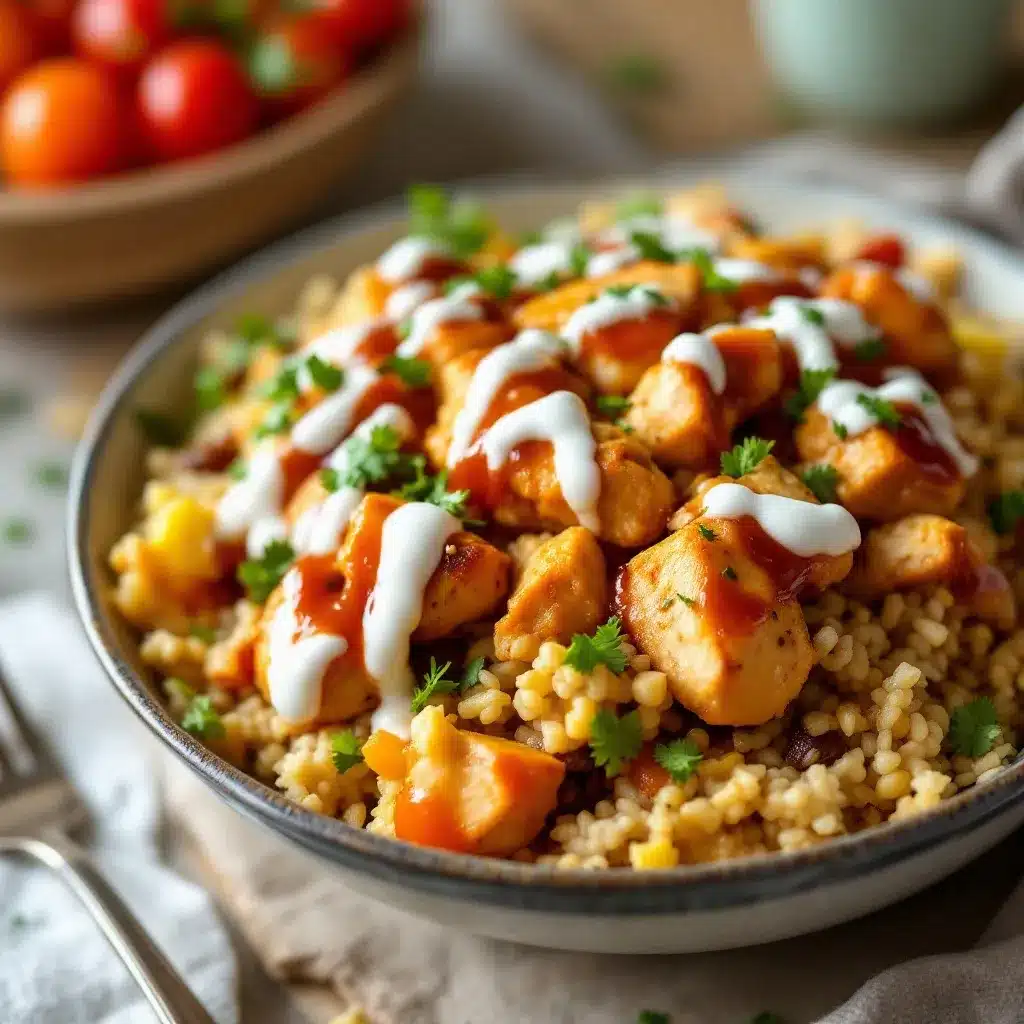
Let’s get cooking. This comes together faster than you think.
- Preheat and Prep: Preheat your oven to 400°F (200°C). While it’s heating, pat the chicken thighs dry with paper towels. This helps the sauce stick better. Place them in your 9×13 baking dish in a single layer.
- Make the Sauce: In a small saucepan, whisk together the soy sauce, honey, rice vinegar, minced garlic, grated ginger, and sesame oil. Bring it to a gentle simmer over medium heat, stirring occasionally. Let it bubble for about 3-4 minutes until it slightly reduces.
- Thicken the Glaze: In a small bowl, mix the cornstarch with 2 tablespoons of cold water until smooth. Slowly pour this slurry into the simmering sauce while whisking constantly. You’ll see it thicken almost immediately—like magic! Let it cook for another minute, then remove from heat. The sauce should coat the back of a spoon.
- Coat the Chicken: Pour about 2/3 of the sauce over the chicken thighs in the baking dish. Use a brush or spoon to make sure each piece is well-coated. Reserve the remaining sauce for later.
- Roast the Chicken: Place the baking dish in the preheated oven and bake for 20 minutes. The chicken should be cooked through (internal temperature of 165°F or 74°C) and the edges should look caramelized and sticky.
- Roast the Broccoli: While the chicken bakes, toss the broccoli florets with olive oil, salt, and pepper on a separate baking sheet. Spread them in a single layer. About 10 minutes before the chicken is done, pop the broccoli in the oven on the rack below. Roast for 15-18 minutes, flipping halfway, until the edges are crispy and slightly charred.
- Glaze Again: When the chicken is done, remove it from the oven. Brush the reserved sauce over the hot chicken for an extra layer of sticky goodness. Let it rest for 5 minutes before slicing. This keeps the juices locked in.
- Slice and Assemble: Slice the chicken thighs into bite-sized strips or chunks. Now it’s time to build your bowls. Divide the cooked rice evenly among your meal prep containers. Top with sliced chicken and roasted broccoli. Drizzle any remaining sauce from the baking dish over everything.
Sensory Cues: The sauce should smell sweet and savory with a hint of ginger. When it thickens, it should look glossy and coat the whisk like honey. The chicken should look caramelized and slightly sticky when it comes out of the oven. The broccoli should have crispy, browned edges and a tender center.
Cooking Tips & Techniques
I’ve learned a few things the hard way so you don’t have to. Here are my best tips for perfect teriyaki bowls every time.
- Don’t Overcook the Chicken: Chicken thighs are forgiving, but they can still dry out. Use an instant-read thermometer if you have one. 165°F is the magic number. If you don’t have a thermometer, cut into the thickest piece—the juices should run clear, and there should be no pink inside.
- Toast Your Sesame Seeds: This is a small step that makes a big difference. In a dry pan over medium heat, toast the sesame seeds for 1-2 minutes until they’re fragrant and golden. They add a nutty crunch that elevates the whole bowl.
- Make Extra Sauce: I always double the sauce recipe. You can never have too much, and it keeps in the fridge for up to a week. Drizzle it over the bowls right before eating for an extra flavor punch.
- Rice Tip: For the best texture, cook your rice a day ahead and let it cool in the fridge. Day-old rice holds up better in meal prep and doesn’t get mushy when reheated. If you’re making it fresh, spread it on a baking sheet to cool quickly before assembling the bowls.
- Common Mistake to Avoid: Don’t pour all the sauce over the chicken at the beginning. I did this once, and the sauce burned on the edges of the pan while the chicken was still cooking. Reserve some for the final glaze—it makes a huge difference.
Variations & Adaptations
This recipe is incredibly versatile. Here are a few ways to switch it up based on your cravings or dietary needs.
- Spicy Teriyaki: Add 1-2 teaspoons of sriracha or red pepper flakes to the sauce for a kick. I love this version when I’m craving something with heat. The sweetness of the honey balances the spice perfectly.
- Vegetarian Version: Swap the chicken for firm tofu or tempeh. Press the tofu for 30 minutes to remove excess water, then cube it and toss it in the sauce. Bake at 400°F for 20-25 minutes, flipping halfway. It gets beautifully crispy on the edges.
- Low-Carb Option: Replace the rice with cauliflower rice or use zucchini noodles. Roast the cauliflower rice in the oven for 15 minutes before assembling the bowls to remove excess moisture. It’s a lighter option that still feels satisfying.
- Different Veggies: Broccoli is great, but you can use snap peas, bell peppers, carrots, or even green beans. Just cut them into similar-sized pieces and adjust roasting time as needed. I’ve made a version with roasted sweet potatoes and it was incredible.
- Personal Variation: My favorite twist is adding a squeeze of fresh lime juice over the finished bowls. It brightens everything up and adds a little acidity that cuts through the richness of the sauce. Try it—you won’t regret it.
Serving & Storage Suggestions
These bowls are designed for meal prep, so storage is key. Here’s how to keep them tasting fresh all week.
Serving: These bowls are best served warm. Reheat in the microwave for 2-3 minutes, stirring halfway through. If you have time, reheat in a skillet over medium heat with a splash of water to revive the sauce. The broccoli will crisp back up, and the chicken will stay juicy. For a cold lunch, serve the bowls chilled with a side of edamame or a simple cucumber salad.
Storage: Let the bowls cool completely before sealing the containers. Store them in the refrigerator for up to 4 days. I like to keep the sauce separate if I’m making extra, and drizzle it over the bowls right before reheating. This prevents the rice from getting too soggy.
Freezing: You can freeze these bowls for up to 3 months. Use freezer-safe containers and leave a little room for expansion. Thaw overnight in the fridge before reheating. The broccoli might lose some of its crispness after freezing, so consider adding fresh broccoli when you reheat.
Flavor Development: Here’s a secret—these bowls actually taste better on day two. The flavors meld together, and the sauce soaks into the rice just enough. It’s like the dish gets a second life in the fridge. Don’t be surprised if you find yourself looking forward to lunch more than usual.
Nutritional Information & Benefits
These bowls are balanced and satisfying. Here’s a rough estimate per serving (based on 4 servings):
- Calories: ~520 kcal
- Protein: 35g
- Carbohydrates: 55g
- Fat: 15g
- Fiber: 5g
- Sugar: 18g
Health Benefits: Chicken thighs are a great source of lean protein and B vitamins, which support energy metabolism. Broccoli is packed with vitamin C, fiber, and antioxidants. Ginger and garlic have anti-inflammatory properties. And the honey provides a natural energy boost without the crash of refined sugar.
Dietary Considerations: This recipe can be made gluten-free by using tamari instead of soy sauce. It’s dairy-free as written. For a lower-sodium version, use reduced-sodium soy sauce and skip the extra salt. The sesame seeds add healthy fats and calcium.
Conclusion
This easy teriyaki chicken and rice meal prep bowls recipe has become a staple in my kitchen for a reason. It’s simple, delicious, and makes the entire week feel more manageable. Whether you’re a meal prep pro or just starting out, this recipe is forgiving enough for beginners and satisfying enough for seasoned cooks. The sticky-sweet glaze, the tender chicken, the crispy broccoli—it all comes together in a way that feels like a treat, not a chore.
I encourage you to make this your own. Swap in your favorite veggies, adjust the spice level, or double the sauce because, honestly, you’ll want extra. Share your creations with me in the comments below—I’d love to hear how it turned out for you. And if you have a favorite variation, drop it in the comments! Let’s make meal prep something we actually look forward to. Happy cooking, friends!
Frequently Asked Questions
Can I use chicken breasts instead of thighs?
Absolutely! Chicken breasts work great, but they cook faster and can dry out more easily. Reduce the baking time to 18-20 minutes and check for an internal temperature of 165°F. I recommend brining the breasts for 30 minutes in salt water for extra moisture.
How do I prevent the rice from getting mushy in meal prep?
The key is to cool the rice completely before assembling the bowls. Spread it on a baking sheet and let it sit for 15-20 minutes. Also, don’t mix the sauce directly into the rice—keep it on the chicken and veggies. This keeps the rice fluffy and separate.
Can I make this recipe in a slow cooker?
Yes! Place the chicken and sauce (without the cornstarch slurry) in a slow cooker. Cook on low for 4-5 hours. In the last 30 minutes, remove the chicken, shred it, and stir in the cornstarch slurry to thicken the sauce. Return the chicken to the pot and serve over rice.
How long does this meal prep last in the fridge?
These bowls stay fresh for up to 4 days when stored in airtight containers in the refrigerator. I recommend eating them within 3 days for the best texture, especially the broccoli. The flavors actually get better on day two!
Can I freeze these teriyaki chicken bowls?
Absolutely! Assemble the bowls without the broccoli (it gets mushy when frozen). Freeze for up to 3 months. To reheat, thaw overnight in the fridge, then microwave for 3-4 minutes. Add fresh or frozen broccoli when reheating for the best texture.
Pin This Recipe!
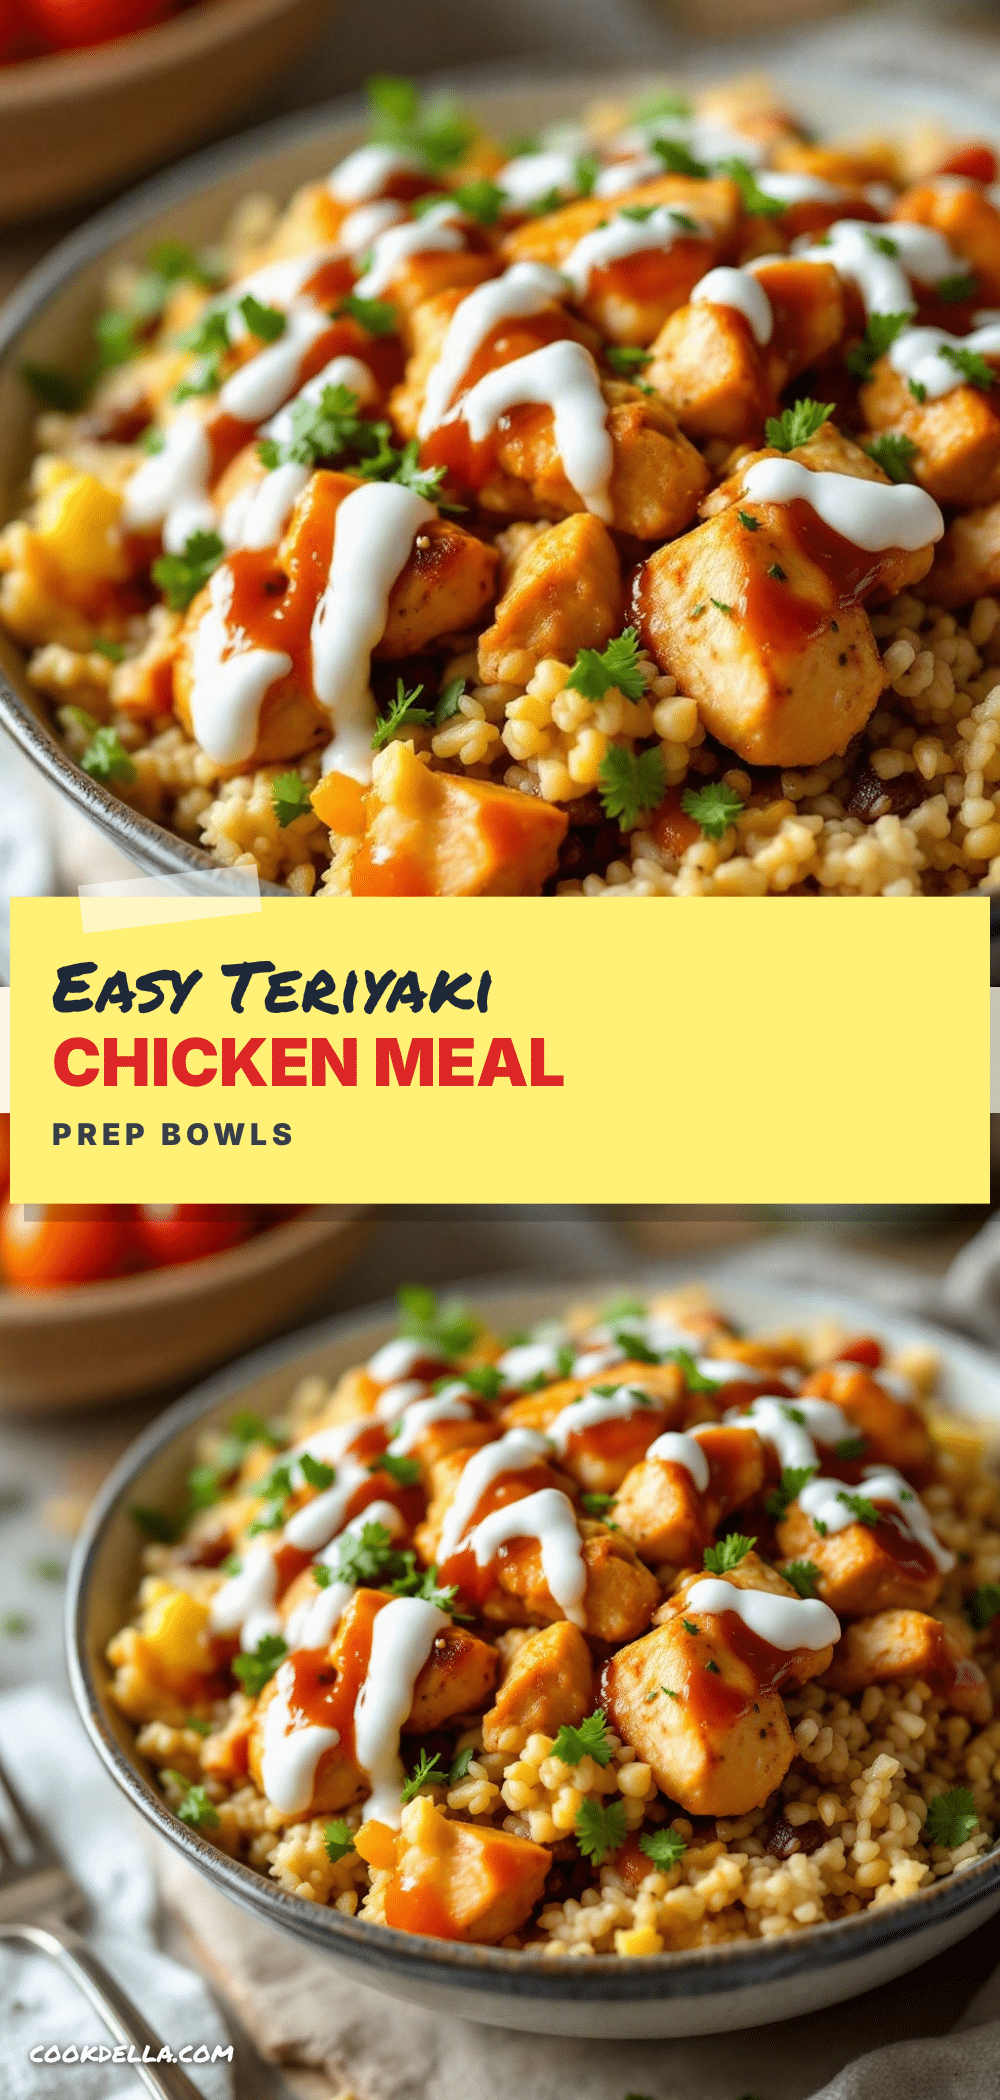
Easy Teriyaki Chicken and Rice Meal Prep Bowls

These easy teriyaki chicken and rice meal prep bowls are the perfect solution for busy weeks. With a sticky, sweet-savory glaze, tender chicken, and crispy broccoli, they reheat beautifully and taste just as good on day four as they did on day one.
- Prep Time: 15 minutes
- Cook Time: 30 minutes
- Total Time: 45 minutes
- Yield: 4 servings 1x
- Category: Main Course
- Cuisine: Japanese
Ingredients
- 2 lbs boneless, skinless chicken thighs (about 6–8 thighs)
- 1/2 cup low-sodium soy sauce (or tamari for gluten-free)
- 1/4 cup honey
- 1/4 cup rice vinegar
- 3 cloves garlic, minced
- 1 tablespoon fresh ginger, grated
- 1 tablespoon sesame oil
- 1 tablespoon cornstarch mixed with 2 tablespoons water (slurry)
- 1 tablespoon sesame seeds (for garnish)
- 2 green onions, sliced (for garnish)
- 3 cups cooked jasmine rice (or brown rice)
- 4 cups broccoli florets (about 2 heads of broccoli)
- 1 tablespoon olive oil
- Salt and pepper to taste
Instructions
- Preheat your oven to 400°F (200°C). Pat the chicken thighs dry with paper towels and place them in a 9×13 baking dish in a single layer.
- In a small saucepan, whisk together the soy sauce, honey, rice vinegar, minced garlic, grated ginger, and sesame oil. Bring to a gentle simmer over medium heat, stirring occasionally. Let it bubble for about 3-4 minutes until it slightly reduces.
- In a small bowl, mix the cornstarch with 2 tablespoons of cold water until smooth. Slowly pour this slurry into the simmering sauce while whisking constantly. Cook for another minute, then remove from heat. The sauce should coat the back of a spoon.
- Pour about 2/3 of the sauce over the chicken thighs in the baking dish. Use a brush or spoon to make sure each piece is well-coated. Reserve the remaining sauce for later.
- Place the baking dish in the preheated oven and bake for 20 minutes. The chicken should be cooked through (internal temperature of 165°F or 74°C) and the edges should look caramelized and sticky.
- While the chicken bakes, toss the broccoli florets with olive oil, salt, and pepper on a separate baking sheet. Spread them in a single layer. About 10 minutes before the chicken is done, pop the broccoli in the oven on the rack below. Roast for 15-18 minutes, flipping halfway, until the edges are crispy and slightly charred.
- When the chicken is done, remove it from the oven. Brush the reserved sauce over the hot chicken for an extra layer of sticky goodness. Let it rest for 5 minutes before slicing.
- Slice the chicken thighs into bite-sized strips or chunks. Divide the cooked rice evenly among your meal prep containers. Top with sliced chicken and roasted broccoli. Drizzle any remaining sauce from the baking dish over everything.
Notes
For the best texture, cook your rice a day ahead and let it cool in the fridge. Day-old rice holds up better in meal prep and doesn’t get mushy when reheated. If you’re making it fresh, spread it on a baking sheet to cool quickly before assembling the bowls. Don’t pour all the sauce over the chicken at the beginning; reserve some for the final glaze to prevent burning. These bowls actually taste better on day two as the flavors meld together.
Nutrition
- Serving Size: 1 bowl
- Calories: 520
- Sugar: 18
- Sodium: 800
- Fat: 15
- Saturated Fat: 3
- Carbohydrates: 55
- Fiber: 5
- Protein: 35
Keywords: teriyaki chicken, meal prep, chicken and rice, easy dinner, healthy meal prep, teriyaki bowls


