My roommate asked me for my mac and cheese recipe three times in one week without being prompted, which is how I knew I’d accidentally stumbled onto something good. Not that I was trying to impress anyone—I was just hungry, broke, and too tired to deal with a real stove. The first time I made it, I was honestly just hoping the cheese powder wouldn’t clump up like it usually does. But then she took one bite, stopped mid-sentence, and asked me to show her how I made it. That’s when I realized this wasn’t just a lazy dinner—it was a genuine college survival skill.
Let’s be real for a second. Between classes, part-time jobs, and that one friend who always wants to borrow your notes, cooking a full meal can feel impossible. You’re not looking for a project; you’re looking for something warm, cheesy, and ready in under ten minutes. This easy microwave mac and cheese hits that sweet spot where convenience meets actual flavor. No boil-over mess, no complicated steps, and no waiting forever for water to boil.
What surprised me most was how creamy it turned out. I’d always assumed microwave mac and cheese would be either grainy or rubbery—you know, that sad texture you get when things go wrong. But this version? It’s genuinely smooth, with that perfect velvety sauce that coats every single noodle. The trick is in how you layer the ingredients and the timing, which I figured out after a few trial-and-error batches that ended up in the trash. Trust me, I’ve made the mistakes so you don’t have to.
This recipe became my go-to for late-night study sessions, lazy Sundays, and those days when I just needed something comforting without any drama. It’s the kind of meal that feels like a hug in a bowl, even if you’re eating it out of a plastic mug at your desk.
Why You’ll Love This Recipe
I’ve tested this recipe more times than I care to admit, tweaking the ratios and timing until it came out perfect every single time. Here’s why it works so well for college life:
- Ready in 5 Minutes: From start to finish, you’re looking at about five minutes total. That’s faster than ordering delivery and way cheaper too.
- Minimal Ingredients: You probably already have everything in your dorm or apartment. No fancy cheeses or special trips to the store required.
- No Stove Needed: Perfect for dorms, small apartments, or anywhere without a proper kitchen. All you need is a microwave.
- Budget-Friendly: This costs less than a dollar per serving, which is huge when you’re watching your spending.
- Customizable: Once you’ve got the base down, you can add whatever you have on hand—hot sauce, bacon bits, broccoli, you name it.
What makes this different from the boxed stuff? It’s the texture, honestly. Most microwave mac and cheese recipes turn out watery or gluey, but this one stays creamy because of how you add the liquid and cheese. I learned this the hard way after making a few batches that looked more like soup than mac and cheese. The secret is in the layering and resting time, which I’ll walk you through step by step.
This isn’t just another recipe—it’s the one that got my roommate to stop eating instant ramen for dinner. She now makes it for herself when I’m not around, which is the highest compliment I can think of. It’s comfort food that actually works for real life, not just for food blog photos.
What Ingredients You Will Need
This recipe uses simple, everyday ingredients that come together to create something genuinely creamy and satisfying. No weird specialty items or expensive cheeses here.
For the Mac and Cheese Base
- 1/2 cup elbow macaroni (or any small pasta shape—shells, rotini, or ditalini all work great)
- 1/2 cup water (for cooking the pasta in the microwave)
- 1/4 cup milk (whole milk gives the creamiest result, but 2% works fine too. I’ve used oat milk in a pinch and it was surprisingly good)
- 1/3 cup shredded cheddar cheese (sharp cheddar adds the most flavor. I prefer Tillamook or Cabot for consistent melting)
- 1 tablespoon butter (salted or unsalted—just adjust your salt later)
- 1/4 teaspoon salt (plus more to taste)
- 1/8 teaspoon black pepper (freshly ground if you have it)
- 1/8 teaspoon garlic powder (optional, but highly recommended for extra flavor)
Optional Add-Ins
- 1/4 cup frozen peas (adds color and a little nutrition—just toss them in during the last minute)
- 2 tablespoons cooked bacon bits (real bacon or the shelf-stable kind—both work)
- Hot sauce to taste (I like Cholula or Sriracha for a kick)
- 1/4 teaspoon mustard powder (brings out the cheesiness without tasting like mustard)
A few notes on ingredient choices. The type of pasta matters more than you’d think—smaller shapes cook more evenly in the microwave because they have a consistent thickness. I’ve tried using penne and it worked, but the ends got a little too soft while the centers were still hard. Stick with elbow macaroni or something similar for best results.
For the cheese, pre-shredded cheese works in a pinch, but it doesn’t melt as smoothly because of the anti-caking coating. If you can, grab a block of cheddar and shred it yourself—it takes an extra 30 seconds but makes a noticeable difference in creaminess. I keep a block in my mini fridge and shred what I need each time.
The milk is another important factor. Water alone makes the sauce thin and sad, while milk gives it that rich, velvety texture. If you’re dairy-free, unsweetened oat milk or cashew milk work surprisingly well. Just avoid almond milk—it tends to separate when heated.
Equipment Needed
You don’t need much for this recipe, which is kind of the whole point. Here’s what you’ll want to have on hand:
- Microwave-safe bowl (at least 2-cup capacity—I use a large ceramic cereal bowl. Glass or microwave-safe plastic also works. Just make sure it’s deep enough to prevent boil-overs)
- Measuring cups and spoons (a 1/2 cup measure and a set of measuring spoons will do the job)
- Fork or spoon (for stirring—nothing fancy)
- Microwave (obviously—any standard microwave works, though wattage affects cooking time)
- Grater (if you’re shredding your own cheese, which I recommend)
If you don’t have measuring cups, you can eyeball it—the pasta should fill about half the bowl, and the water should cover it by about an inch. I’ve definitely made this in a coffee mug before when all my dishes were dirty, and it worked fine. Just be careful with metal mugs—those don’t go in the microwave.
One tip I learned the hard way: use a bowl that’s bigger than you think you need. Pasta expands when it cooks, and if your bowl is too small, you’ll end up with starchy water all over the microwave turntable. Trust me, cleaning that up at 2 AM is not fun.
Preparation Method
Here’s the step-by-step process for making the creamiest microwave mac and cheese you’ve ever had. I’ve included timing cues and visual checks so you know exactly what to look for.
- Combine pasta and water: Add the 1/2 cup elbow macaroni and 1/2 cup water to your microwave-safe bowl. The water should just cover the pasta—if it doesn’t, add a tablespoon more. Don’t add the milk yet; we’ll do that later.
- Microwave for 2 minutes: Cook on high power for 2 minutes. The water should be bubbling and the pasta starting to soften. Give it a stir with your fork to prevent sticking.
- Microwave for another 1-2 minutes: Cook for an additional 1 to 2 minutes, depending on your microwave wattage. The pasta should be tender but still have a slight bite—it’ll continue cooking as it rests. If you’re unsure, test a piece by biting into it. It should be soft on the outside with just a tiny bit of resistance in the center.
- Drain any excess water: Carefully pour off any remaining water from the bowl. Be careful—the bowl will be hot. I use a pot holder or a folded paper towel to hold it. You don’t need to drain it completely dry, just get rid of the standing water.
- Add butter and milk: While the pasta is still hot, add the 1 tablespoon butter and 1/4 cup milk. Stir until the butter is completely melted and the pasta is coated. The heat from the pasta will help everything come together.
- Add the cheese: Sprinkle the 1/3 cup shredded cheddar over the pasta. Stir gently but continuously until the cheese is fully melted and the sauce is smooth. This usually takes about 30 seconds of stirring. If the sauce seems too thick, add a splash more milk.
- Season and stir: Add the 1/4 teaspoon salt, 1/8 teaspoon black pepper, and 1/8 teaspoon garlic powder (if using). Stir everything together until well combined. Taste and adjust seasoning as needed—I often add a little more pepper.
- Let it rest for 1 minute: This is the most important step. Let the mac and cheese sit for about a minute before eating. During this time, the sauce thickens and the flavors meld together. It also cools down to a safe eating temperature—trust me, microwaved pasta can be deceptively hot.
- Stir one last time and enjoy: Give it a final stir, then dig in straight from the bowl. No need to dirty another dish.
If you’re adding optional ingredients like frozen peas or bacon bits, stir them in right after you add the cheese. The residual heat will warm them through without overcooking them. For hot sauce, add it at the very end so the flavor stays bright.
Cooking Tips & Techniques
I’ve made this recipe more times than I can count, and I’ve definitely made my share of mistakes along the way. Here are the things I wish someone had told me from the start.
Watch your microwave wattage: Microwaves vary a lot in power. A 700-watt microwave will need the full 4 minutes of cooking time, while a 1200-watt one might only need 3 minutes total. Start with less time and add more if needed—you can always cook it more, but you can’t uncook mushy pasta. My first attempt used a high-powered microwave and I ended up with pasta that disintegrated into mush.
Stir halfway through: This prevents the pasta from clumping together and ensures even cooking. I set a timer on my phone for 2 minutes so I remember to stir. It’s a small step that makes a big difference.
Don’t skip the resting time: I know it’s tempting to eat it immediately, but that one-minute rest is crucial. The sauce thickens as it cools slightly, and the pasta finishes cooking to the perfect texture. Plus, you won’t burn your mouth—which I’ve done more times than I’d like to admit.
Use room temperature milk: If you have time, let your milk sit out for a few minutes before adding it. Cold milk can shock the hot pasta and make the sauce less smooth. In a pinch, you can microwave the milk for 10 seconds before adding it.
Grate your own cheese: Pre-shredded cheese has anti-caking agents that prevent it from melting smoothly. I keep a small block of cheddar in my fridge and grate it as needed. It takes 30 seconds and makes a noticeable difference in creaminess.
Add cheese gradually: Instead of dumping all the cheese in at once, add it in two or three batches, stirring between each addition. This helps it melt more evenly and prevents clumping.
Variations & Adaptations
Once you’ve mastered the basic recipe, there are so many ways to change it up based on what you have on hand or what you’re craving. Here are some of my favorite variations.
Spicy Buffalo Version: Add 1 tablespoon of hot sauce and 1 tablespoon of crumbled blue cheese along with the cheddar. The tangy, spicy flavor is incredible, especially if you’re a buffalo wings fan. I make this version when I’m craving something with a kick.
Broccoli and Cheddar: Add 1/4 cup of frozen broccoli florets during the last minute of cooking. The broccoli steams perfectly in the microwave and adds some veggies to your meal. It’s a great way to make this feel a little more balanced.
Loaded Baked Potato Style: Stir in 2 tablespoons of sour cream, a sprinkle of chives (fresh or dried), and some crumbled bacon bits. It tastes like a loaded baked potato but in mac and cheese form. This is my go-to when I want something extra indulgent.
Mexican Street Corn Version: Swap the cheddar for Monterey Jack cheese, and stir in some corn kernels (canned or frozen), a squeeze of lime juice, and a sprinkle of chili powder. It’s tangy, creamy, and has a nice little kick.
Gluten-Free Option: Use gluten-free pasta—rice pasta or chickpea pasta both work well. Just note that gluten-free pasta can cook faster, so start checking it at the 2-minute mark. I’ve had good luck with Banza chickpea pasta, which also adds some protein.
Vegan Version: Use plant-based butter, unsweetened oat milk, and vegan cheddar shreds. The texture won’t be exactly the same, but it’s still creamy and satisfying. I’ve made this for a vegan friend and she asked for the recipe afterward.
Serving & Storage Suggestions
This mac and cheese is best enjoyed fresh, right out of the bowl, while it’s still warm and creamy. The texture really is at its peak within the first few minutes after cooking.
Serving ideas: Serve it as a main dish with a simple side salad or some steamed veggies. It also works great as a side dish alongside grilled chicken or fish. For a complete college-friendly meal, pair it with some easy slow cooker honey garlic chicken and vegetables—you can prep the chicken in the morning and have it ready by dinner time.
Toppings to try: A sprinkle of paprika, some fresh cracked pepper, a drizzle of truffle oil (if you’re feeling fancy), or some crushed red pepper flakes for heat. I sometimes add a handful of crushed potato chips on top for crunch.
Storage: If you have leftovers, store them in an airtight container in the refrigerator for up to 3 days. The pasta will absorb some of the sauce as it sits, so it won’t be as creamy when reheated.
Reheating: To reheat, add a splash of milk (about 1 tablespoon) to the mac and cheese and microwave for 30-60 seconds, stirring halfway through. The milk helps restore some of the creaminess. You can also reheat it in a small saucepan on the stove with a little extra milk.
Freezing: I don’t recommend freezing this recipe—the texture changes too much when thawed. The sauce can separate and the pasta becomes mushy. It’s really best made fresh.
One thing I’ve noticed is that the flavors actually develop a bit overnight. The garlic powder and pepper meld with the cheese, making it taste even better the next day. It’s not as creamy, but the flavor is deeper.
Nutritional Information & Benefits
Here’s the estimated nutritional breakdown for one serving of this mac and cheese (without optional add-ins). Keep in mind these are approximations based on standard ingredients.
| Nutrient | Amount |
|---|---|
| Calories | 380 |
| Total Fat | 18g |
| Saturated Fat | 11g |
| Cholesterol | 55mg |
| Sodium | 620mg |
| Total Carbohydrates | 38g |
| Dietary Fiber | 2g |
| Sugars | 4g |
| Protein | 16g |
| Calcium | 250mg |
The cheese provides a good amount of calcium and protein, which is helpful for busy college days when you might not be eating as well as you should. The pasta offers carbohydrates for energy, and if you add peas or broccoli, you’ll get some fiber and vitamins too.
If you’re watching your sodium, you can use low-sodium cheese and skip the added salt. For a lower-fat version, use reduced-fat cheddar and 2% milk. The texture won’t be quite as creamy, but it’s still pretty good.
This recipe is vegetarian as written, and with the substitutions listed above, it can be made gluten-free or vegan. It does contain dairy and gluten in its standard form, so keep that in mind if you have allergies.
Conclusion
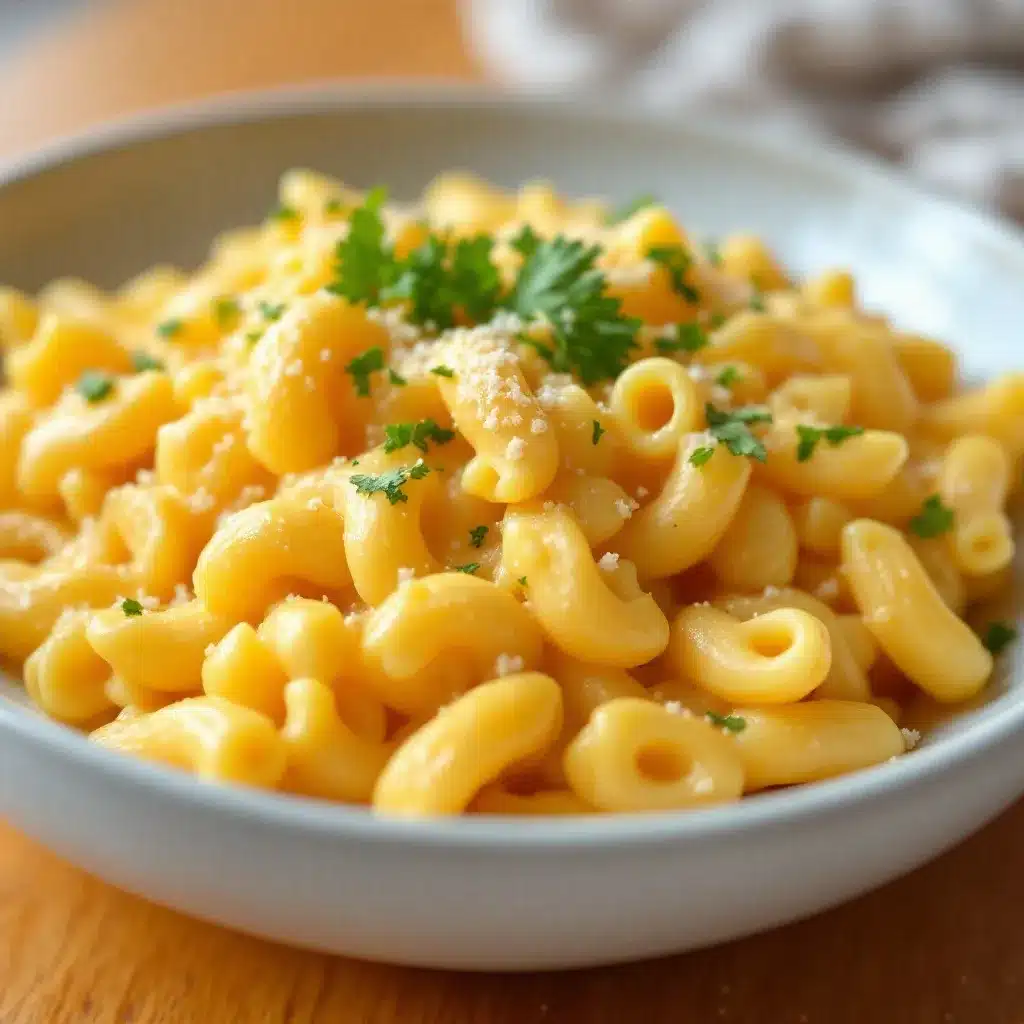
This easy microwave mac and cheese has honestly become a staple in my college kitchen, and I’m not embarrassed to admit that. It’s the recipe I turn to when I’m tired, stressed, or just need something comforting without any fuss. The fact that it takes five minutes and uses ingredients I always have on hand makes it a no-brainer for busy days.
What I love most about this recipe is how adaptable it is. You can keep it simple or dress it up depending on your mood and what’s in your fridge. It’s forgiving enough for beginners but satisfying enough for anyone who appreciates good mac and cheese. And honestly, there’s something really satisfying about making something creamy and delicious with just a microwave—it feels like a small victory every time.
I’d love to hear how this turns out for you. Try adding your own twist—maybe some smoked paprika, a handful of spinach, or a different cheese blend. Leave a comment below and let me know what variations you came up with. And if you’re looking for more easy meals, check out these easy Mediterranean chickpea and feta stuffed mini peppers for a fun, impressive snack that doesn’t take much more effort.
Happy cooking, and may your mac and cheese always be perfectly creamy!
Frequently Asked Questions
Can I use a different type of pasta?
Absolutely. Small pasta shapes work best—shells, rotini, ditalini, or even broken spaghetti pieces all work well. Just avoid very large pasta like lasagna sheets or jumbo shells, as they won’t cook evenly in the microwave.
Why did my mac and cheese turn out watery?
This usually happens when you don’t drain enough of the cooking water before adding the milk and cheese. Make sure to pour off as much standing water as possible. Also, using whole milk instead of skim helps create a thicker sauce.
Can I make this without a microwave?
Yes! You can cook the pasta on the stovetop according to package directions, then drain and follow the same steps for adding butter, milk, and cheese. It takes a few more minutes but works just as well.
How do I make it extra cheesy?
Add an extra 2 tablespoons of cheese, or mix in a different cheese like mozzarella or gouda along with the cheddar. A sprinkle of Parmesan on top also adds a nice salty, cheesy punch.
Is this recipe safe for dorm microwaves?
Yes, as long as you use a microwave-safe bowl and avoid any metal utensils or containers. Most dorm microwaves are between 700-1000 watts, so you may need to adjust the cooking time slightly. Start with less time and add more as needed.
Pin This Recipe!
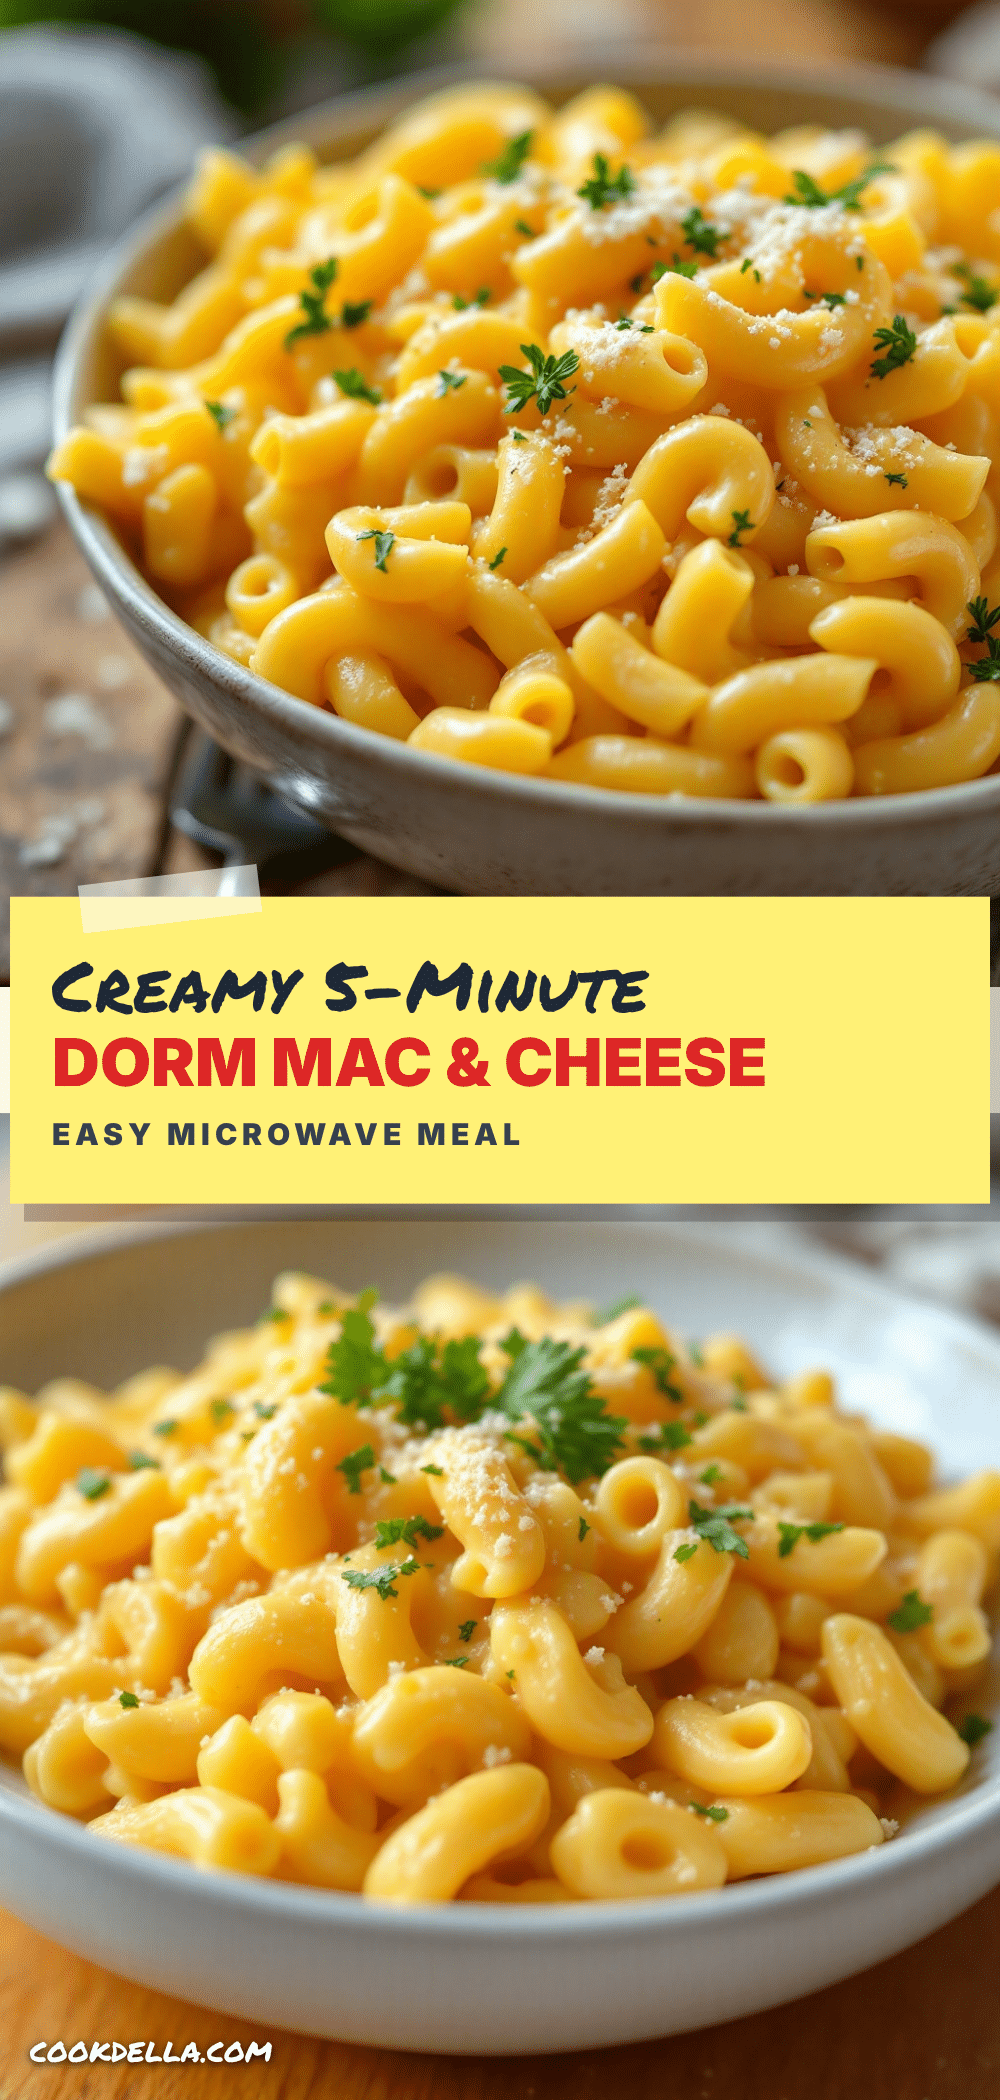
Easy Microwave Mac and Cheese: Best Quick College Dinner

This creamy microwave mac and cheese is ready in 5 minutes with minimal ingredients and no stove needed. Perfect for college dorms, late-night study sessions, or any time you need a comforting, budget-friendly meal.
- Prep Time: 2 minutes
- Cook Time: 3 minutes
- Total Time: 5 minutes
- Yield: 1 serving 1x
- Category: Main Course
- Cuisine: American
Ingredients
- 1/2 cup elbow macaroni
- 1/2 cup water
- 1/4 cup milk (whole milk preferred, 2% or oat milk work)
- 1/3 cup shredded cheddar cheese (sharp cheddar recommended)
- 1 tablespoon butter (salted or unsalted)
- 1/4 teaspoon salt
- 1/8 teaspoon black pepper
- 1/8 teaspoon garlic powder (optional)
- 1/4 cup frozen peas (optional)
- 2 tablespoons cooked bacon bits (optional)
- Hot sauce to taste (optional)
- 1/4 teaspoon mustard powder (optional)
Instructions
- Combine pasta and water: Add the 1/2 cup elbow macaroni and 1/2 cup water to a microwave-safe bowl. The water should just cover the pasta; add a tablespoon more if needed.
- Microwave for 2 minutes on high power. Stir to prevent sticking.
- Microwave for another 1-2 minutes until pasta is tender but still has a slight bite. Test a piece if unsure.
- Drain any excess water carefully (bowl will be hot).
- Add butter and milk: While pasta is hot, add 1 tablespoon butter and 1/4 cup milk. Stir until butter melts and pasta is coated.
- Add cheese: Sprinkle 1/3 cup shredded cheddar over pasta. Stir continuously until cheese is fully melted and sauce is smooth (about 30 seconds). Add a splash more milk if too thick.
- Season: Add 1/4 teaspoon salt, 1/8 teaspoon black pepper, and 1/8 teaspoon garlic powder (if using). Stir to combine. Taste and adjust seasoning.
- Let rest for 1 minute: This allows sauce to thicken and flavors to meld.
- Stir one last time and enjoy directly from the bowl.
Notes
For best results, use whole milk and shred cheese from a block. Avoid pre-shredded cheese as it doesn’t melt as smoothly. Adjust cooking time based on microwave wattage (700W may need full 4 minutes, 1200W may need only 3 minutes). Let the mac and cheese rest for 1 minute before eating to allow sauce to thicken and prevent burns.
Nutrition
- Serving Size: 1 serving
- Calories: 380
- Sugar: 4
- Sodium: 620
- Fat: 18
- Saturated Fat: 11
- Carbohydrates: 38
- Fiber: 2
- Protein: 16
Keywords: microwave mac and cheese, easy mac and cheese, college dinner, quick mac and cheese, dorm food, 5 minute mac and cheese, budget-friendly mac and cheese


