July fourth was two days away, and I was staring at a grocery bag full of blueberries and raspberries that were threatening to turn soft. The humidity was doing that thing where it makes everything feel sticky and slow, and the last thing I wanted was to turn on the oven. I wanted something that looked like a celebration but felt like a relief. Something cold, something creamy, something that didn’t require me to sweat over a hot stove. That’s when the idea for this red white & blue berry trifle just clicked into place. It was pure instinct, really—a no-bake solution to a very real summer problem.
I grabbed a jar of vanilla pudding from the pantry, a carton of heavy cream from the fridge, and started layering. No recipe, no plan, just a quiet hope that it would work. And you know what? It was the best kind of accident. The berries stayed bright, the cream was cloud-like, and the whole thing looked like a flag waving on a plate. This isn’t a fussy dessert. It’s the one you make when you want to show up to the party with something stunning, but you also want to enjoy the party yourself. Honestly, that’s my favorite kind of recipe.
Why You’ll Love This Recipe
This red white & blue berry trifle isn’t just another pretty dessert. It’s the kind of recipe that makes you look like a hero with almost zero effort. I’ve tested this with store-bought pound cake and homemade, with instant pudding and from-scratch custard, and every single time, it delivers. Here’s why it works so well:
- Ready in 20 Minutes: No baking, no complicated steps. Just assemble and go. Perfect for when you’re running late to the barbecue or just want to spend less time in the kitchen.
- Simple Ingredients: You probably already have most of this in your fridge and pantry. No fancy extracts or hard-to-find items here.
- Perfect for Patriotic Holidays: Obviously, this is a star for the Fourth of July, but honestly, it works for Memorial Day, Labor Day, or any summer get-together where you want a pop of color.
- Crowd-Pleaser: I’ve watched kids go back for thirds and adults sneak spoonfuls from the bowl when they thought no one was looking. It’s that good.
- Unbelievably Delicious: The texture is what gets you. Soft cake, creamy pudding, fresh berries, and that billowy whipped cream on top. It’s comfort food that feels light and refreshing.
What sets this apart from other trifle recipes is the layering technique. I don’t just dump everything in. I take a moment to press the cake cubes gently into the pudding so they soak up just enough moisture without turning to mush. It’s a small detail, but it makes all the difference. This isn’t just another version of a berry trifle—it’s the one I keep coming back to, and I think you will too.
What Ingredients You Will Need
This recipe uses simple, wholesome ingredients that come together to create something truly special. You don’t need a long shopping list, just a few good-quality items that do the heavy lifting for you.
- 1 pound cake (store-bought or homemade): Cut into 1-inch cubes. I prefer a dense, buttery pound cake for this. It holds up better than angel food cake, which can get too soggy. If you’re feeling ambitious, try my easy one-bowl chocolate chip pumpkin bread as a fall twist—though for this, stick with vanilla or plain.
- 2 cups fresh strawberries, hulled and sliced: Look for berries that are deep red and fragrant. If strawberries aren’t in season, you can use frozen, but thaw and drain them well first. Otherwise, they’ll water down your pudding.
- 1 ½ cups fresh blueberries: Tiny, firm blueberries are best. They hold their shape and don’t release too much juice. I’ve tried this with frozen blueberries, and honestly, they turn the cream a weird gray color. Fresh is non-negotiable here.
- 1 ½ cups fresh raspberries: Handle them gently. They’re delicate and can break apart easily. If you can’t find good raspberries, you can use blackberries instead, but the color contrast won’t be as sharp.
- 2 cups cold whole milk: Whole milk gives the pudding a richer texture. You can use 2% in a pinch, but don’t go lower. The fat is what makes it creamy.
- 1 (3.4 oz) box instant vanilla pudding mix: I use Jell-O brand, but any brand works. The instant kind is key here—cook-and-serve takes too long and doesn’t set up as nicely.
- 2 cups heavy whipping cream: Make sure it’s very cold. Warm cream won’t whip properly. I’ve made the mistake of leaving it on the counter and ended up with butter. Not fun.
- ¼ cup powdered sugar: This sweetens the whipped cream without making it grainy. Granulated sugar doesn’t dissolve as well in cold cream.
- 1 teaspoon vanilla extract: Pure vanilla extract is best. Imitation works, but the flavor is noticeably flat.
Equipment Needed
You don’t need a lot of fancy gadgets for this one. Here’s what you’ll need:
- A large trifle dish or glass bowl: A clear dish is best so you can see those beautiful layers. I use a 4-quart trifle dish I picked up at a discount store for under $15. A large glass mixing bowl works too.
- Electric hand mixer or stand mixer: You can whip cream by hand, but your arm will hate you. A mixer makes it quick and easy. I’ve used a $20 hand mixer for years and it works perfectly.
- Medium mixing bowl: For the pudding. Any bowl will do.
- Large mixing bowl: For the whipped cream. Make sure it’s clean and dry—any grease will prevent the cream from whipping.
- Sharp knife and cutting board: For slicing strawberries and cubing the pound cake. A serrated knife works best for the cake.
- Rubber spatula: For folding the whipped cream into the pudding and for scraping every last bit of goodness into the dish. Don’t waste a drop.
- Measuring cups and spoons: For accuracy. I know some people eyeball it, but for the pudding-to-milk ratio, you really need to be precise.
Preparation Method
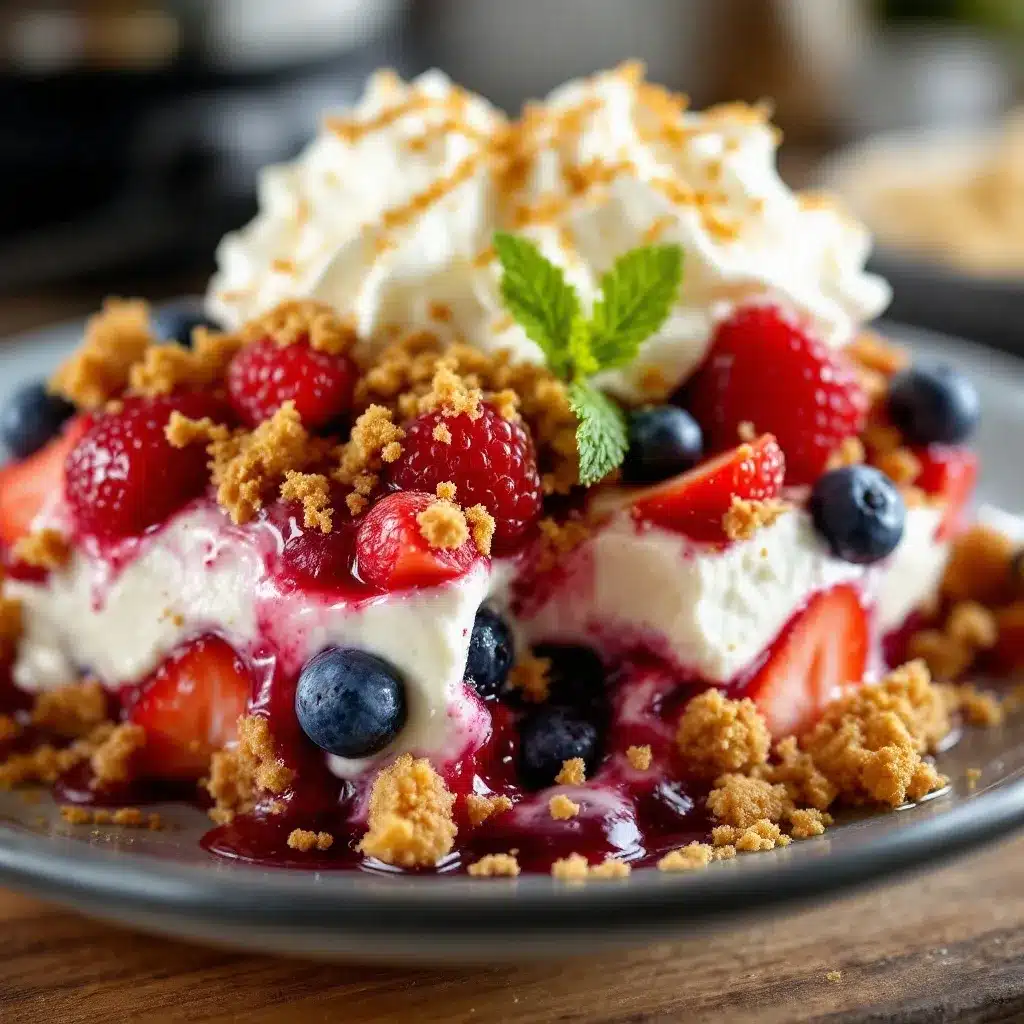
Let’s get to the fun part. This red white & blue berry trifle comes together in layers, and each one is a little moment of satisfaction. Take your time, but not too much—this is a 20-minute recipe, after all.
- Make the pudding: In a medium bowl, whisk together the instant vanilla pudding mix and 2 cups of cold whole milk. Whisk for about 2 minutes until it starts to thicken. It will look thin at first, then suddenly it’ll get all glossy and thick. Set it aside to set up while you work on the cream. Don’t rush this step—if the pudding isn’t set, your layers will get muddy.
- Whip the cream: In a large bowl, pour in the cold heavy whipping cream, powdered sugar, and vanilla extract. Using an electric hand mixer, beat on medium-high speed until soft peaks form. You’re looking for peaks that hold their shape but still look soft and billowy, not stiff and buttery. This usually takes about 3-4 minutes. Stop as soon as you see those soft peaks—over-whipping turns it into butter, and nobody wants that.
- Fold them together: Take about a third of the whipped cream and fold it into the set pudding. This lightens the pudding so it’s easier to layer. Then gently fold the remaining whipped cream into the pudding mixture. Be gentle here—you want it to stay airy and fluffy. I use a rubber spatula and make slow, sweeping motions from the bottom up. It should look like a soft, creamy cloud.
- Prep the berries: Wash and dry all your berries. Hull and slice the strawberries into even pieces, about ¼-inch thick. Leave a few small ones whole for the top decoration. Pat the berries dry with a paper towel—excess moisture will make the cake soggy.
- Cut the cake: Slice the pound cake into 1-inch cubes. Don’t make them too small or they’ll disappear into the layers. You want distinct pieces that you can see through the glass.
- Start layering: Place a single layer of pound cake cubes at the bottom of your trifle dish. Press them down gently so they form an even base. Don’t cram them in—you want some space for the cream to seep in.
- Add the cream layer: Spoon about a third of the cream mixture over the cake cubes. Use the back of your spoon to spread it evenly to the edges of the dish. This is where you can see the magic starting to happen.
- Add the berries: Scatter a layer of strawberries, blueberries, and raspberries over the cream. Try to distribute them evenly so every bite has a mix of flavors. I like to press a few berries gently into the cream so they stay put.
- Repeat the layers: Add another layer of cake cubes, followed by another third of the cream mixture, and another layer of berries. Repeat one more time until you’ve used all the ingredients. You should end with a final layer of cream on top.
- Decorate the top: Arrange the remaining berries on top in a pattern. I like to do stripes of red, white, and blue—strawberries on one side, blueberries in the middle, and raspberries on the other. Or you can just scatter them artfully. There’s no wrong way to do this.
- Chill (if you can wait): Cover the dish with plastic wrap and refrigerate for at least 2 hours before serving. This allows the flavors to meld and the cake to soften slightly. If you’re in a hurry, you can serve it immediately, but it’s even better the next day.
Cooking Tips & Techniques
I’ve made this red white & blue berry trifle more times than I can count, and I’ve learned a few things along the way. Some of these came from happy accidents, others from straight-up failures. Here’s what I wish someone had told me:
Don’t skip the chilling step. I know, I know—you’re hungry and it looks amazing. But if you serve it right away, the cake cubes are still dry and the cream hasn’t had time to soften them. Give it at least two hours. Overnight is even better. The cake soaks up all that vanilla cream and becomes almost like a custard. It’s a total game-changer.
Use a serrated knife for the cake. A regular chef’s knife tends to squish the pound cake. A serrated knife gives you clean cuts without crushing the delicate crumb. I learned this after ruining half a cake trying to cut it with a dull knife. Live and learn.
Layer with intention. Don’t just dump everything in. Take a moment to arrange the berries so they’re visible from the outside of the glass dish. That’s the whole point of a trifle—the visual wow factor. I press a few berries against the glass as I go so they show through.
Watch your cream temperature. If your cream isn’t cold enough, it won’t whip. If it’s too cold, it can turn grainy. Take it out of the fridge right before you’re ready to whip it. And make sure your bowl and beaters are clean and dry—any trace of grease will ruin the whip.
Make extra whipped cream. Trust me on this. Everyone wants extra on top when they’re serving themselves. I always make a little more than I think I need and keep it in the fridge for people to add at the table.
Variations & Adaptations
This recipe is incredibly forgiving. I’ve played around with it plenty, and here are some of my favorite twists:
Gluten-Free Version: Swap the pound cake for a gluten-free pound cake or even gluten-free vanilla cake cubes. Most store-bought gluten-free cakes work well here. Just make sure they’re sturdy enough to hold up to the cream.
Dairy-Free Version: Use a dairy-free vanilla pudding mix (check the label—many are accidentally vegan) and full-fat coconut cream instead of heavy cream. Chill the coconut cream overnight first, then whip it the same way you would regular cream. It’s not quite as fluffy, but it’s still delicious.
Summer Berry Medley: If you can’t find good strawberries, use blackberries or even sliced peaches. The red, white, and blue theme works best with the original, but a mixed berry trifle is just as beautiful. I’ve made this with cherries and nectarines in July, and it was incredible.
Lemon Twist: Add a tablespoon of lemon zest to the cream mixture for a bright, citrusy kick. It cuts through the sweetness and makes everything feel fresher. I tried this on a whim and now I do it almost every time.
Individual Servings: Make these in small mason jars or clear plastic cups for a party. They’re portable, mess-free, and everyone gets their own personal trifle. Perfect for a football game day charcuterie cup setup, but with dessert instead.
Boozy Option: Brush the cake cubes with a little Grand Marnier or limoncello before layering. It adds a grown-up touch that’s perfect for an adult gathering. Just go easy—you don’t want soggy cake.
Serving & Storage Suggestions
This red white & blue berry trifle is best served cold, straight from the fridge. The contrast between the cool cream, the soft cake, and the juicy berries is what makes it so satisfying. I like to bring it to the table on a clear glass dish so everyone can see the layers before I dig in.
For presentation, I add a few fresh mint leaves on top right before serving. It adds a pop of green that makes the red and blue stand out even more. You can also dust the top with a little powdered sugar for a snowy effect.
This trifle pairs beautifully with grilled meats—think burgers, hot dogs, or even a grilled bourbon peach BBQ chicken for a summer feast. It’s also fantastic alongside a cup of coffee or iced tea. For a truly festive spread, serve it with sparklers on the table (just keep them away from the cream).
Storage: Cover the trifle dish tightly with plastic wrap and store it in the refrigerator for up to 3 days. The flavors actually get better on day two, as the cake has more time to absorb the cream. After that, the berries start to break down and release too much juice, making the dessert watery.
Freezing: I don’t recommend freezing this trifle. The cream separates when thawed, and the berries turn into a mushy mess. It’s best enjoyed fresh or within a few days. If you have leftovers, you can scoop the trifle into a bowl and eat it like a parfait—it’s still delicious, just not as pretty.
Reheating: Don’t. This is a cold dessert. If you want a warm berry dessert, make a cozy small batch buttermilk peach cobbler for two instead.
Nutritional Information & Benefits
Let’s be real—this isn’t a health food. But it does have some redeeming qualities. Here’s a rough estimate per serving (based on 8 servings):
- Calories: Approximately 420
- Fat: 24g
- Carbohydrates: 48g
- Protein: 5g
- Sugar: 32g
- Fiber: 3g
The berries are the real stars here. Blueberries are packed with antioxidants, strawberries are loaded with vitamin C, and raspberries are a great source of fiber. So while you’re enjoying that creamy, dreamy dessert, you’re also getting a decent dose of nutrients. It’s not a salad, but it’s not totally empty calories either.
For dietary considerations, this recipe contains gluten (from the pound cake) and dairy (from the milk and cream). It’s not suitable for vegans or those with celiac disease unless you make the substitutions listed above. If you’re watching your sugar intake, you can use a sugar-free pudding mix and reduce the powdered sugar in the whipped cream. It won’t be as rich, but it’ll still be tasty.
My personal take? This is a dessert for celebration. It’s not an everyday thing, and that’s okay. Sometimes you need something that feels indulgent and special. That’s what this trifle is for.
Conclusion
This red white & blue berry trifle is the kind of recipe that makes you look like you spent hours in the kitchen when you really didn’t. It’s beautiful, it’s delicious, and it’s so simple that anyone can make it. Whether you’re hosting a Fourth of July party, a summer barbecue, or just want a pretty dessert to brighten up a Tuesday, this is the one.
I love this recipe because it reminds me that you don’t need complicated techniques or fancy ingredients to create something memorable. Sometimes the best dishes come from a quiet moment in the kitchen, a bag of berries, and a little bit of faith. So go ahead and make it your own. Swap the berries, change the cake, add a splash of something boozy. This recipe is a starting point, not a rulebook.
I’d love to hear how yours turns out. Leave a comment below and tell me what variations you tried. Did you add lemon zest? Use a different cake? Make it for a crowd? Share your photos and tag me—I can’t wait to see your show-stopping creations. Happy cooking, friend!
Frequently Asked Questions
Can I use frozen berries instead of fresh?
You can, but I don’t recommend it. Frozen berries release a lot of liquid as they thaw, which will make your trifle watery and turn the cream a weird color. If you’re in a pinch, thaw them first and drain them very well. Pat them dry with paper towels before layering.
How far in advance can I make this trifle?
You can make it up to 24 hours in advance. In fact, it’s better the next day because the cake has time to absorb the cream. Just cover it tightly with plastic wrap and keep it in the fridge. After 2 days, the berries start to break down, so eat it within that window.
Can I use angel food cake instead of pound cake?
You can, but be aware that angel food cake is much lighter and airier. It will absorb the cream faster and can turn into a soggy mess if you’re not careful. If you use angel food cake, reduce the chilling time to 1 hour and serve it right away. Pound cake holds up much better.
What if I don’t have a trifle dish?
No problem! Use a large glass mixing bowl, a clear salad bowl, or even individual mason jars. The key is to use something transparent so you can see the layers. If you’re using jars, just layer the ingredients in the same order and chill them the same way.
Can I make this with homemade pudding instead of instant?
Absolutely. Use your favorite homemade vanilla pudding recipe, but make sure it’s completely cooled and set before layering. Homemade pudding is richer and has a more natural flavor. Just factor in the extra time for cooling and setting—it’s worth it if you have the time.
Pin This Recipe!
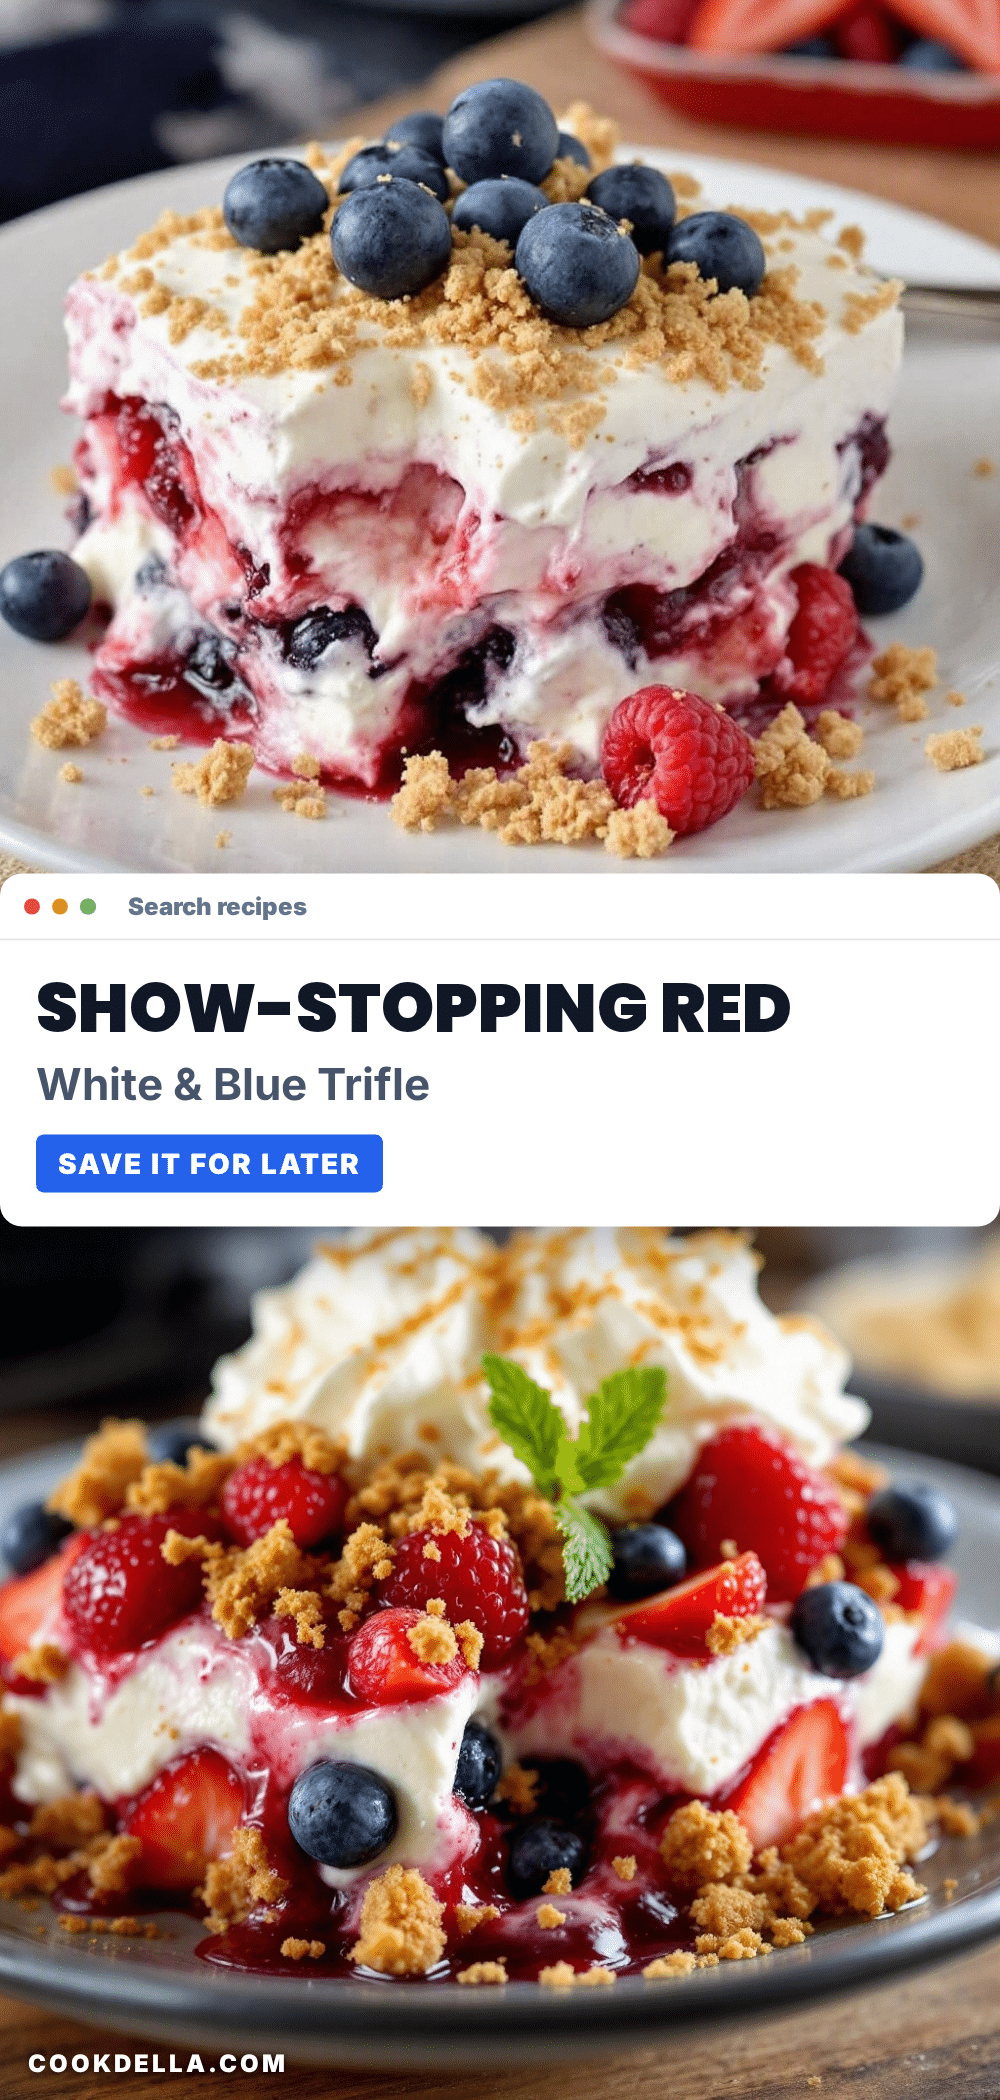
Best Red White & Blue Berry Trifle in 20 Minutes
A no-bake, 20-minute berry trifle with layers of pound cake, vanilla cream, and fresh strawberries, blueberries, and raspberries. Perfect for patriotic holidays and summer gatherings.
- Prep Time: 20 minutes
- Cook Time: 0 minutes
- Total Time: 20 minutes (plus 2 hours chilling)
- Yield: 8 servings 1x
- Category: Dessert
- Cuisine: American
Ingredients
- 1 pound cake (store-bought or homemade), cut into 1-inch cubes
- 2 cups fresh strawberries, hulled and sliced
- 1 ½ cups fresh blueberries
- 1 ½ cups fresh raspberries
- 2 cups cold whole milk
- 1 (3.4 oz) box instant vanilla pudding mix
- 2 cups heavy whipping cream
- ¼ cup powdered sugar
- 1 teaspoon vanilla extract
Instructions
- In a medium bowl, whisk together the instant vanilla pudding mix and 2 cups of cold whole milk for about 2 minutes until it starts to thicken. Set aside to set up.
- In a large bowl, combine cold heavy whipping cream, powdered sugar, and vanilla extract. Beat with an electric hand mixer on medium-high speed until soft peaks form, about 3-4 minutes.
- Fold about a third of the whipped cream into the set pudding to lighten it. Then gently fold the remaining whipped cream into the pudding mixture until it looks like a soft, creamy cloud.
- Wash and dry all berries. Hull and slice strawberries into ¼-inch thick pieces. Pat berries dry with a paper towel.
- Slice the pound cake into 1-inch cubes.
- Place a single layer of pound cake cubes at the bottom of a trifle dish. Press them down gently to form an even base.
- Spoon about a third of the cream mixture over the cake cubes and spread evenly to the edges.
- Scatter a layer of strawberries, blueberries, and raspberries over the cream.
- Repeat layers: cake cubes, cream mixture, berries, until all ingredients are used, ending with a final layer of cream on top.
- Arrange remaining berries on top in a pattern (e.g., stripes of red, white, and blue).
- Cover with plastic wrap and refrigerate for at least 2 hours before serving. Overnight is even better.
Notes
Don’t skip the chilling step—it allows the cake to soften and flavors to meld. Use a serrated knife for clean cake cubes. Press a few berries against the glass for visual appeal. Make extra whipped cream for serving.
Nutrition
- Serving Size: 1 serving
- Calories: 420
- Sugar: 32
- Sodium: 320
- Fat: 24
- Saturated Fat: 14
- Carbohydrates: 48
- Fiber: 3
- Protein: 5
Keywords: berry trifle, red white blue dessert, no-bake dessert, Fourth of July dessert, summer dessert, patriotic dessert


