“Mom, can we make the eyeballs again?” My seven-year-old was already pulling the marshmallow bag out of the pantry before I could even answer. It was the week before Halloween, and she had been talking about these treats since last October. I mean, honestly, I get it. There’s something about holding a gooey, buttery Rice Krispie treat shaped like a creepy eyeball that just makes kids lose their minds. And adults too, if I’m being honest. I remember my own mom making something similar when I was little, though hers were way simpler—just a blob of green frosting and a chocolate chip. These? These are next level. And the best part? They come together in under twenty minutes. No oven required. No complicated candy melting. Just pure, ridiculous, Halloween fun.
So when my daughter asked, I grabbed the butter and marshmallows, and we got to work. The kitchen smelled like butter and sugar, and within fifteen minutes, we had a whole sheet pan of monster eyeballs staring up at us. It was ridiculous. It was perfect. And honestly, that’s what Halloween should be—a little silly, a little sweet, and a whole lot of memory-making. Let me show you how to make these Easy Monster Eyeball Rice Krispie Treats. They’re going to be the hit of your Halloween party, your classroom snack, or just a random Tuesday night when you need a laugh.
Why You’ll Love This Recipe
Look, I’ve tested a lot of Halloween treats over the years. Some are gorgeous but take forever. Others are quick but look like a hot mess. These Easy Monster Eyeball Rice Krispie Treats hit that sweet spot where they look impressive but take almost no effort. Here’s why they’re going to become your go-to Halloween recipe:
- Quick & Easy: From start to finish, you’re looking at about 20 minutes. No baking, no complicated steps. Just melt, mix, press, and decorate.
- Simple Ingredients: You probably already have most of what you need in your pantry. Butter, marshmallows, Rice Krispies cereal, and a few candy eyeballs. No fancy grocery store runs required.
- Perfect for Halloween Parties: These are guaranteed conversation starters. Kids love them, adults think they’re hilarious, and they fit right in with your spooky snack spread.
- Crowd-Pleaser: I’ve brought these to school parties, neighborhood gatherings, and family dinners. Every single time, they disappear first. People can’t resist the silly factor.
- Unbelievably Fun: Let’s be real—there’s something deeply satisfying about biting into a gooey Rice Krispie treat shaped like a monster eyeball. It’s pure childhood joy in food form.
What makes these different from every other Rice Krispie treat recipe out there? It’s the little details. I use a specific technique to get the marshmallow mixture just right—not too hard, not too sticky. And the decorating? I’ve figured out the best way to get those candy eyeballs to stay put without sliding off. Plus, I add a tiny bit of vanilla extract to the marshmallow mixture. It’s a small thing, but it makes the flavor feel more like a homemade treat and less like something from a box. Honestly, after you try these, you’ll never go back to plain Rice Krispie treats during Halloween season.
What Ingredients You Will Need
This recipe uses simple, everyday ingredients to create something truly memorable. The magic is in the proportions and the technique. Here’s what you’ll need:
- 3 tablespoons unsalted butter (plus a little extra for greasing your hands and the pan)
- 1 package (10 ounces) regular marshmallows (about 40 large marshmallows or 4 cups mini marshmallows)
- 6 cups Rice Krispies cereal (or any crispy rice cereal; I prefer the original brand for best texture)
- 1/2 teaspoon vanilla extract (pure, not imitation—it makes a difference)
- 1/4 teaspoon salt (a tiny pinch balances the sweetness perfectly)
- 1 cup white candy melts or white chocolate chips (for the eyeball base)
- 1 tablespoon coconut oil or vegetable shortening (to thin the candy melts for easier dipping)
- Green food coloring (gel works best for vibrant color; I use Wilton brand)
- Red food coloring or red gel icing (for the bloodshot veins)
- Large candy eyeballs (about 24-30, depending on how many treats you make; I buy the Wilton brand from the baking aisle)
Ingredient Tips & Sourcing Notes:
- I always use Kraft Jet-Puffed marshmallows for the best texture. Generic brands can be less fluffy and make the treats too dense.
- For the Rice Krispies, the original Kellogg’s brand gives the best crunch. Generic versions sometimes get soggy faster.
- Candy eyeballs are available at most craft stores or online. I prefer the larger ones (about 1 inch) for maximum monster effect. Wilton brand has never let me down.
- If you can’t find white candy melts, white chocolate chips work fine. Just add a little extra coconut oil to help them melt smoothly.
- Gel food coloring is non-negotiable here. Liquid food coloring will seize your candy melts and create a lumpy mess. Trust me on this one.
Equipment Needed
You don’t need a lot of fancy equipment for these Easy Monster Eyeball Rice Krispie Treats, but having the right tools makes the process smoother. Here’s what you’ll need:
- Large saucepan (at least 4-quart capacity for melting the marshmallow mixture)
- Wooden spoon or silicone spatula (for stirring the marshmallow mixture without scratching your pan)
- 9×13-inch baking dish (for pressing the Rice Krispie mixture into an even layer)
- Parchment paper or wax paper (to line the baking dish and prevent sticking)
- Small microwave-safe bowl (for melting the candy melts)
- Round cookie cutter (2.5 to 3 inches in diameter; I use a 2.5-inch cutter for snack-sized treats)
- Piping bag or small zip-top bag (for adding the red veins)
- Cooling rack (to let the dipped treats set without sticking to a surface)
Alternative Options: If you don’t have a round cookie cutter, you can use the rim of a drinking glass or even a clean tuna can. For the piping bag, a small zip-top bag with the corner snipped off works perfectly. I’ve made these in a pinch with just a butter knife and a drinking glass, and they still turned out great.
Preparation Method
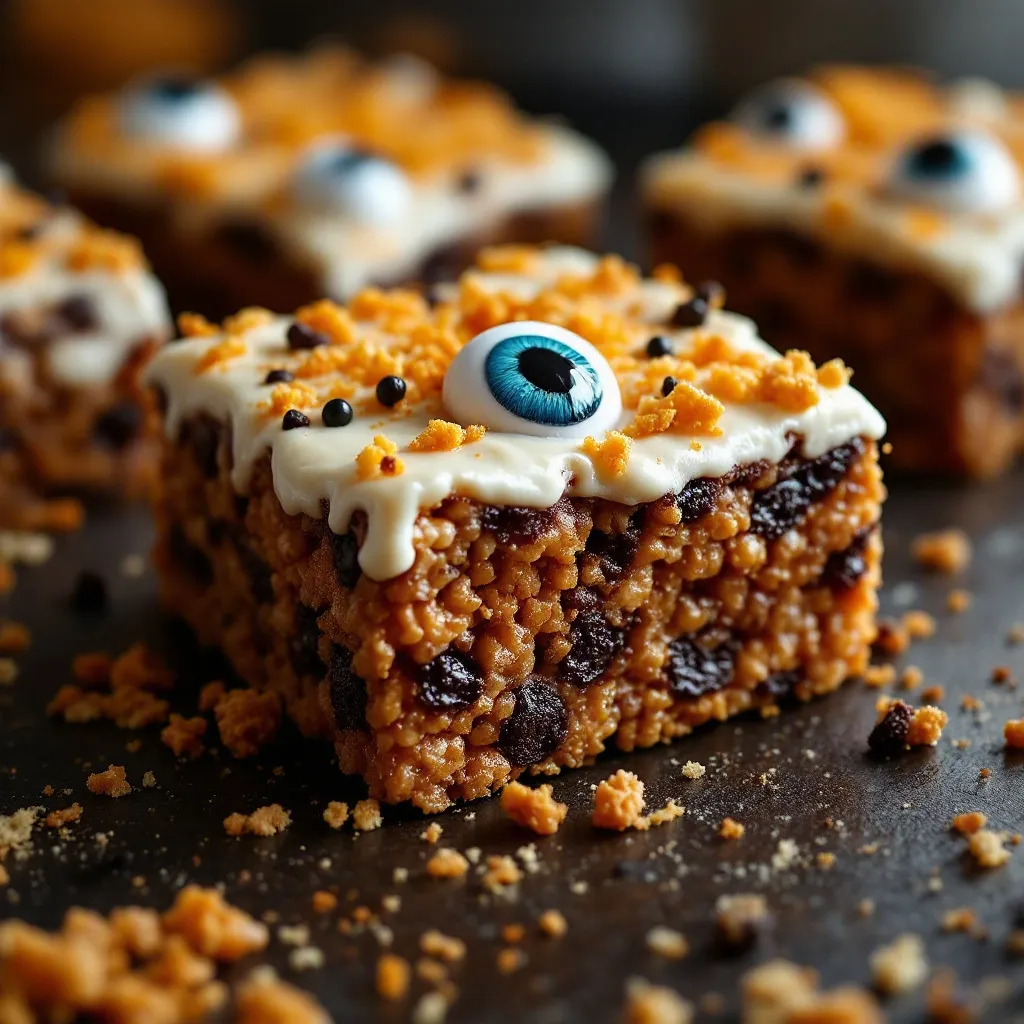
Alright, let’s get to the fun part. Follow these steps carefully, and you’ll have a batch of monster eyeballs that would make Frankenstein proud.
- Prepare your pan: Line a 9×13-inch baking dish with parchment paper, leaving some overhang on the sides. This makes lifting the treats out later super easy. Lightly grease the parchment with a little butter or non-stick spray.
- Melt the butter: In a large saucepan over medium-low heat, melt the 3 tablespoons of unsalted butter. Stir it occasionally so it doesn’t burn. You want it fully melted but not browned.
- Add the marshmallows: Pour the entire bag of marshmallows into the melted butter. Stir constantly with a wooden spoon or silicone spatula until the marshmallows are completely melted and smooth. This usually takes about 4-5 minutes. Don’t walk away—burnt marshmallow is a tragedy.
- Season the mixture: Remove the saucepan from the heat. Stir in the 1/2 teaspoon of vanilla extract and the 1/4 teaspoon of salt. The salt is key—it balances the sweetness and makes the treats taste more like a homemade dessert than a sugar bomb.
- Add the cereal: Pour the 6 cups of Rice Krispies cereal into the marshmallow mixture. Fold gently until all the cereal is evenly coated. Work quickly here—the mixture will start to set as it cools.
- Press into the pan: Transfer the mixture to your prepared baking dish. Lightly grease your hands with butter or non-stick spray, then press the mixture into an even layer. Don’t press too hard—you want the treats to be tender, not compressed into hockey pucks. Let them cool completely at room temperature, about 30 minutes.
- Cut the shapes: Once the treats are set, lift them out of the pan using the parchment overhang. Use your round cookie cutter to cut out circles. You should get about 12-15 circles from one batch, depending on the size of your cutter. If the cutter sticks, dip it in a little water between cuts.
- Melt the candy melts: In a small microwave-safe bowl, combine the white candy melts and 1 tablespoon of coconut oil. Microwave in 30-second intervals, stirring after each, until smooth and fully melted. Stir in green food coloring until you reach your desired shade of monster green. I use about 8-10 drops of gel coloring for a vibrant, slightly creepy green.
- Dip the treats: Working one at a time, dip each Rice Krispie circle into the green candy coating. Use a fork to flip it and ensure even coverage. Lift it out, letting any excess drip back into the bowl. Place the dipped treat on a cooling rack set over parchment paper (to catch drips).
- Add the eyeballs: While the coating is still wet, press two large candy eyeballs onto each treat. Position them slightly off-center for a more unhinged monster look. The coating will act as glue to hold them in place.
- Create the bloodshot veins: Once all the treats are dipped and decorated, let them set for about 10 minutes. Then, using a piping bag or small zip-top bag with a tiny corner snipped off, pipe thin red lines radiating outward from each eyeball. This is what makes them look like real monster eyeballs—creepy and hilarious.
- Let them set completely: Allow the treats to set at room temperature for about 20-30 minutes, or until the candy coating is firm to the touch. Then they’re ready to serve!
Cooking Tips & Techniques
I’ve made these Easy Monster Eyeball Rice Krispie Treats about a dozen times now, and I’ve learned a few things the hard way. Here are my best tips to make sure yours turn out perfect:
Don’t overheat the marshmallows. This is the number one mistake I see. If you cook the marshmallow mixture too long or over too high heat, the treats will turn out rock hard. Keep the heat on medium-low and stir constantly. As soon as the marshmallows are melted and smooth, take the pan off the heat.
Work quickly when pressing the mixture. The marshmallow mixture sets fast. Once you pour it into the pan, you have maybe 2-3 minutes to get it pressed into an even layer. Grease your hands well before you start pressing, and don’t be shy about using a little extra butter if needed.
Use a sharp cookie cutter. A dull cutter will squish the treats instead of cutting cleanly. If your cutter is sticking, dip it in cold water between cuts. This helps the cutter slide through the sticky marshmallow mixture without dragging.
Thin the candy coating properly. The coconut oil or shortening is essential for getting a smooth, even coating. Without it, the candy melts will be too thick and will clump up on your treats. If the coating starts to thicken as you work, pop it back in the microwave for 10-15 seconds and stir.
Let the treats set before serving. I know it’s tempting to dig in right away, but the candy coating needs time to firm up. If you serve them too soon, the coating will smear and the eyeballs might slide off. Give them at least 20 minutes to set.
Make ahead tip: These treats actually taste better the next day. The marshmallow mixture softens slightly, making them extra chewy. Store them in an airtight container at room temperature for up to 3 days. Just don’t stack them—the candy coating can stick together.
Variations & Adaptations
One of the best things about this recipe is how easy it is to customize. Here are a few variations I’ve tried and loved:
Gluten-Free Version: Rice Krispies are naturally gluten-free, but some generic brands may contain malt flavoring. Check the label or use a certified gluten-free crispy rice cereal. Everything else in this recipe is naturally gluten-free, so you’re good to go.
Different Colors: Who says monster eyeballs have to be green? Try purple, orange, or even neon pink for a different vibe. For Halloween, I sometimes make a batch of green and a batch of orange. They look amazing together on a platter.
Chocolate Eyeballs: If you’re a chocolate lover, swap the white candy melts for dark or milk chocolate. The chocolate version tastes like a crispy chocolate marshmallow treat with a spooky twist. Just skip the green food coloring, obviously.
Mini Eyeballs: Use a smaller cookie cutter (about 1.5 inches) and smaller candy eyeballs to make bite-sized treats. These are perfect for classroom parties or snack bags. My daughter loves the mini ones because she can eat three without feeling guilty.
Extra Creepy Version: Add a few drops of black food coloring to the red piping to create a darker, more gory look. Or pipe a few “veins” on the white eyeballs themselves for an extra layer of gross-out factor. My nephew requested these for his Halloween party last year, and they were a huge hit with his friends.
Serving & Storage Suggestions
These Easy Monster Eyeball Rice Krispie Treats are best served at room temperature. The marshmallow center stays soft and chewy, while the candy coating provides a satisfying snap. Arrange them on a platter with some Easy Black Cat Sugar Cookies for a truly spooky dessert spread. The contrast between the crunchy cookies and the gooey treats is irresistible.
For Halloween Parties: Place the treats on a black or orange platter and garnish with a few plastic spiders or fake cobwebs. Kids absolutely lose their minds over the presentation. I like to serve them alongside Purple Orange Pastel Halloween Cupcakes for a colorful, festive dessert table.
Storage: Store leftover treats in an airtight container at room temperature. They’ll stay fresh for up to 3 days. Do not refrigerate them—the cold will make the marshmallow mixture hard and the candy coating can get sticky from condensation. If you need to stack them, place a sheet of parchment paper between each layer to prevent sticking.
Freezing: You can freeze these treats for up to 2 months. Place them in a single layer on a baking sheet and freeze until solid, then transfer to a freezer-safe container with parchment paper between layers. To thaw, let them sit at room temperature for about 30 minutes. The texture will be slightly softer, but they’ll still be delicious.
Reheating: Honestly, these are best eaten at room temperature. But if you want a warm, gooey treat, pop one in the microwave for about 10 seconds. The marshmallow center will get soft and melty, and the candy coating will soften slightly. Just don’t overdo it, or the coating will melt off entirely.
Nutritional Information & Benefits
Let’s be real—these are a treat, not a health food. But here’s the estimated nutritional breakdown per treat (based on 12 servings):
- Calories: 220
- Total Fat: 8g
- Saturated Fat: 5g
- Carbohydrates: 36g
- Sugar: 22g
- Protein: 2g
- Sodium: 120mg
While these aren’t exactly nutrient-dense, they do offer a small amount of iron from the fortified cereal. And honestly, Halloween is about indulging in a little bit of silly, sweet fun. If you’re looking for a healthier option, you could try using a lower-sugar marshmallow or a whole-grain crispy cereal, but I’ll be honest—the original version tastes the best.
Dietary Considerations: This recipe is naturally gluten-free (check your cereal label), nut-free (if you use certified nut-free candy melts), and can be made dairy-free by using vegan marshmallows and dairy-free butter. Always check labels if you’re serving people with allergies.
Frequently Asked Questions
Can I use homemade marshmallows for this recipe?
Technically yes, but I wouldn’t recommend it. Homemade marshmallows have a different texture and don’t set as firmly as store-bought. The treats will be much softer and harder to cut into clean circles. Stick with regular marshmallows for the best results.
Why did my candy coating crack?
This usually happens if the treats are too cold when you dip them. Make sure your Rice Krispie treats are at room temperature before dipping. If the marshmallow mixture is cold, the warm candy coating can cause thermal shock, leading to cracks. Let the treats sit out for about 10 minutes after cutting before dipping.
Can I make these without a cookie cutter?
Absolutely. You can use the rim of a drinking glass, a clean tuna can, or even just cut the treats into squares with a knife. The squares won’t look as eyeball-like, but they’ll taste just as good. I’ve done this in a pinch, and nobody complained.
How do I get the red veins to look realistic?
Practice on a piece of parchment paper first. Use a very small piping tip or snip a tiny corner off your zip-top bag. Pipe thin, wobbly lines radiating outward from the eyeballs, like bloodshot veins. Less is more—you want it to look creepy, not messy. I usually do 3-4 veins per eyeball.
Can I use marshmallow creme instead of marshmallows?
I don’t recommend it. Marshmallow creme has a different consistency and won’t give the treats the same structure. The treats will be much softer and won’t hold their shape as well when you cut them. Stick with regular marshmallows for the best texture.
Conclusion
These Easy Monster Eyeball Rice Krispie Treats are everything I love about Halloween baking—silly, simple, and absolutely delicious. They come together in under 20 minutes, use ingredients you probably already have, and are guaranteed to make everyone smile. Whether you’re making them for a school party, a Halloween gathering, or just a fun afternoon with your kids, these treats deliver every time.
What I love most about this recipe is how it brings people together. My daughter and I have made these every Halloween for the past three years, and it’s become our little tradition. She’s getting older now, but she still asks to make “the eyeballs” every October. That’s the kind of memory that sticks with you. So go ahead—grab your marshmallows, your candy eyeballs, and your favorite little helper, and make some monster magic. And when you do, I’d love to hear about it. Drop a comment below and let me know how yours turned out, or share a photo on social media and tag me. Happy Halloween, friends!
If you enjoyed this recipe, you might also love my Soft Baked Pumpkin Snickerdoodle Cookies for another easy fall treat. And don’t forget to check out my Best Homemade Pumpkin Spice Latte to wash it all down. Happy baking!
Pin This Recipe!
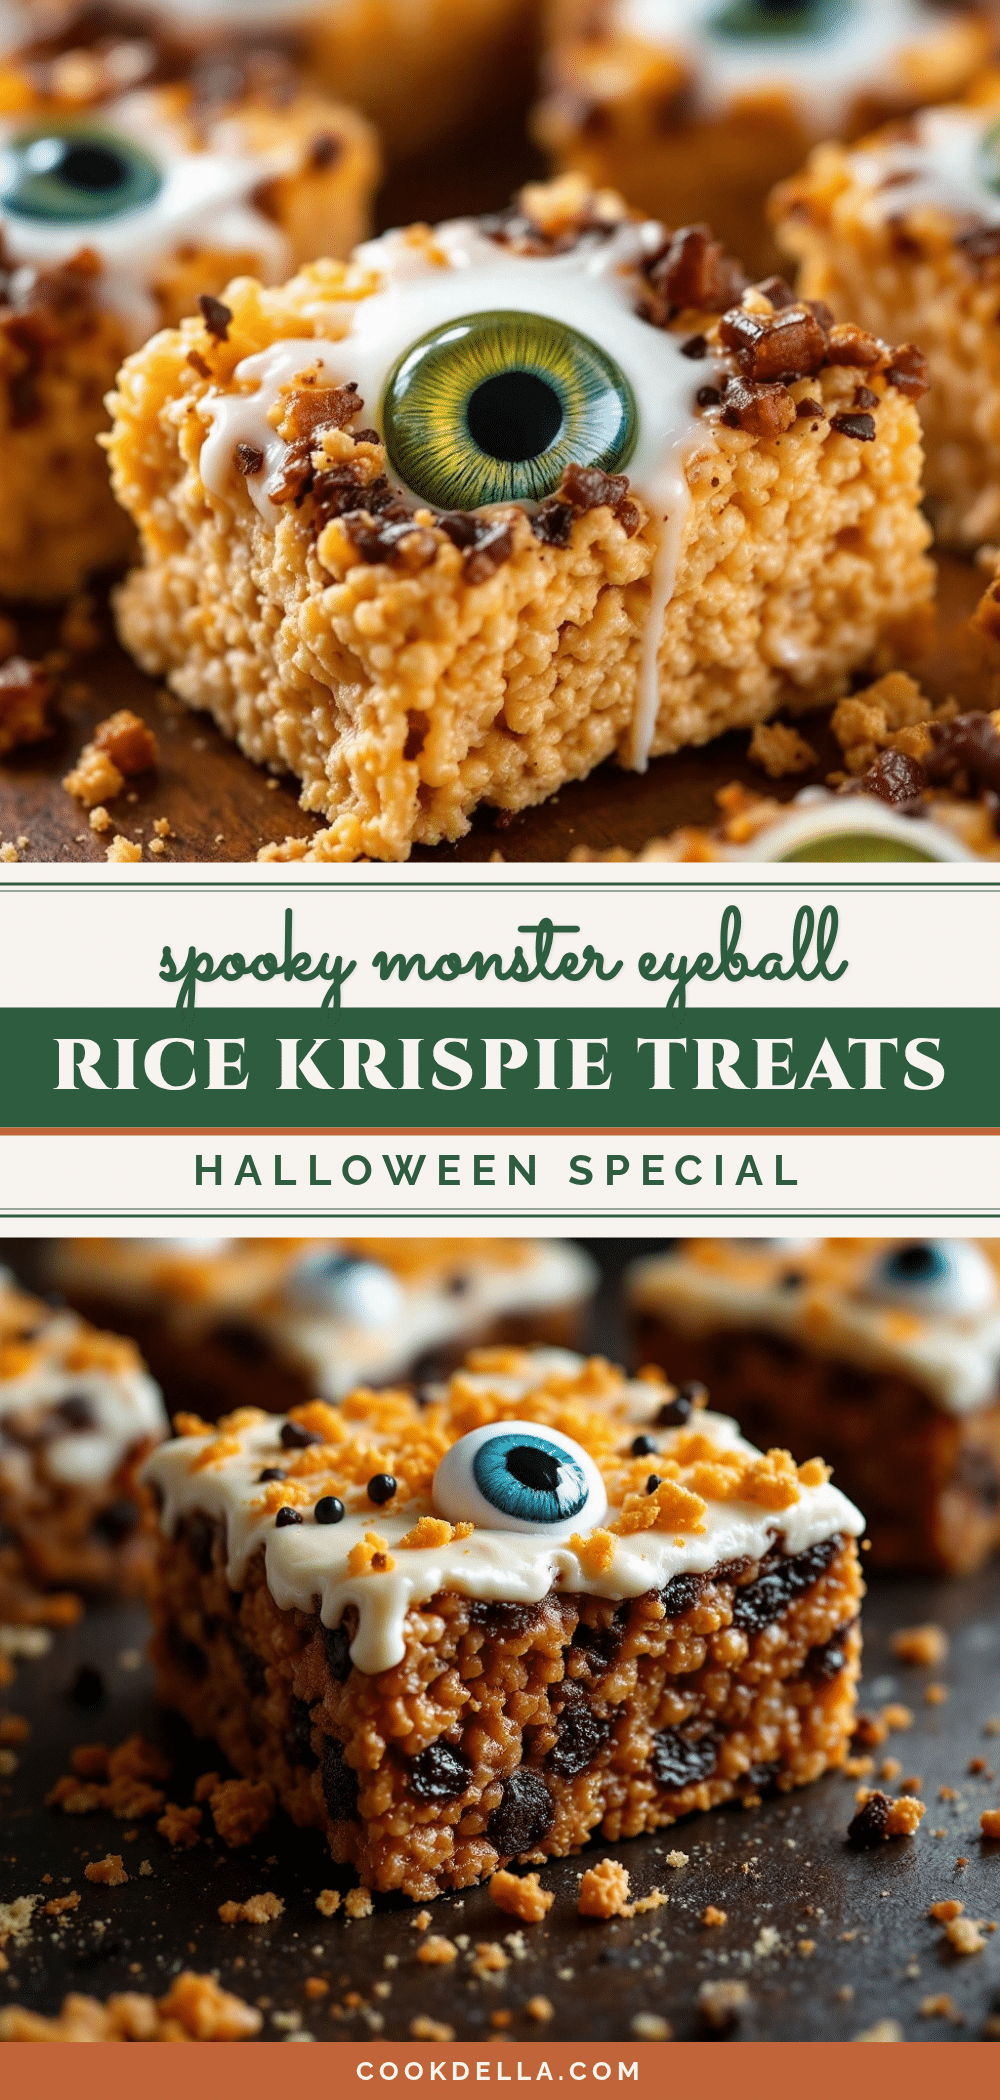
Easy Monster Eyeball Rice Krispie Treats: Perfect Halloween Snack
These Easy Monster Eyeball Rice Krispie Treats are a quick, no-bake Halloween snack that comes together in under 20 minutes. Made with simple ingredients like butter, marshmallows, and Rice Krispies cereal, then dipped in green candy coating and decorated with candy eyeballs and red veins, they’re a fun and creepy treat perfect for parties or a silly family activity.
- Prep Time: 15 minutes
- Cook Time: 5 minutes
- Total Time: 20 minutes (plus 30 minutes cooling and 30 minutes setting)
- Yield: 12-15 servings 1x
- Category: Dessert
- Cuisine: American
Ingredients
- 3 tablespoons unsalted butter (plus extra for greasing)
- 1 package (10 ounces) regular marshmallows (about 40 large or 4 cups mini)
- 6 cups Rice Krispies cereal
- 1/2 teaspoon vanilla extract (pure preferred)
- 1/4 teaspoon salt
- 1 cup white candy melts or white chocolate chips
- 1 tablespoon coconut oil or vegetable shortening
- Green food coloring (gel, about 8-10 drops)
- Red food coloring or red gel icing (for veins)
- Large candy eyeballs (about 24-30, 1-inch size)
Instructions
- Line a 9×13-inch baking dish with parchment paper, leaving overhang. Lightly grease with butter or non-stick spray.
- In a large saucepan over medium-low heat, melt 3 tablespoons unsalted butter, stirring occasionally until fully melted but not browned.
- Add the entire bag of marshmallows to the melted butter. Stir constantly until completely melted and smooth, about 4-5 minutes. Remove from heat.
- Stir in 1/2 teaspoon vanilla extract and 1/4 teaspoon salt until combined.
- Pour 6 cups Rice Krispies cereal into the marshmallow mixture. Fold gently until all cereal is evenly coated. Work quickly.
- Transfer mixture to prepared baking dish. Lightly grease hands with butter or non-stick spray, then press into an even layer without pressing too hard. Let cool completely at room temperature, about 30 minutes.
- Once set, lift treats out using parchment overhang. Use a 2.5 to 3-inch round cookie cutter to cut circles (about 12-15). Dip cutter in water between cuts if sticking.
- In a small microwave-safe bowl, combine white candy melts and 1 tablespoon coconut oil. Microwave in 30-second intervals, stirring after each, until smooth. Stir in green gel food coloring until desired shade is reached.
- Working one at a time, dip each Rice Krispie circle into green candy coating using a fork to flip and ensure even coverage. Let excess drip off, then place on a cooling rack set over parchment paper.
- While coating is still wet, press two large candy eyeballs onto each treat, slightly off-center.
- Let treats set for about 10 minutes. Using a piping bag or small zip-top bag with a tiny corner snipped off, pipe thin red lines radiating outward from each eyeball to create bloodshot veins.
- Allow treats to set completely at room temperature for 20-30 minutes until candy coating is firm. Serve at room temperature.
Notes
Don’t overheat the marshmallows or treats will become hard. Work quickly when pressing mixture into pan. Use a sharp cookie cutter dipped in cold water for clean cuts. Thin candy coating with coconut oil for smooth dipping. Let treats set completely before serving to prevent smearing. Make ahead: store in airtight container at room temperature for up to 3 days; do not refrigerate. Freeze for up to 2 months.
Nutrition
- Serving Size: 1 treat
- Calories: 220
- Sugar: 22
- Sodium: 120
- Fat: 8
- Saturated Fat: 5
- Carbohydrates: 36
- Protein: 2
Keywords: Halloween treats, Rice Krispie treats, monster eyeballs, no-bake dessert, easy Halloween snack, kid-friendly, spooky treats


