My husband took his first bite of this apple cider braised pork, chewed for a second, and then just pointed at his plate with his fork. He didn’t say anything for another three bites, which is basically a speech from him. That’s when I knew I had finally cracked the code on a pork roast that didn’t dry out or taste like, well, nothing.
I had been chasing this particular dish for a while. You know how some recipes sound amazing on paper but then fall flat in the kitchen? That was me with braised pork for months. Too dry. Too bland. Too much work for something that just felt… okay. But this one? This one stuck. It’s the kind of meal that makes the whole house smell like Sunday dinner, even if you throw it together on a random Tuesday afternoon.
The key was letting the apple cider do the heavy lifting. Not as a splash at the end, but as the main cooking liquid. It tenderizes the meat, adds a natural sweetness that isn’t cloying, and creates a sauce that you’ll want to drink with a straw. Honestly, I’ve been making it every other week since that silent dinner, and it keeps getting better. This recipe is the one that finally made me feel like I actually knew what I was doing with a pork shoulder.
Why You’ll Love This Recipe
This isn’t just another pork roast recipe. It’s the one that solves the common problems of dry meat and boring flavor. I’ve tested this version more times than I can count, tweaking the liquid ratio and cooking time until it was absolutely foolproof. Here is why it works so well.
- Incredibly Tender: The low and slow braise in apple cider breaks down the connective tissue, giving you pork that pulls apart with a fork. No dry, stringy disaster here.
- Simple Ingredients: You won’t need a specialty grocery store trip. Pork shoulder, apple cider, onions, garlic, and rosemary are all you really need. It’s pantry-friendly comfort food.
- One Pot Meal: Everything cooks in a single Dutch oven or heavy pot. Less cleanup means more time to relax after dinner.
- Perfect for a Cozy Weekend: This is the kind of meal that fills your home with an incredible aroma. It’s made for lazy Sundays or when you want to impress guests without being stuck in the kitchen.
- Leftovers are a Gift: The flavor actually gets better after a day in the fridge. Use the leftovers for tacos, sandwiches, or on top of a salad.
What makes this recipe different from the rest is the balance. The apple cider brings a gentle sweetness, the rosemary adds an earthy, almost pine-like note, and the seared pork gives you that deep, savory umami. It’s not overly sweet or too herbal. It’s just right. I remember pulling the pot out of the oven and thinking, “This is it. This is the one.” It’s the kind of meal that makes you feel like a really good cook, even if you’re just following the steps.
What Ingredients You Will Need
This recipe relies on a handful of quality ingredients that work together to create something truly special. Most of these are staples you might already have on hand, which makes this an easy decision for a weekend meal.
- Pork Shoulder (3-4 pounds): Also called pork butt, this cut is ideal for braising. It has enough fat to keep the meat moist and tender during the long cooking time. Look for one with good marbling. I usually ask the butcher for a boneless roast, but bone-in works too, just add about 30 minutes to the cooking time.
- Apple Cider (2 cups): Use fresh, unfiltered apple cider for the best flavor. Not apple juice, which is thinner and less flavorful. The cider adds natural sweetness and acidity that helps tenderize the pork. I recommend a local brand or something like Martinelli’s if you can find it.
- Chicken Broth (1 cup): Low-sodium is best here so you can control the salt level. The broth adds depth and helps create the braising liquid. You could use vegetable broth in a pinch.
- Yellow Onion (1 large): Sliced thinly. The onions melt into the sauce as they cook, adding sweetness and body. Don’t skip them, they are a key part of the final sauce.
- Garlic (4-5 cloves): Smashed or minced. Garlic is non-negotiable here. It adds a savory backbone that balances the sweet apple cider.
- Fresh Rosemary (2-3 sprigs): Fresh is much better than dried for this recipe. The rosemary infuses the braising liquid with its piney, slightly lemony flavor. If you only have dried, use about 1 tablespoon, but fresh really makes a difference.
- Olive Oil (2 tablespoons): For searing the pork. Avocado oil works well too because of its high smoke point.
- Salt and Black Pepper: To taste. Don’t be shy with the salt, especially when seasoning the pork before searing. It’s your first line of defense against bland meat.
- Optional Add-ins: A tablespoon of whole grain mustard or a splash of apple cider vinegar at the end can brighten up the sauce. Sometimes I add a cinnamon stick to the braising liquid for an extra layer of warmth.
Equipment Needed
You don’t need a fancy kitchen to make this recipe work. Here is what you will need to get the job done.
- Dutch Oven or Heavy-Bottomed Pot: A 5-6 quart Dutch oven is perfect. It retains heat evenly and goes from stovetop to oven without a problem. Le Creuset or Staub are fantastic, but a good Lodge enameled cast iron pot is just as effective and much more affordable.
- Sharp Chef’s Knife: For trimming the pork and slicing the onion. A dull knife makes prep work frustrating and dangerous.
- Cutting Board: A sturdy wooden or plastic board for all your chopping.
- Tongs: For flipping the pork while searing. Metal tongs with a good grip are essential.
- Measuring Cups and Spoons: For accurate liquid measurements.
- Fork or Meat Thermometer: To check for doneness. A meat thermometer is more reliable, but a fork that easily twists and pulls the meat apart is a good sign.
I’ve made this in a cheap enameled pot from a discount store and it turned out just fine. The key is the heavy bottom, not the brand. If you don’t have a Dutch oven, you can use a large oven-safe skillet or a deep roasting pan covered tightly with foil.
Preparation Method
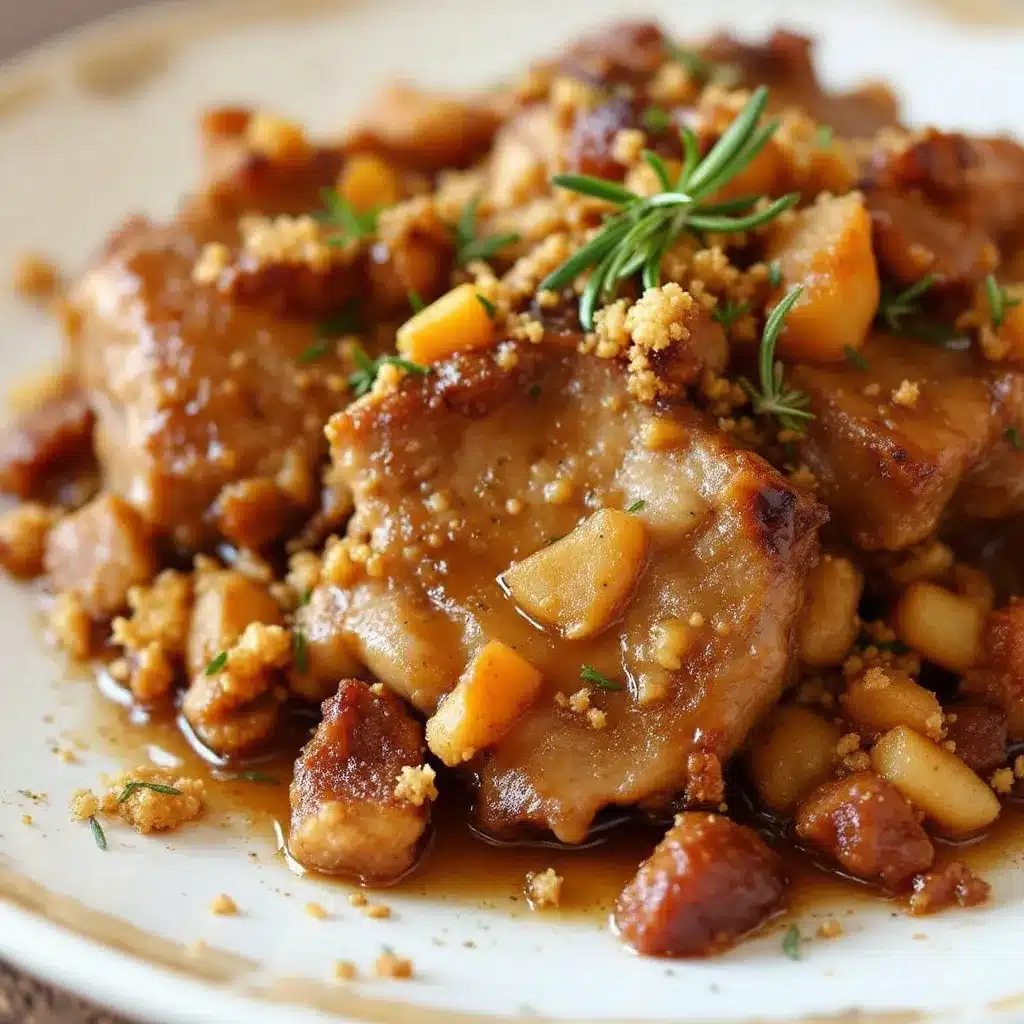
This recipe takes some time, but the active work is minimal. Most of it is hands-off oven time. Follow these steps and you’ll have a meal that tastes like you worked all day.
- Prep the Pork (10 minutes): Take your pork shoulder out of the fridge about 30 minutes before you start to let it come to room temperature. Pat it completely dry with paper towels. This is crucial for a good sear. Trim off any large, thick pieces of fat, but leave some on for flavor and moisture. Season generously on all sides with salt and black pepper. Don’t be shy here.
- Sear the Pork (10 minutes): Preheat your oven to 325°F (160°C). Place your Dutch oven on the stovetop over medium-high heat and add the olive oil. When the oil is shimmering, carefully place the pork shoulder in the pot. Sear it for 3-4 minutes per side, without moving it, until a deep golden-brown crust forms. You want all sides, including the ends, to be brown. Use your tongs to hold it steady. This step builds so much flavor.
- Sauté the Aromatics (5 minutes): Remove the seared pork to a plate. Reduce the heat to medium. Add the sliced onion to the pot. Cook for 3-4 minutes, scraping up any browned bits from the bottom of the pot with a wooden spoon. Add the smashed garlic and cook for another minute until fragrant. Don’t let the garlic burn.
- Build the Braising Liquid (2 minutes): Pour the apple cider and chicken broth into the pot. Use your spoon to scrape up any remaining browned bits from the bottom. This is called deglazing, and it adds incredible flavor to the sauce. Add the fresh rosemary sprigs.
- Braise the Pork (3 hours): Return the seared pork to the pot. The liquid should come about halfway up the sides of the meat. If it doesn’t, add a little more broth or water. Bring the liquid to a gentle simmer on the stovetop. Then, cover the pot with its lid and transfer it to the preheated oven.
- Check and Flip (1.5 hours in): After about 1.5 hours, carefully remove the pot from the oven. Flip the pork over in the liquid. This ensures even cooking. Return the pot to the oven, covered, for another 1.5 hours.
- Test for Doneness (3 hours total): After 3 hours, the pork should be incredibly tender. Insert a fork into the thickest part of the meat. It should twist easily and the meat should start to pull apart. If it’s still tough, return it to the oven for another 30-45 minutes. Every piece of meat is different.
- Rest and Shred (15 minutes): Once tender, carefully transfer the pork to a cutting board. Let it rest for 10-15 minutes. This allows the juices to redistribute. While it rests, place the pot back on the stovetop over medium heat and let the braising liquid simmer for 5-10 minutes to reduce slightly. Remove the rosemary sprigs. You can use a spoon to skim off any excess fat from the surface, or leave it for extra flavor.
- Finish and Serve (5 minutes): Using two forks, shred the pork into bite-sized pieces. Discard any large pieces of fat. Return the shredded pork to the pot with the reduced sauce. Toss everything together to coat the meat. Taste and adjust seasoning with more salt and pepper if needed.
Cooking Tips & Techniques
I’ve made every mistake in the book with braised pork so you don’t have to. Here are the things I learned the hard way.
Don’t skip the sear. I know it’s tempting to just throw everything in the pot and let the oven do the work. But that deep brown crust from searing is where the majority of the flavor comes from. It’s called the Maillard reaction, and it’s non-negotiable for a deeply savory result. I once rushed this step and ended up with pork that tasted more like boiled meat than braised meat. Never again.
Patience is key. The first time I made this, I pulled it out of the oven after 2 hours because I was hungry. The meat was tough and chewy. You need to wait until it’s fork-tender. That’s the only reliable test. The time is a guideline, but tenderness is the truth.
Watch your liquid level. You want the liquid to come about halfway up the pork. Too much liquid and you’re boiling the meat, not braising it. Too little and it will dry out. If you notice the liquid is evaporating too quickly during cooking, add a splash more broth or cider.
Let it rest. Just like a steak, letting the pork rest before shredding keeps it juicy. If you shred it right away, all those delicious juices will run out onto the cutting board instead of staying in the meat.
Skim the fat (or don’t). There will be a layer of rendered fat on top of the braising liquid. You can skim it off with a spoon if you want a leaner sauce. But honestly, I leave most of it. It adds richness and helps the sauce coat the shredded pork beautifully.
Variations & Adaptations
This recipe is a fantastic base. Feel free to play around with it based on what you have in your pantry or what you’re craving.
- Herb Swap: If you don’t have rosemary, fresh thyme or sage work beautifully. Thyme adds a slightly floral, earthy note, while sage brings a peppery warmth. I’ve used a combination of all three and it was incredible.
- Spice It Up: Add a cinnamon stick, a star anise, or a couple of whole cloves to the braising liquid for a more warming, almost holiday-like flavor. This is great for a fall or winter dinner. I tried a version with a cinnamon stick and it smelled like Christmas morning.
- Make it a Stew: After shredding the pork, add some chopped carrots, parsnips, and potatoes to the braising liquid. Simmer on the stovetop for 20-25 minutes until the vegetables are tender. Serve the pork and vegetables together with the sauce for a complete one-pot meal.
- Gluten-Free: This recipe is naturally gluten-free as long as you use a gluten-free chicken broth. Always check your broth label to be sure.
- Slow Cooker Method: Sear the pork and sauté the aromatics on the stovetop as directed. Then transfer everything to a slow cooker. Cook on low for 8 hours or on high for 4-5 hours, until the pork is fork-tender. This is a great hands-off option for a busy day.
- Pork Loin Option: You can use a pork loin instead of shoulder, but be careful. Loin is much leaner and will dry out if cooked too long. Reduce the braising time to about 1.5-2 hours, and check for doneness with a meat thermometer (145°F is perfect). The result will be sliceable, not shreddable, but still delicious.
Serving & Storage Suggestions
This apple cider braised pork is incredibly versatile. Here is how I like to serve it and keep it for later.
Serving: Serve the shredded pork hot, straight from the pot. It’s fantastic over a bed of creamy mashed potatoes, egg noodles, or creamy polenta to soak up all that delicious sauce. I also love it on a crusty roll with some coleslaw for a killer pulled pork sandwich. For a lighter option, serve it over a simple salad or with roasted vegetables like carrots and Brussels sprouts. A sprinkle of fresh parsley or a few fresh rosemary leaves on top adds a nice finishing touch.
Storage: Leftovers are a gift. Let the pork cool completely, then store it in an airtight container with some of the braising liquid. It will keep in the refrigerator for up to 4 days. The flavor actually deepens and gets even better the next day.
Freezing: This freezes beautifully. Place the cooled pork and sauce in a freezer-safe bag or container. Squeeze out as much air as possible. It will keep for up to 3 months. Thaw overnight in the refrigerator before reheating.
Reheating: Reheat the pork gently on the stovetop over low heat, adding a splash of broth or water if the sauce has thickened too much. You can also reheat it in a covered dish in a 300°F oven for about 20 minutes. Avoid the microwave if you can, as it can dry out the meat. The stovetop method keeps it moist and tender.
Nutritional Information & Benefits
This is a hearty, satisfying meal. Here is a rough estimate of the nutritional information per serving (based on 8 servings, using leaner pork and skimming the fat).
- Calories: Approximately 450-550
- Protein: 35-40g
- Fat: 25-30g
- Carbohydrates: 15-20g
- Fiber: 1-2g
- Sugar: 10-15g (from apple cider and onions)
Pork shoulder is a good source of protein, B vitamins (especially B12 and B6), and minerals like zinc and selenium. The apple cider provides a small amount of vitamin C and antioxidants. The onions and garlic add prebiotic fiber that is good for gut health. This is a balanced meal that provides sustained energy, especially when paired with a complex carbohydrate like sweet potatoes or whole grain bread. If you are watching your sodium, be sure to use low-sodium broth and go easy on the added salt. This recipe is naturally dairy-free and gluten-free, making it a great option for many dietary needs.
Conclusion
This cozy apple cider braised pork with rosemary is the kind of recipe that makes you feel like a culinary genius without the stress. It’s forgiving, deeply flavorful, and fills your home with an aroma that promises comfort. I make it when I need a win in the kitchen, or when I want to feed a crowd with something that feels special but doesn’t require hours of active work.
I love how the simple ingredients transform into something so much more than the sum of their parts. The sweet cider, the savory pork, the earthy rosemary – it’s a combination that just works. I hope you give it a try and make it your own. Maybe you’ll add a little more garlic, or a splash of bourbon, or serve it over something completely different. That’s the beauty of a good braise.
If you make this recipe, I’d love to hear about it! Leave a comment below and let me know how it turned out, or share your own twist on it. And if you’re looking for another cozy, one-pot meal, you should definitely try my slow cooker chili with easy cornbread croutons for another set-it-and-forget-it winner. Happy cooking!
Frequently Asked Questions
Can I use apple juice instead of apple cider?
You can, but the flavor will be different. Apple juice is thinner and more processed, so it lacks the depth and complexity of fresh apple cider. The final sauce might be a bit thinner and less flavorful. If you only have apple juice, add a tablespoon of apple cider vinegar or lemon juice to brighten it up.
My pork is still tough after 3 hours. What did I do wrong?
Don’t panic! Every cut of meat is different. The size of your roast, the amount of connective tissue, and even your oven’s temperature can affect cooking time. Simply return the pot to the oven and check every 30 minutes until the pork is fork-tender. It can take up to 4 hours for a larger roast.
Can I make this recipe in a slow cooker?
Absolutely! Sear the pork and sauté the onions and garlic on the stovetop first for the best flavor. Then transfer everything to your slow cooker. Cook on low for 8 hours or on high for 4-5 hours, until the pork is tender. The results are just as delicious.
How do I thicken the sauce?
If you want a thicker sauce, you have a few options. After removing the pork, you can simmer the braising liquid on the stovetop for 10-15 minutes to reduce it. Or, you can make a cornstarch slurry by mixing 1 tablespoon of cornstarch with 2 tablespoons of cold water, then whisking it into the simmering sauce until it thickens.
What should I serve with this pork?
The options are endless! Mashed potatoes, egg noodles, polenta, or crusty bread are all excellent for soaking up the sauce. For vegetables, try roasted carrots, Brussels sprouts, green beans, or a simple side salad. It also makes incredible tacos or sandwiches with coleslaw.
Pin This Recipe!
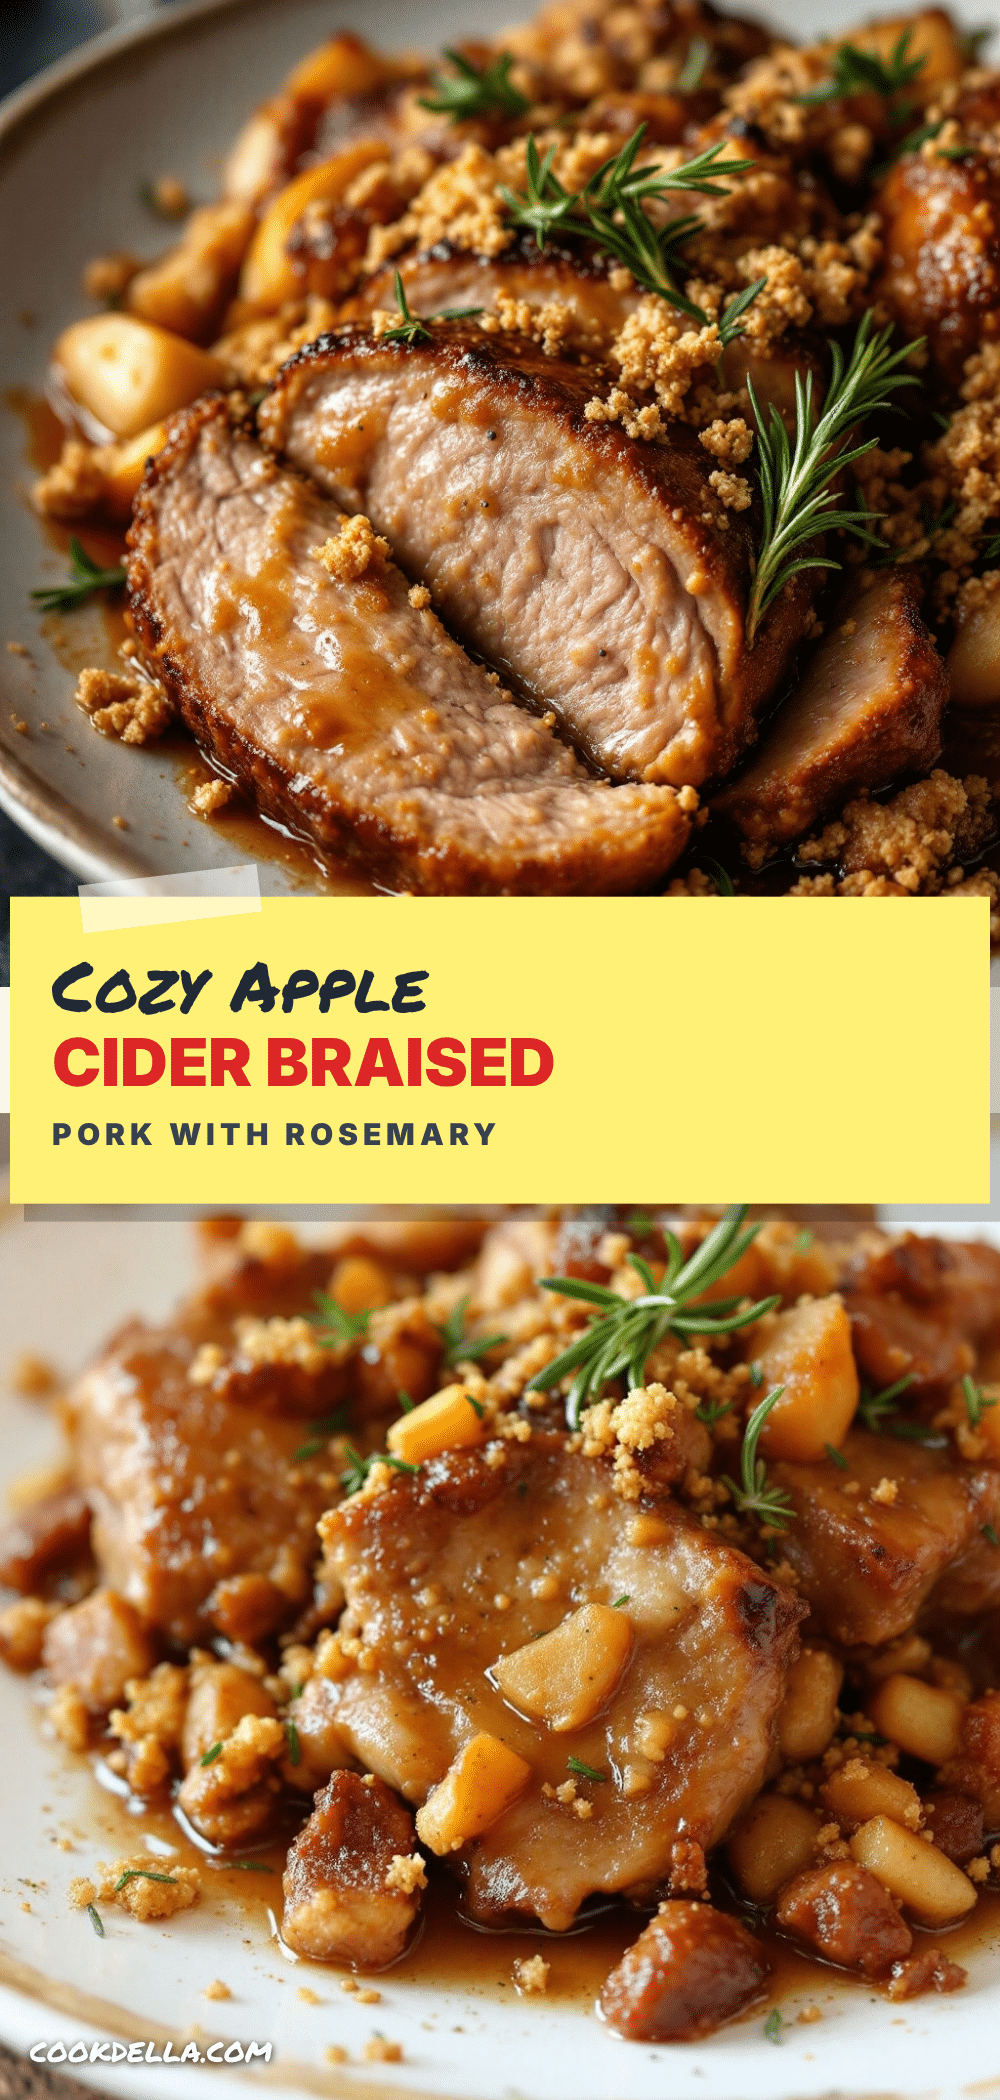
Cozy Apple Cider Braised Pork with Rosemary

This apple cider braised pork is incredibly tender, deeply flavorful, and made with simple ingredients. It’s a one-pot meal that fills your home with an incredible aroma and is perfect for a cozy weekend dinner.
- Prep Time: 15 minutes
- Cook Time: 3 hours 15 minutes
- Total Time: 3 hours 30 minutes
- Yield: 8 servings 1x
- Category: Main Course
- Cuisine: American
Ingredients
- 3–4 pounds pork shoulder (pork butt), boneless or bone-in
- 2 cups fresh, unfiltered apple cider
- 1 cup low-sodium chicken broth
- 1 large yellow onion, thinly sliced
- 4–5 cloves garlic, smashed or minced
- 2–3 sprigs fresh rosemary
- 2 tablespoons olive oil or avocado oil
- Salt and black pepper, to taste
- Optional: 1 tablespoon whole grain mustard or splash of apple cider vinegar, 1 cinnamon stick
Instructions
- Prep the Pork: Take the pork shoulder out of the fridge about 30 minutes before cooking to let it come to room temperature. Pat it completely dry with paper towels. Trim off any large, thick pieces of fat, but leave some on for flavor. Season generously on all sides with salt and black pepper.
- Sear the Pork: Preheat your oven to 325°F (160°C). Place a Dutch oven on the stovetop over medium-high heat and add the olive oil. When the oil is shimmering, carefully place the pork shoulder in the pot. Sear for 3-4 minutes per side, without moving it, until a deep golden-brown crust forms on all sides, including the ends. Use tongs to hold it steady. Remove the seared pork to a plate.
- Sauté the Aromatics: Reduce the heat to medium. Add the sliced onion to the pot. Cook for 3-4 minutes, scraping up any browned bits from the bottom with a wooden spoon. Add the smashed garlic and cook for another minute until fragrant.
- Build the Braising Liquid: Pour the apple cider and chicken broth into the pot. Use your spoon to scrape up any remaining browned bits from the bottom (deglazing). Add the fresh rosemary sprigs.
- Braise the Pork: Return the seared pork to the pot. The liquid should come about halfway up the sides of the meat. If not, add a little more broth or water. Bring the liquid to a gentle simmer on the stovetop. Cover the pot with its lid and transfer it to the preheated oven.
- Check and Flip: After about 1.5 hours, carefully remove the pot from the oven. Flip the pork over in the liquid. Return the pot to the oven, covered, for another 1.5 hours.
- Test for Doneness: After 3 hours total, the pork should be incredibly tender. Insert a fork into the thickest part of the meat. It should twist easily and the meat should start to pull apart. If still tough, return to the oven for another 30-45 minutes.
- Rest and Shred: Once tender, carefully transfer the pork to a cutting board. Let it rest for 10-15 minutes. While it rests, place the pot back on the stovetop over medium heat and let the braising liquid simmer for 5-10 minutes to reduce slightly. Remove the rosemary sprigs. Skim off excess fat if desired.
- Finish and Serve: Using two forks, shred the pork into bite-sized pieces. Discard any large pieces of fat. Return the shredded pork to the pot with the reduced sauce. Toss everything together to coat the meat. Taste and adjust seasoning with more salt and pepper if needed.
Notes
Don’t skip the sear; it builds deep flavor. Patience is key—cook until fork-tender, not just by time. Let the pork rest before shredding to keep it juicy. For a thicker sauce, simmer the braising liquid to reduce or make a cornstarch slurry. Leftovers taste even better the next day and freeze well for up to 3 months.
Nutrition
- Serving Size: 1 serving (about 1 c
- Calories: 500
- Sugar: 12
- Sodium: 450
- Fat: 28
- Saturated Fat: 9
- Carbohydrates: 18
- Fiber: 1
- Protein: 38
Keywords: apple cider braised pork, braised pork shoulder, pork roast, fall dinner, one-pot meal, comfort food, gluten-free, dairy-free


