I need a fall dessert that looks impressive but takes almost zero effort right now. Not the kind of effort that involves pulling out the stand mixer or waiting for butter to soften. The kind where you melt butter in a pot, stir in marshmallows, and call it a day. I have a bag of candy corn staring at me from the pantry—leftover from a decorating project that never happened—and a box of Rice Krispies that’s been sitting there since summer. That’s the moment this recipe was born. Honestly, some of the best recipes come from “what do I already have?” desperation, and these Easy Candy Corn Rice Krispie Treats are proof.
Let’s be real for a second. Candy corn is one of those polarizing candies. People either love it or act like it’s offensive. I’m in the love-it camp, but even if you’re on the fence, something magical happens when you mix it into warm marshmallow and cereal. The sweetness mellows out, the texture gets this slight chewiness, and suddenly you’ve got a treat that tastes like autumn in bar form. Plus, the colors naturally layer into that iconic candy corn look without any food coloring or fancy piping bags.
These bars have become my go-to for Halloween parties, school bake sales, and those random Tuesday afternoons when I need something sweet but don’t want to turn on the oven. They come together in about 15 minutes of active time, require exactly three main ingredients (plus butter, but that feels like it should count as a main ingredient), and they disappear faster than anything else on the dessert table. If you’ve ever stared at a bag of candy corn wondering what to do with it besides eat it straight from the bag, this is your answer.
Why You’ll Love This Recipe
I’ve tested this recipe about six times to get the ratios exactly right. The first batch was too sticky. The second batch was too dry. The third batch—well, let’s just say I ate the entire pan myself and had to make another for the photos. Here’s why this version works and why you’ll keep coming back to it:
- Three Main Ingredients : Rice Krispies cereal, marshmallows, and candy corn. That’s it. You probably already have two of them in your kitchen right now.
- No Oven Required : This is a stovetop recipe from start to finish. Perfect for hot fall days when you don’t want to heat up the whole house, or for dorm rooms and small apartments with limited kitchen setups.
- 15 Minutes of Work : From the moment you pull out the pot to the moment you press the mixture into the pan, you’re looking at about 15 minutes. The hardest part is waiting for them to cool.
- Perfect for Halloween Parties : The orange and yellow layers naturally mimic candy corn colors without any artificial dye. They look festive without trying too hard.
- Kid-Friendly : My niece helped me make these last weekend, and she didn’t burn herself or make a huge mess. The marshmallow mixture cools quickly enough that little hands can help press it into the pan with buttered fingers.
- Naturally Gluten-Free : Rice Krispies are made from rice, so these treats are safe for gluten-sensitive guests. Just double-check your marshmallow brand if you’re serving someone with celiac disease.
What makes these different from every other rice krispie treat recipe out there? It’s the texture. The candy corn melts slightly into the marshmallow mixture, creating pockets of chewy, almost caramel-like sweetness that plain marshmallows just can’t replicate. Plus, the colors separate naturally as you layer the mixture, giving you that perfect candy corn gradient without any extra effort. It’s not just another dessert—it’s the kind of treat that makes people ask for the recipe before they finish their first bite.
What Ingredients You Will Need
This recipe uses simple, everyday ingredients that work together to create something surprisingly special. No specialty stores required, no weird ingredients you’ll never use again.
- 6 cups Rice Krispies cereal (or any crispy rice cereal—store brands work fine too)
- 10 oz mini marshmallows (one standard bag, about 5 cups; I prefer Jet-Puffed for consistent melting)
- 1 cup candy corn (about 6 oz; Brach’s is the classic choice, but any brand works)
- 3 tablespoons unsalted butter (salted butter works too, just reduce any added salt)
- 1/4 teaspoon vanilla extract (optional, but it rounds out the sweetness nicely)
- Pinch of salt (if using unsalted butter; helps balance the sugar)
Ingredient Selection Tips: Fresh marshmallows melt more smoothly than stale ones. If your bag has been sitting in the pantry for months, the treats might turn out grainier. For the candy corn, I’ve tested this with both regular candy corn and the autumn blend with the brown tips. Both work, but the brown tips add a slight molasses flavor that’s actually pretty nice. If you’re feeling fancy, you can also use the pumpkin-shaped candy corn pieces for extra fall vibes.
Substitution Options: Need to make this dairy-free? Use vegan butter or coconut oil in place of regular butter. The coconut oil adds a subtle tropical note that pairs surprisingly well with the candy corn. For a gluten-free version, you’re already covered since Rice Krispies are made from rice. Just check the marshmallow label—most brands are gluten-free, but a few contain wheat starch. If you can’t find candy corn (it’s surprisingly seasonal), try using candy pumpkin pieces instead. They’re basically the same thing in a different shape.
Equipment Needed
You don’t need a fancy kitchen to make these treats. Here’s what you’ll need:
- Large pot or Dutch oven (at least 5-quart capacity; you need room to stir everything without cereal flying everywhere)
- 9×13 inch baking pan (for the classic thick bar shape; an 8×8 pan works for thicker, smaller bars)
- Parchment paper or aluminum foil (for lining the pan; makes cleanup infinitely easier)
- Silicone spatula or wooden spoon (silicone is better for scraping every last bit of marshmallow out of the pot)
- Butter or cooking spray (for greasing the spatula and your hands)
- Sharp knife (for cutting clean squares; a serrated knife works best to avoid squishing the bars)
Budget-Friendly Alternative: If you don’t have a 9×13 pan, a rimmed baking sheet works in a pinch. The bars will be thinner, so reduce the cooling time slightly. No silicone spatula? A wooden spoon coated with cooking spray works just as well. I’ve made these in a college dorm kitchen with a microwave and a plastic bowl—more on that in the tips section.
Preparation Method
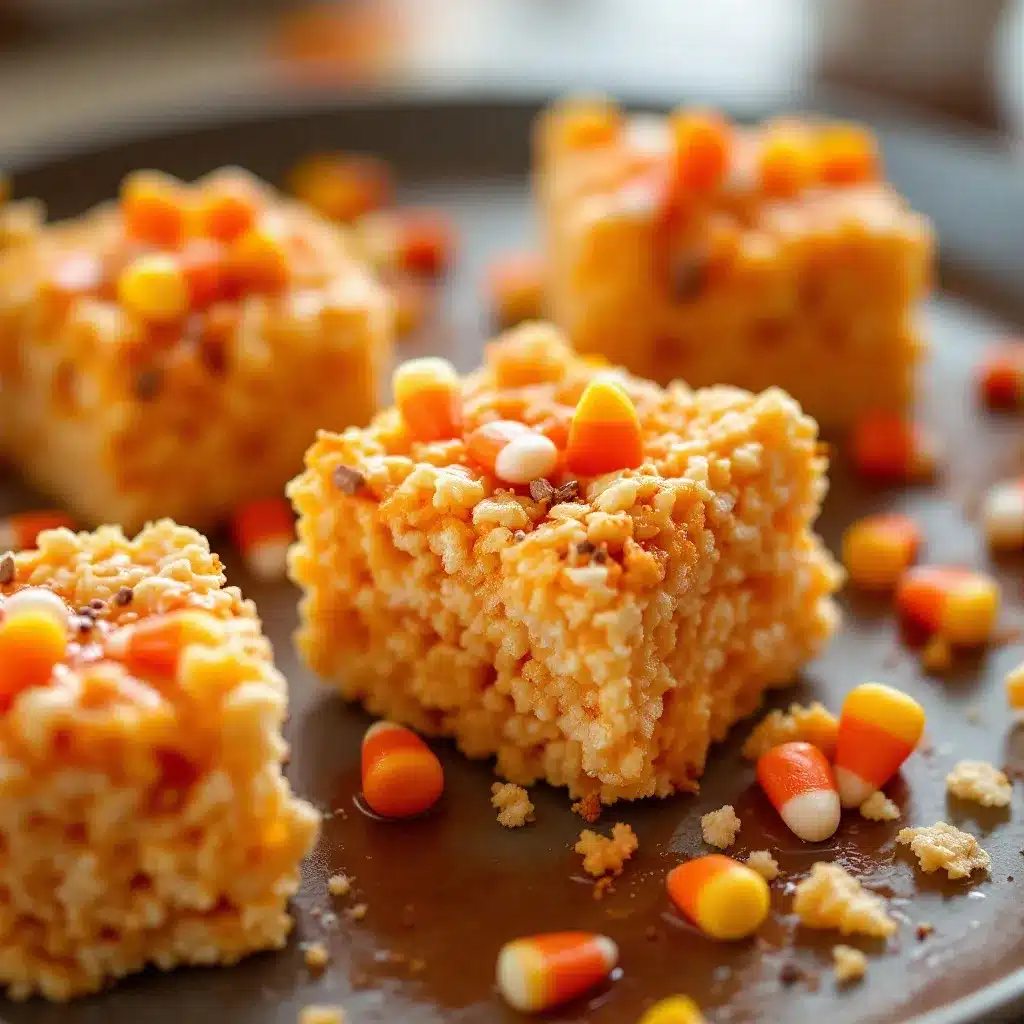
This is the part where everything comes together. Follow these steps carefully, and you’ll have perfect bars every time. I’ve included all the little tricks I learned from my failed batches so you can skip straight to success.
Step 1: Prepare Your Pan
Line your 9×13 inch baking pan with parchment paper, leaving some overhang on two opposite sides. This creates handles that let you lift the entire block of treats out later for easy cutting. If you don’t have parchment, aluminum foil works—just grease it well with butter or cooking spray. Set the pan aside.
Step 2: Melt the Butter
Place your large pot over medium-low heat and add the 3 tablespoons of butter. Let it melt slowly, swirling the pot occasionally. You want the butter fully melted but not bubbling aggressively. If it starts to brown, your heat is too high. Remove the pot from the heat briefly to let it cool down.
Step 3: Add the Marshmallows
Pour the entire 10 oz bag of mini marshmallows into the pot with the melted butter. Stir constantly with your silicone spatula until the marshmallows are about 75% melted. The residual heat will finish melting them after you remove the pot from the stove. This prevents the mixture from getting too hot, which can make the treats hard and brittle.
Step 4: Add Vanilla and Salt
Once the marshmallows are mostly melted, remove the pot from the heat. Stir in the vanilla extract and a pinch of salt if you’re using unsalted butter. The vanilla isn’t strictly necessary, but it adds a warmth that complements the candy corn’s honey-like sweetness.
Step 5: Fold in the Cereal
Add the 6 cups of Rice Krispies cereal to the pot. Fold gently with your spatula, using a cutting motion rather than stirring. You want to coat every piece of cereal without crushing it. This takes about 30 seconds of gentle folding. If you stir too aggressively, you’ll end up with dusty, crushed cereal and the texture won’t be right.
Step 6: Add the Candy Corn
Now for the fun part. Add 1 cup of candy corn to the mixture and fold it in gently. The candy corn will start to soften from the warm marshmallow, but it shouldn’t melt completely. You want distinct pieces throughout the bars. If you fold too much, the candy corn will dissolve and you’ll lose that lovely orange and yellow speckled effect.
Step 7: Press into the Pan
Transfer the mixture to your prepared pan. Here’s the trick: grease your spatula with butter or cooking spray, then use it to gently press the mixture into an even layer. If you press too hard, the bars will be dense and hard. If you don’t press enough, they’ll be loose and fall apart. Aim for firm but gentle pressure. I usually use my buttered hands for the final pressing—it gives me better control and feels more satisfying.
Step 8: Cool and Set
Let the treats cool at room temperature for at least 30 minutes. Don’t rush this step. If you cut them while they’re still warm, they’ll be sticky and messy. The bars need time to set up so they hold their shape. If you’re in a hurry, pop the pan in the refrigerator for 15 minutes, but let them sit at room temperature for 5 minutes before cutting to avoid condensation.
Step 9: Cut and Serve
Lift the entire block out of the pan using the parchment paper handles. Place it on a cutting board and use a sharp knife to cut into squares. I cut mine into 12 bars (3 rows by 4 rows), but you can make them smaller or larger depending on your crowd. For clean cuts, wipe the knife between each slice with a damp paper towel.
Cooking Tips & Techniques
I’ve made more batches of rice krispie treats than I care to count, and I’ve learned a few things the hard way. Here are the tips that actually make a difference:
Don’t Overheat the Marshmallows. This is the number one mistake people make. If you cook the marshmallows too long or at too high a heat, the sugar crystallizes and your treats turn out hard as a rock. Low and slow is the way to go. Remove the pot from the heat while there are still some unmelted marshmallow lumps—they’ll finish melting from the residual heat.
Butter Your Hands Generously. When pressing the mixture into the pan, coat your hands with butter or cooking spray. This prevents the sticky marshmallow from attaching to your skin and makes the pressing process much less frustrating. Keep a small bowl of melted butter nearby to reapply as needed.
Work Quickly but Gently. The marshmallow mixture starts to set as it cools, so you have a limited window to get everything pressed into the pan. But don’t rush so much that you crush the cereal. Find a balance between speed and gentleness. I usually aim to have the mixture in the pan within 2 minutes of adding the cereal.
Use Fresh Ingredients. Stale marshmallows don’t melt as smoothly, and stale cereal loses its crunch. If your Rice Krispies have been open for more than a few weeks, consider buying a fresh box. The texture difference is noticeable.
Microwave Method for Dorms. No stovetop? No problem. Melt the butter in a large microwave-safe bowl for 30 seconds. Add the marshmallows and microwave in 30-second intervals, stirring between each, until smooth. Then proceed with the cereal and candy corn. Just be careful—the bowl gets hot.
My Biggest Failure: The first time I made these, I used double the candy corn because I thought “more is better.” Big mistake. The bars were so sweet they were almost inedible, and the candy corn didn’t melt properly, leaving hard, crunchy bits throughout. Stick to 1 cup. Trust me on this.
Variations & Adaptations
One of the best things about this recipe is how easy it is to customize. Here are some variations I’ve tried and loved:
Chocolate Drizzle Version: After the bars have cooled, melt 1/2 cup of chocolate chips with 1 teaspoon of coconut oil and drizzle it over the top. The chocolate balances the sweetness of the candy corn and makes the bars look even more festive. I like to sprinkle a little flaky sea salt on top before the chocolate sets.
Peanut Butter Twist: Add 1/4 cup of creamy peanut butter to the marshmallow mixture right after it melts. Stir until smooth before adding the cereal. The peanut butter adds protein and a savory note that cuts through the sugar. This version is dangerously addictive.
Vegan-Friendly Adaptation: Use vegan butter (I like Miyoko’s) and vegan marshmallows (Dandies are my go-to). The texture is slightly different—vegan marshmallows take a bit longer to melt—but the end result is just as delicious. Most candy corn is accidentally vegan, so you’re good there.
Spiced Autumn Version: Add 1/2 teaspoon of pumpkin pie spice or cinnamon to the marshmallow mixture along with the vanilla. The warm spices complement the candy corn’s honey flavor and make these taste even more like fall. I made this version for a fall harvest charcuterie board last year, and it was the first thing to disappear.
Crunchy Topping Addition: Before the bars fully set, press a handful of additional candy corn pieces or crushed pretzels into the top. This adds visual interest and a contrasting texture. The pretzels add a salty element that makes the sweetness more complex.
Serving & Storage Suggestions
These treats are pretty forgiving when it comes to serving and storage. Here’s what works best:
Serving Temperature: Room temperature is ideal. The bars are soft and chewy without being sticky. If they’ve been refrigerated, let them sit out for 10-15 minutes before serving so they soften up slightly.
Presentation Ideas: For Halloween parties, I like to cut the bars into small squares and arrange them on a platter with Halloween mummy hot dogs and other themed treats. The orange and yellow colors pop against a dark plate or a black-and-orange themed tablecloth. You can also stick a small paper flag or toothpick into each bar for easy grabbing.
Storage Instructions: Store the bars in an airtight container at room temperature for up to 5 days. Place a piece of wax paper or parchment between layers to prevent sticking. Do not refrigerate them unless you absolutely have to—the cold makes them hard and less enjoyable.
Freezer Tips: These freeze beautifully. Wrap each bar individually in plastic wrap, then place them in a freezer-safe bag. They’ll keep for up to 3 months. To thaw, let them sit at room temperature for about 30 minutes. Don’t microwave frozen bars—they’ll turn into a sticky mess.
How Flavors Develop: Interestingly, these treats taste even better the next day. The candy corn has time to meld with the marshmallow, creating a more unified flavor. If you can resist eating them all on day one, you’ll be rewarded on day two.
Nutritional Information & Benefits
Let’s be honest—these are a treat, not a health food. But here’s the breakdown if you’re curious:
Per Serving (1 bar, based on 12 servings):
- Calories: 220
- Fat: 5g
- Carbohydrates: 44g
- Sugar: 28g
- Protein: 2g
- Fiber: 0g
- Sodium: 180mg
Health Considerations: These bars are naturally gluten-free and nut-free (check your marshmallow brand for cross-contamination if allergies are a concern). They’re also free of eggs and soy, making them suitable for many common dietary restrictions.
Ingredient Benefits: Rice Krispies are fortified with iron and B vitamins, so there’s a tiny nutritional silver lining. The butter provides a small amount of vitamin A. Mostly, though, this is a dessert meant for enjoyment, not sustenance. And that’s okay! Sometimes you need a treat that’s purely about pleasure.
Portion Control Tip: Cut the bars into 16 smaller pieces instead of 12 if you’re watching your sugar intake. They’re still satisfying, but the portion size is more reasonable.
Conclusion
These Easy Candy Corn Rice Krispie Treats are the kind of recipe that makes you look like a kitchen hero with almost zero effort. They’re festive enough for Halloween parties, simple enough for last-minute cravings, and delicious enough that people will ask for the recipe every single time. Plus, they use ingredients you probably already have or can easily find at any grocery store.
I love that this recipe takes something as simple as a classic rice krispie treat and gives it a seasonal twist that actually works. The candy corn doesn’t just sit on top looking pretty—it melts into the marshmallow and creates this subtle honey-caramel flavor that makes these bars taste more complex than they have any right to be. If you’re looking for a way to use up that bag of candy corn or just want a fun fall dessert that doesn’t require turning on the oven, this is it.
Try this recipe and let me know how it turns out! Drop a comment below with your variations or tag me in your photos if you share them online. I love seeing how people make recipes their own. And if you’re looking for more easy fall desserts, check out my no-bake pumpkin pie with gingersnap crust or these pumpkin spice snickerdoodle blondies for more seasonal inspiration. Happy fall baking, friends!
Frequently Asked Questions
Can I use stale candy corn for this recipe?
Technically yes, but fresh candy corn works better. Stale candy corn gets hard and doesn’t melt as smoothly into the marshmallow mixture. If your candy corn has been sitting around since last Halloween, consider buying a fresh bag for the best texture.
Why did my rice krispie treats turn out hard?
This usually happens when the marshmallows are overheated or cooked too long. The sugar crystallizes and creates a hard, brittle texture. Next time, remove the pot from the heat while the marshmallows are still slightly lumpy and let the residual heat finish the job. Also, make sure you’re not pressing the mixture too firmly into the pan.
Can I make these treats in advance for a party?
Absolutely! These are actually better made a day ahead. The flavors meld together overnight, and the texture stays perfect for 3-5 days when stored in an airtight container at room temperature. Just don’t refrigerate them, or they’ll lose their soft, chewy texture.
Can I use large marshmallows instead of mini marshmallows?
You can, but mini marshmallows melt more evenly and quickly. If you only have large marshmallows, cut them into smaller pieces with kitchen shears before melting. You’ll need about 40 large marshmallows to equal 10 ounces.
How do I make these treats less sweet?
Reduce the candy corn to 3/4 cup instead of 1 cup. You can also add a pinch of flaky sea salt on top after pressing the mixture into the pan. The salt balances the sweetness and adds a nice savory contrast. Some readers have also had success using reduced-sugar marshmallows, though I haven’t tested that myself.
Pin This Recipe!
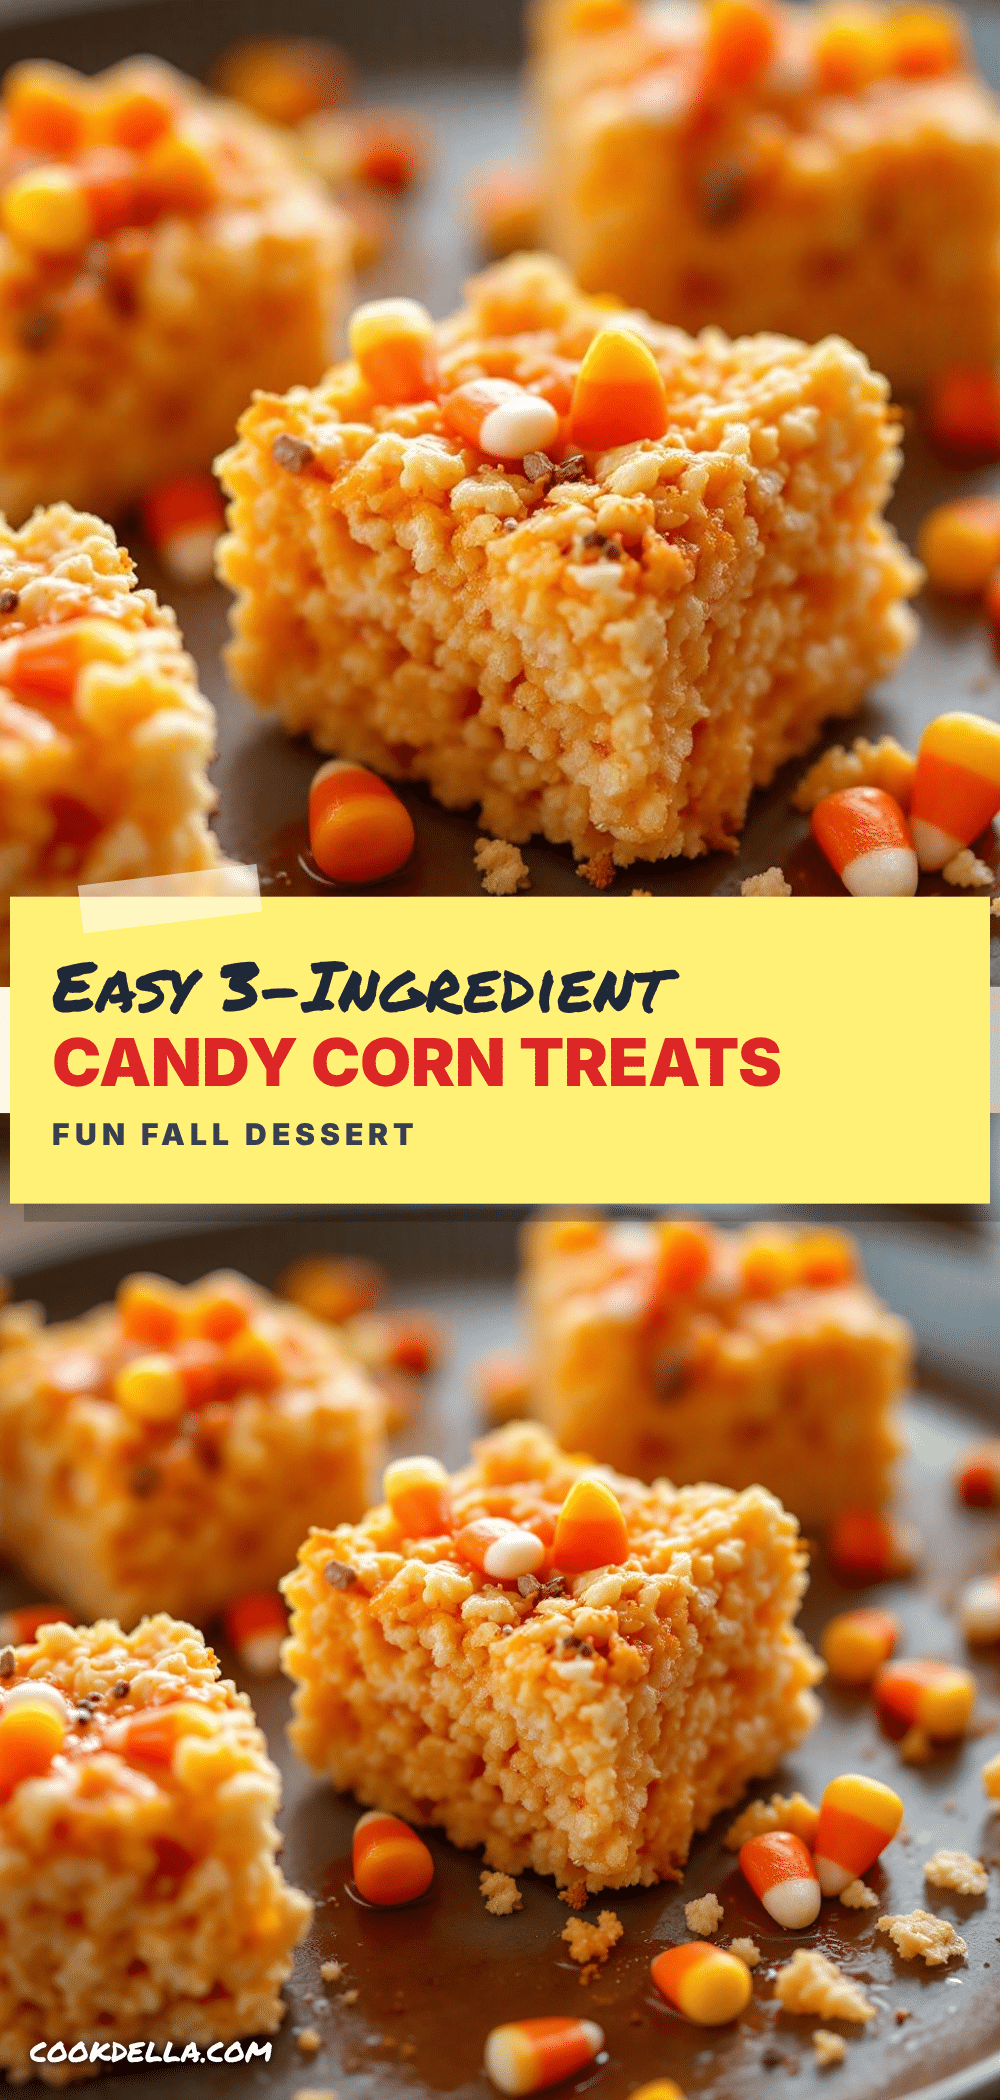
Easy Candy Corn Rice Krispie Treats – Best Fall Dessert

These Easy Candy Corn Rice Krispie Treats are a festive fall dessert that comes together in about 15 minutes with just three main ingredients. The candy corn melts into the marshmallow mixture, creating pockets of chewy, caramel-like sweetness with a natural orange and yellow gradient.
- Prep Time: 15 minutes
- Cook Time: 5 minutes
- Total Time: 50 minutes (including cooling)
- Yield: 12 servings 1x
- Category: Dessert
- Cuisine: American
Ingredients
- 6 cups Rice Krispies cereal (or any crispy rice cereal)
- 10 oz mini marshmallows (one standard bag, about 5 cups)
- 1 cup candy corn (about 6 oz)
- 3 tablespoons unsalted butter (salted butter works too, reduce added salt)
- 1/4 teaspoon vanilla extract (optional)
- Pinch of salt (if using unsalted butter)
Instructions
- Line a 9×13 inch baking pan with parchment paper, leaving overhang on two opposite sides. Set aside.
- Place a large pot over medium-low heat and melt 3 tablespoons of butter slowly, swirling occasionally. Do not let it brown.
- Add the entire 10 oz bag of mini marshmallows to the pot. Stir constantly until marshmallows are about 75% melted.
- Remove the pot from the heat. Stir in vanilla extract and a pinch of salt (if using unsalted butter).
- Add 6 cups of Rice Krispies cereal to the pot. Fold gently with a cutting motion until every piece is coated, about 30 seconds.
- Add 1 cup of candy corn and fold gently until just combined. The candy corn should soften but not melt completely.
- Transfer the mixture to the prepared pan. Grease a spatula with butter or cooking spray and gently press into an even layer. Alternatively, use buttered hands for final pressing.
- Let the treats cool at room temperature for at least 30 minutes. Do not cut while warm.
- Lift the block out using parchment handles. Cut into 12 squares (3 rows by 4 rows) with a sharp knife, wiping the knife between cuts.
Notes
Don’t overheat the marshmallows or the treats will become hard. Remove from heat while still slightly lumpy. Butter your hands generously when pressing the mixture into the pan. Work quickly but gently to avoid crushing the cereal. For best texture, use fresh marshmallows and cereal. These treats taste even better the next day as flavors meld. Store in an airtight container at room temperature for up to 5 days. Freeze individually wrapped bars for up to 3 months.
Nutrition
- Serving Size: 1 bar
- Calories: 220
- Sugar: 28
- Sodium: 180
- Fat: 5
- Saturated Fat: 3
- Carbohydrates: 44
- Protein: 2
Keywords: candy corn rice krispie treats, fall dessert, Halloween treats, no-bake dessert, gluten-free dessert, easy rice krispie treats


