I have a confession to make. The first time I attempted one-pan garlic butter chicken and rice, I ended up with a pot of sad, crunchy rice swimming in greasy butter while the chicken breasts sat on top, pale and rubbery, like they had given up on life. It was a disaster. Honestly, I was so frustrated I almost swore off the whole concept. I mean, how hard could it be? Chicken, rice, butter, garlic—four simple things. But that night, I learned that simplicity doesn’t mean easy. It took me three more tries (and a lot of grumbling) to figure out where I was going wrong. I was rushing the sear, dumping in cold liquid, and lifting the lid like a nervous parent checking on a sleeping baby. Once I got it right, though? It was like a switch flipped. This recipe is the result of those failures, and it’s finally the version I can make with my eyes closed—tender, juicy chicken, perfectly fluffy rice, and that rich, nutty garlic butter flavor running through every single bite. No more crunchy rice. No more bland chicken. Just a dinner that actually works.
Why You’ll Love This Recipe
Let me tell you why this one-pan wonder has become my go-to for those nights when I need dinner on the table without a sink full of dishes. I have tested this recipe more times than I care to admit, tweaking the liquid ratio, the heat levels, and the timing until it was foolproof.
- Quick & Easy: From start to finish, this comes together in about 40 minutes. Most of that time is hands-off, letting the oven do the work while you put your feet up.
- Simple Ingredients: You likely have everything in your kitchen right now. Chicken thighs, rice, butter, garlic, broth, and a few pantry staples. No fancy grocery trips needed.
- Perfect for Busy Weeknights: This is the kind of meal that feels like a comfort-food hug after a long day. It is satisfying enough for a family dinner but easy enough for a Tuesday.
- Crowd-Pleaser: I have made this for picky eaters, spice lovers, and even my mother-in-law, and it gets rave reviews every single time. The garlic butter flavor is universally adored.
- Unbelievably Delicious: The secret is in the technique—searing the chicken skin-side down until it’s golden and crisp, then letting it finish cooking right on top of the rice. As it bakes, the juices drip down into the rice, infusing every grain with incredible flavor.
This isn’t just another chicken and rice recipe. It is the one that makes you close your eyes after the first bite. The rice is fluffy but not mushy, the chicken is juicy with a perfect crispy skin, and that garlic butter sauce clings to everything like it was meant to be there. It is comfort food reimagined—faster, easier, and with the same soul-soothing satisfaction.
What Ingredients You Will Need
This recipe uses simple, wholesome ingredients to deliver big flavor without the fuss. Most of these are pantry staples, which makes it a perfect last-minute dinner solution.
- Chicken Thighs (bone-in, skin-on): 4-6 thighs (about 1.5 lbs or 680g). I prefer thighs over breasts here because they stay juicy and tender during the longer baking time. The skin gets beautifully crisp, and the bone adds flavor to the rice as it cooks.
- Unsalted Butter: 4 tablespoons (56g), divided. We use some for searing the chicken and some for sautéing the aromatics. Unsalted gives you control over the salt level.
- Garlic: 6-8 cloves, minced. Do not skimp here. Fresh garlic is non-negotiable for that rich, aromatic flavor. Pre-minced jarred garlic just won’t cut it.
- Long-Grain White Rice: 1 ½ cups (300g). I recommend basmati or jasmine for their fluffy texture and ability to absorb liquid without turning into glue. Do not use instant or quick-cooking rice.
- Chicken Broth: 2 ½ cups (590ml). Use low-sodium so you can control the salt. A good quality broth makes a difference—I like Better Than Bouillon for its rich flavor.
- Yellow Onion: 1 medium, finely diced (about 1 cup). It adds a savory base note that melts into the rice.
- Dried Thyme: 1 teaspoon. It pairs beautifully with garlic butter. You can substitute with dried rosemary or oregano.
- Paprika: 1 teaspoon. I use sweet paprika for color and a mild, earthy sweetness. Smoked paprika works too for a deeper flavor.
- Salt and Black Pepper: To taste. Season the chicken generously—it is your only chance to flavor the meat directly.
- Fresh Parsley: 2 tablespoons, chopped, for garnish. Adds a fresh pop of color and brightness at the end.
- Optional: Lemon Zest: From ½ lemon. Stir it into the finished dish for a bright, fresh note that cuts through the richness.
Ingredient Selection Tips: Look for chicken thighs that are plump and have a nice even layer of fat under the skin. For the rice, I have found that rinsing it until the water runs clear is crucial—it removes excess starch and prevents the rice from becoming gummy. If you want to swap the rice, you can use brown rice, but you’ll need to increase the liquid to 3 cups and extend the baking time by about 20 minutes.
Equipment Needed
You don’t need a lot of fancy tools for this one, which is part of the beauty. Here is what you will need:
- Large Oven-Safe Skillet or Dutch Oven: A 12-inch skillet with a lid is ideal. I use a cast-iron skillet because it holds heat beautifully and gives the chicken an incredible sear. A stainless steel or enameled cast-iron Dutch oven works perfectly too. Make sure it has a tight-fitting lid.
- Tongs: For flipping the chicken without piercing the skin and losing those precious juices.
- Wooden Spoon or Silicone Spatula: For stirring the rice and scraping up the browned bits from the bottom of the pan (that’s where the flavor lives).
- Measuring Cups and Spoons: For accurate liquid and spice measurements.
- Chef’s Knife and Cutting Board: For mincing garlic and dicing the onion.
- Fine-Mesh Strainer: For rinsing the rice. This is a small step that makes a big difference.
Budget-Friendly Tip: If you don’t have an oven-safe skillet, you can sear the chicken in a regular skillet, then transfer everything to a 9×13-inch baking dish. Cover tightly with foil and bake as directed. It works just as well.
Preparation Method
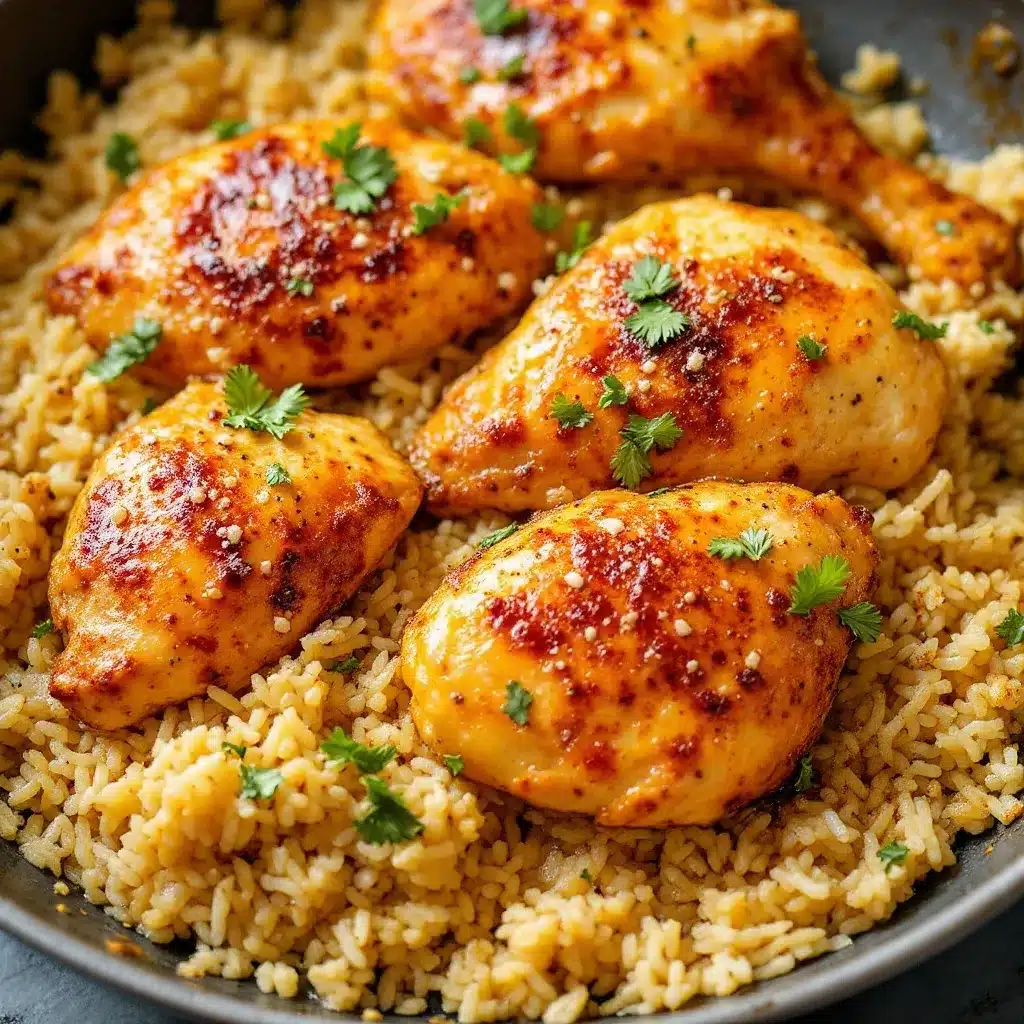
Alright, let’s get cooking. This method is broken down into clear steps so you can follow along without any guesswork. Trust the process, and do not lift that lid!
- Preheat and Prep: Preheat your oven to 375°F (190°C). Rinse the 1 ½ cups of long-grain white rice under cold water in a fine-mesh strainer until the water runs clear. This usually takes about 30 seconds. Shake off the excess water and set aside. Pat the chicken thighs dry with paper towels—this is crucial for a good sear. Season them generously on all sides with salt, pepper, and the paprika.
- Sear the Chicken: Place your large oven-safe skillet over medium-high heat. Add 2 tablespoons of the unsalted butter. Once it is melted and shimmering (but not browning), carefully place the chicken thighs skin-side down in the skillet. Do not crowd them—work in batches if needed. Let them sear undisturbed for 5-7 minutes, until the skin is deep golden brown and crispy. Flip them with tongs and sear the other side for another 3 minutes. The chicken will not be cooked through yet, and that is fine. Transfer the seared chicken to a plate and set aside.
- Sauté the Aromatics: Reduce the heat to medium. Add the remaining 2 tablespoons of butter to the skillet. Once it melts, add the finely diced onion and cook for 3-4 minutes, stirring occasionally, until it is soft and translucent. Add the minced garlic and cook for another 30 seconds until fragrant. Be careful not to burn the garlic—it turns bitter quickly.
- Toast the Rice: Add the rinsed and drained rice to the skillet. Stir it into the onion and garlic mixture, letting it toast for about 2 minutes. You will hear it start to crackle and smell a nutty aroma. This step is key—it helps the rice stay separate and fluffy instead of clumping together.
- Add the Liquid and Seasoning: Pour in the 2 ½ cups of chicken broth and add the dried thyme. Stir everything together, scraping up any browned bits from the bottom of the pan with your wooden spoon. Those bits are pure flavor. Bring the liquid to a gentle simmer.
- Return the Chicken: Nestle the seared chicken thighs back into the skillet, skin-side up, on top of the rice. They should be sitting partially above the liquid, not submerged. This keeps the skin crispy.
- Bake: Cover the skillet with its lid (or tightly with foil if you don’t have a lid). Transfer it to the preheated oven and bake for 25-30 minutes. The rice should be tender and have absorbed all the liquid. The chicken should register 165°F (74°C) on an instant-read thermometer inserted into the thickest part.
- Rest and Serve: Remove the skillet from the oven and let it rest, covered, for 5 minutes. This allows the steam to finish distributing moisture evenly. Uncover carefully (the steam is hot!), fluff the rice gently with a fork, and garnish with fresh parsley and a sprinkle of lemon zest if using. Serve immediately.
Sensory Cue: When you lift the lid, you should see a cloud of fragrant steam. The rice should look fluffy and separate, not wet or soupy. The chicken skin should be a deep golden brown and feel crisp to the touch.
Troubleshooting Tip: If after 30 minutes the rice is still a bit crunchy and the liquid is gone, don’t panic. Add ¼ cup of hot broth or water, cover tightly, and bake for another 5-7 minutes. This happens sometimes if your oven runs a little cool or your rice is older.
Cooking Tips & Techniques
Over the course of my many attempts, I have learned a few things the hard way. Here are my top tips to make sure your first try is a success.
- Don’t Skip the Rice Rinse: I know it feels like an extra step, but rinsing the rice removes the surface starch that turns rice into a sticky, gummy mess. It is the single biggest factor in getting fluffy, separate grains.
- Pat the Chicken Dry: This is non-negotiable for a good sear. Moisture is the enemy of browning. If the chicken is wet, it will steam instead of sear, and you will lose that beautiful golden skin.
- Let the Chicken Rest After Searing: That little rest on the plate is important. It allows the juices to redistribute so the meat stays moist during baking. If you put it straight into the oven, you risk dry chicken.
- Resist the Urge to Peek: I know it is tempting to lift the lid and check on things, but every time you do, you let out precious steam. The rice needs that steam to cook properly. Trust the timer and keep the lid on.
- Use Hot Liquid: I always heat my broth in the microwave for about a minute before adding it to the rice. Cold liquid will shock the pan and slow down the cooking process, leading to unevenly cooked rice.
- Fluff, Don’t Stir: When the rice is done, use a fork to fluff it gently. Stirring it with a spoon can break the grains and make the rice mushy.
I once forgot to rinse the rice and ended up with a dish that looked more like risotto than fluffy pilaf. It still tasted good, but the texture was all wrong. That mistake taught me to never skip that simple step.
Variations & Adaptations
This recipe is incredibly flexible. Here are a few ways to change it up based on what you have on hand or what you are craving.
- Vegetable Boost: Add a cup of frozen peas and diced carrots to the rice along with the broth. They will cook perfectly in the oven and add color and sweetness. You can also stir in a handful of fresh spinach right before serving—it will wilt from the residual heat.
- Spicy Kick: Add ½ teaspoon of red pepper flakes along with the garlic, or stir in a tablespoon of sriracha or chili paste into the broth. For a smoky heat, use smoked paprika instead of sweet.
- Herb Garden Version: Swap the dried thyme for a teaspoon of dried oregano or herbes de Provence. Fresh herbs like rosemary or sage can be added to the skillet before baking—just tuck a couple of sprigs in with the chicken.
- Dairy-Free Adaptation: Use a high-quality vegan butter or olive oil instead of butter. The flavor will be slightly different, but still delicious. Use vegetable broth instead of chicken broth to keep it fully plant-based.
- One-Pan Lemon Herb: Add the zest and juice of one lemon to the broth along with 2 teaspoons of dried oregano. It gives the dish a bright, Mediterranean twist that is perfect for spring.
I personally love the lemon herb variation. It reminds me of a dish I had at a little Greek taverna years ago, and it is the perfect way to lighten up the richness of the butter.
Serving & Storage Suggestions
This dish is a complete meal in one pan, but a few simple sides can round it out beautifully.
Serve the chicken and rice hot, straight from the skillet. I love to add a simple side salad with a lemony vinaigrette to cut through the richness. Steamed green beans or roasted asparagus are also excellent choices. For a heartier meal, serve it alongside some crusty bread to soak up any extra garlic butter sauce from the bottom of the pan.
Storage: Leftovers can be stored in an airtight container in the refrigerator for up to 4 days. The flavors actually meld together even more overnight, making it even better the next day.
Reheating: The best way to reheat is in a skillet over medium-low heat with a splash of broth or water to rehydrate the rice. Cover and heat for 5-7 minutes, stirring occasionally. You can also reheat individual portions in the microwave, but the rice will be slightly softer. For the crispiest skin, reheat the chicken in a hot oven or air fryer at 350°F (175°C) for 5-7 minutes.
Freezer Instructions: This dish freezes surprisingly well. Let it cool completely, then transfer to a freezer-safe container. It will keep for up to 3 months. Thaw overnight in the refrigerator before reheating.
Flavor Development: I find that the rice is at its absolute best on day two. The flavors have had time to settle, and every grain seems to taste more deeply of garlic and butter. If you can resist eating it all the first night, you are in for a treat.
Nutritional Information & Benefits
This recipe is a balanced meal on its own, providing protein, carbohydrates, and healthy fats. Here is an approximate breakdown per serving (based on 4 servings):
- Calories: ~520 kcal
- Protein: 32g
- Fat: 22g
- Saturated Fat: 9g
- Carbohydrates: 45g
- Fiber: 1g
- Sugar: 2g
- Sodium: 680mg
Health Benefits: Chicken thighs are a great source of protein, iron, and B vitamins, which support energy metabolism. Garlic is known for its immune-boosting properties and anti-inflammatory benefits. Brown rice can be used for a higher fiber option, though you will need to adjust the liquid and cooking time.
Dietary Considerations: This recipe is naturally gluten-free (just make sure your broth is certified gluten-free). For a lower-fat option, you can use chicken breasts and reduce the butter to 3 tablespoons, but the result will be a bit less juicy.
Allergens: This recipe contains dairy (butter). For a dairy-free version, see the variations section above.
I personally love that this meal feels indulgent but is actually quite balanced. It is the kind of dinner that fills you up without weighing you down, perfect for a cozy night in.
Frequently Asked Questions
Can I use chicken breasts instead of thighs?
Yes, you can. Use boneless, skinless chicken breasts (about 1.5 lbs) and reduce the baking time to 20-22 minutes. Check for doneness at 165°F (74°C). The rice may need a few extra minutes if the chicken is done first—just remove the chicken, cover the skillet, and continue baking the rice until tender.
Why is my rice still crunchy after baking?
This usually happens if the rice didn’t have enough liquid or the heat was too low. Make sure you are using exactly 2 ½ cups of broth for 1 ½ cups of rice and that the liquid is simmering before you put the skillet in the oven. Also, older rice may require a few extra minutes of baking time.
Can I make this in a slow cooker?
I don’t recommend it for this recipe. The rice tends to become mushy in a slow cooker, and you lose the crispy chicken skin. This one-pan oven method is designed to give you the best texture. If you are looking for a similar slow cooker recipe, you might love this creamy crockpot cheeseburger potato soup for an easy, hands-off meal.
How do I prevent the rice from burning on the bottom?
Make sure the liquid is properly distributed and the skillet is not too hot when it goes into the oven. Using a heavy-bottomed skillet like cast iron helps distribute heat evenly. If you are worried, you can place a piece of parchment paper under the rice before adding the liquid.
Can I use brown rice instead of white rice?
Absolutely. Use 1 ½ cups of long-grain brown rice and increase the broth to 3 cups. Bake for 45-50 minutes, or until the rice is tender and the liquid is absorbed. The cooking time will be longer, so plan accordingly.
Conclusion
This easy one-pan garlic butter chicken and rice has become a staple in my kitchen for a reason. It is simple enough for a beginner cook but impressive enough to serve to guests. The combination of crispy-skinned chicken, fluffy rice, and rich garlic butter is pure comfort food magic. I hope you give it a try and make it your own—whether you add extra vegetables, a spicy kick, or just keep it classic.
I would love to hear how it turns out for you. Drop a comment below and let me know if you tried any variations or if this recipe becomes a regular in your dinner rotation. And if you are looking for another easy weeknight meal, check out this cheesy ground beef and rice casserole for another one-pan wonder. Happy cooking!
Pin This Recipe!
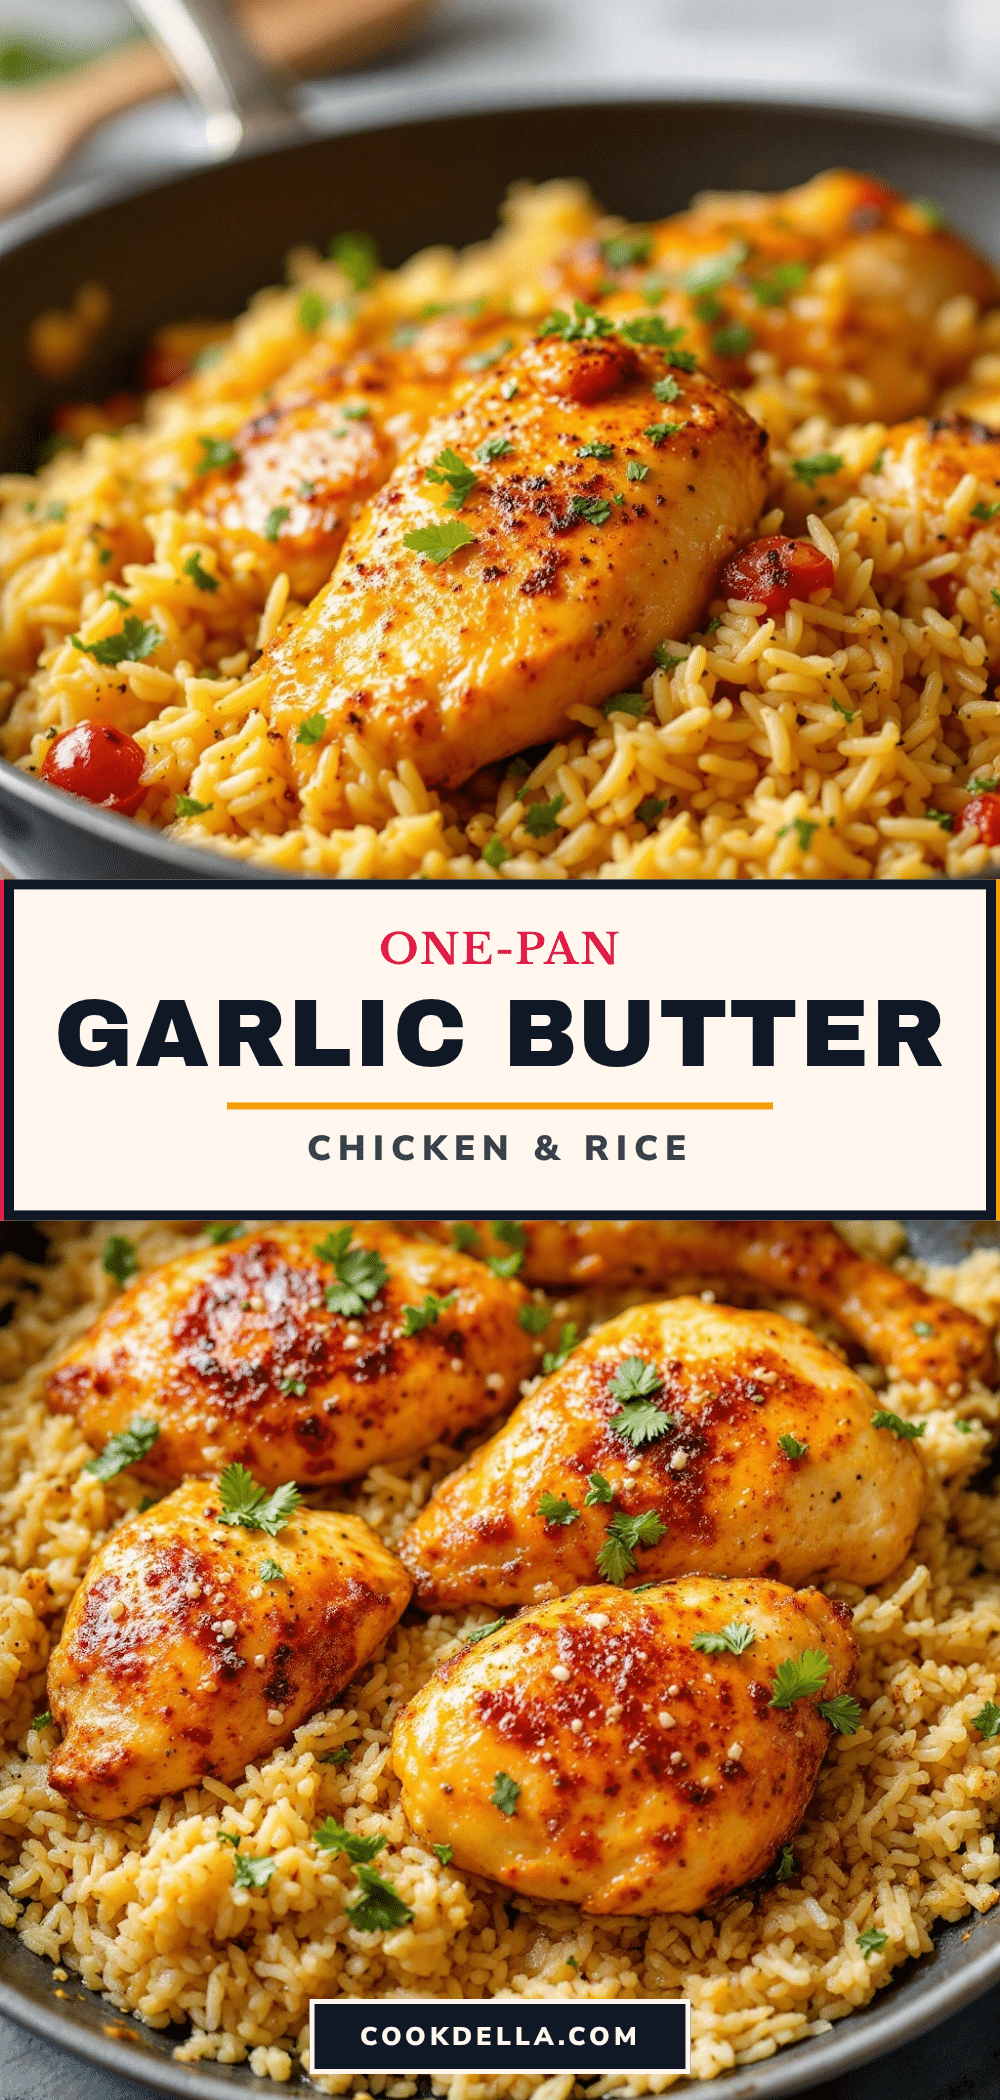
Easy One-Pan Garlic Butter Chicken and Rice

Tender, juicy chicken thighs and perfectly fluffy rice are cooked together in a rich garlic butter sauce, all in one pan. This foolproof recipe delivers a comforting, crowd-pleasing meal with minimal cleanup.
- Prep Time: 15 minutes
- Cook Time: 30 minutes
- Total Time: 45 minutes
- Yield: 4 servings 1x
- Category: Main Course
- Cuisine: American
Ingredients
- 4–6 bone-in, skin-on chicken thighs (about 1.5 lbs or 680g)
- 4 tablespoons (56g) unsalted butter, divided
- 6–8 cloves garlic, minced
- 1 ½ cups (300g) long-grain white rice (basmati or jasmine)
- 2 ½ cups (590ml) low-sodium chicken broth
- 1 medium yellow onion, finely diced (about 1 cup)
- 1 teaspoon dried thyme
- 1 teaspoon sweet paprika
- Salt and black pepper to taste
- 2 tablespoons fresh parsley, chopped
- Optional: zest of ½ lemon
Instructions
- Preheat oven to 375°F (190°C). Rinse rice under cold water until water runs clear; drain. Pat chicken thighs dry and season generously with salt, pepper, and paprika.
- Heat a large oven-safe skillet over medium-high heat. Add 2 tablespoons butter. Once melted and shimmering, place chicken skin-side down. Sear undisturbed for 5-7 minutes until deep golden brown. Flip and sear other side for 3 minutes. Transfer chicken to a plate.
- Reduce heat to medium. Add remaining 2 tablespoons butter. Sauté onion for 3-4 minutes until soft and translucent. Add garlic and cook 30 seconds until fragrant.
- Add rinsed rice to skillet. Stir and toast for 2 minutes until nutty and crackling.
- Pour in chicken broth and add dried thyme. Stir, scraping up browned bits from bottom. Bring to a gentle simmer.
- Nestle chicken thighs skin-side up on top of rice. Cover skillet with lid or foil.
- Bake for 25-30 minutes until rice is tender and liquid is absorbed. Chicken should reach 165°F (74°C) internally.
- Let rest covered for 5 minutes. Uncover, fluff rice with a fork, garnish with parsley and lemon zest if using. Serve immediately.
Notes
For best results, do not skip rinsing the rice or patting the chicken dry. Resist lifting the lid during baking. If rice is still crunchy after 30 minutes, add ¼ cup hot broth, cover, and bake 5-7 more minutes.
Nutrition
- Serving Size: 1 serving (about 1 c
- Calories: 520
- Sugar: 2
- Sodium: 680
- Fat: 22
- Saturated Fat: 9
- Carbohydrates: 45
- Fiber: 1
- Protein: 32
Keywords: one-pan chicken and rice, garlic butter chicken, easy weeknight dinner, chicken thighs, one-pot meal


