My husband actually asked for this dish three nights in a row without any prompting, which is how I knew I’d accidentally stumbled onto something special. It wasn’t a fancy dinner or a complicated technique—just a Tuesday night where I needed dinner on the table fast and had a pack of chicken thighs staring at me from the fridge.
I remember standing there, butter melting in the pan, garlic sizzling, and thinking, “This better work because I have zero backup plan.” The rice soaked up all that garlicky, buttery goodness while the chicken thighs got that golden, crispy skin on top. By the time I pulled the pan out of the oven, the whole kitchen smelled like comfort—the kind of smell that makes people wander into the kitchen asking what’s for dinner before you even call them.
This easy one-pan garlic butter chicken thighs with rice recipe has become our go-to for those nights when you want something that feels special but doesn’t require a million dishes or a culinary degree. It’s the kind of meal that makes you look like you tried harder than you actually did, and honestly, that’s my favorite kind of cooking.
There’s something about a single pan doing all the work that just feels right. No juggling pots, no timing multiple components, no sink full of dishes afterward. Just perfectly cooked chicken with crispy skin sitting on a bed of fluffy, flavorful rice that soaked up all those pan drippings. It stuck around in our dinner rotation because it’s reliable, and some recipes earn their keep by being exactly that.
Why You’ll Love This Recipe
I’ve tested this recipe more times than I care to count, tweaking the rice-to-liquid ratio, adjusting the garlic amount, and figuring out the exact oven temperature that gives you both crispy chicken skin and perfectly cooked rice. What I landed on is something I’m genuinely proud to share.
- One Pan, Minimal Mess: Everything cooks in a single oven-safe skillet or baking dish. You sear the chicken, add the rice and liquid, then let the oven do the rest. Dinner and cleanup in under an hour.
- Simple Pantry Ingredients: Chicken thighs, rice, garlic, butter, broth, and a few seasonings. No fancy grocery store trips required—you probably have most of this already.
- Perfect for Busy Weeknights: Active prep time is about 15 minutes. The oven handles the rest while you set the table or help with homework. It’s the kind of dinner that makes weeknights feel manageable.
- Crowd-Pleasing Comfort: The combination of juicy chicken, crispy skin, and garlicky rice appeals to both kids and adults. Even my pickiest eater cleans their plate.
- Next-Level Flavor Without Extra Work: The secret is letting the rice cook in the same pan where you seared the chicken. Those browned bits and rendered fat infuse every grain with flavor you just can’t get from cooking them separately.
What makes this different from other one-pan chicken and rice recipes is the technique. I figured out that searing the chicken skin-side down until it’s deeply golden creates a flavor foundation that carries through the whole dish. Then, instead of just dumping rice in raw, I toast it briefly in the pan drippings before adding the liquid. That little step makes the rice nuttier and more flavorful, and it absorbs that garlic butter beautifully.
This isn’t just another weeknight dinner—it’s the one you’ll actually look forward to making. The one that makes you close your eyes after the first bite because it’s exactly what you needed after a long day. It’s comfort food that delivers on every level without demanding too much from you.
What Ingredients You Will Need
This recipe uses simple, wholesome ingredients that work together to create something truly satisfying. Most of these are pantry staples, which makes this dish perfect for those nights when you need dinner sorted without a trip to the store.
- Chicken thighs, bone-in and skin-on (about 6-8 thighs, roughly 2 pounds total) – The bone keeps the meat juicy during baking, and the skin gets beautifully crispy. I prefer thighs over breasts here because they stay tender and don’t dry out. If you only have boneless skinless thighs, reduce the cooking time by about 10 minutes.
- Unsalted butter (4 tablespoons, divided) – We use half for searing the chicken and half for the rice. Using unsalted lets you control the overall salt level. I like Kerrygold for its rich flavor, but any good-quality butter works.
- Garlic (6-8 cloves, minced) – Fresh garlic is non-negotiable here. Pre-minced jarred garlic won’t give you the same aromatic punch. I sometimes add an extra clove or two because I love garlic, but 6-8 is a good starting point.
- Long-grain white rice (1½ cups) – Basmati or jasmine rice works beautifully. Avoid short-grain rice as it can turn gummy. I’ve tested this with basmati and jasmine, and both give fluffy, separate grains that soak up the flavors perfectly.
- Chicken broth (2½ cups) – Low-sodium broth is best so you can control the salt. The broth replaces water and adds so much more flavor to the rice. Homemade broth is wonderful if you have it, but good-quality store-bought works great too.
- Onion (1 medium, finely diced) – Adds sweetness and depth to the rice. Yellow or white onion both work well.
- Dried thyme (1 teaspoon) – Earthy and slightly floral, thyme pairs beautifully with garlic and butter. You can substitute dried rosemary or oregano if that’s what you have.
- Paprika (1 teaspoon) – Adds a subtle smokiness and gives the chicken a beautiful color. Smoked paprika is wonderful here, but sweet paprika works too.
- Salt and black pepper (to taste) – Don’t be shy with seasoning. I use about 1 teaspoon of salt and ½ teaspoon of pepper for the chicken, plus additional salt for the rice.
- Fresh parsley (for garnish, optional) – Adds a pop of color and freshness. Flat-leaf parsley is my preference, but curly works fine too.
- Lemon wedges (for serving, optional) – A squeeze of lemon juice right before eating brightens all the flavors beautifully.
For the rice, I recommend using a brand like Lundberg or Royal basmati for consistent results. If you’re looking for a gluten-free option, this recipe is naturally gluten-free as long as you use certified gluten-free broth. For a dairy-free version, substitute the butter with a good-quality olive oil or vegan butter—the flavor will change slightly but it’s still delicious.
Equipment Needed
One of the best things about this recipe is how little equipment it requires. Here’s what you’ll need:
- Large oven-safe skillet (12-inch) – A cast-iron skillet is ideal because it retains heat beautifully and goes from stovetop to oven seamlessly. If you don’t have cast iron, any oven-safe stainless steel or nonstick skillet works. Just make sure it can handle 400°F heat.
- Sharp knife and cutting board – For mincing garlic and dicing the onion. A good chef’s knife makes prep much faster and safer.
- Measuring cups and spoons – Accurate measurements matter, especially for the rice-to-liquid ratio.
- Tongs – For flipping the chicken and serving. Silicone-tipped tongs won’t scratch your pan.
- Foil – For covering the pan during the first part of baking. Heavy-duty foil works best.
If you don’t have an oven-safe skillet, you can sear the chicken in a regular skillet, then transfer everything to a 9×13-inch baking dish before adding the rice and liquid. It adds one extra dish, but the recipe still works beautifully. I’ve done this when my cast iron was busy with another dish, and it turned out just as good.
A good cast-iron skillet is worth investing in if you make one-pan meals often. Lodge makes affordable, durable options that last for years with proper care. Season it well and avoid using soap when cleaning—just hot water and a stiff brush, then dry thoroughly and rub with a thin layer of oil.
Preparation Method
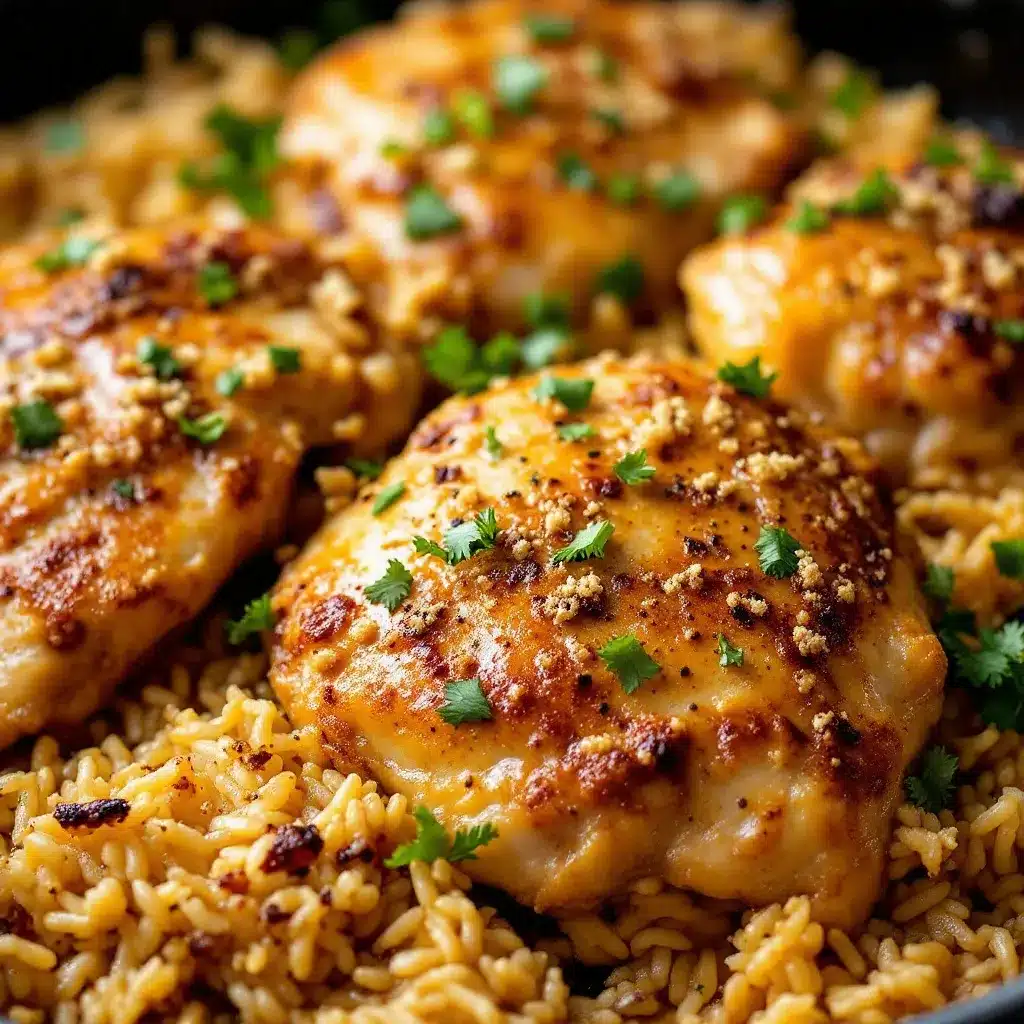
Let’s walk through this step by step. I’ve included timing estimates and visual cues so you know exactly what to look for at each stage.
- Preheat your oven to 400°F (200°C). Position the rack in the middle of the oven. While it’s heating, pat the chicken thighs dry with paper towels—this is crucial for getting crispy skin. Season both sides generously with salt, pepper, paprika, and dried thyme. Let them sit at room temperature for about 10 minutes while you prep the other ingredients.
- Heat 2 tablespoons of butter in your oven-safe skillet over medium-high heat. Once the butter is melted and sizzling (but not browning), place the chicken thighs skin-side down in a single layer. Don’t crowd the pan—if your skillet is smaller, work in batches. Let them cook undisturbed for 5-7 minutes until the skin is deep golden brown and crispy. The skin should release easily from the pan when it’s ready; if it sticks, give it another minute.
- Flip the chicken thighs and cook for another 3 minutes on the second side. The skin side should be beautifully browned and crispy. Transfer the chicken to a plate and set aside. Don’t wipe out the pan—those browned bits are flavor gold.
- Reduce the heat to medium and add the remaining 2 tablespoons of butter to the same pan. Add the diced onion and cook for 3-4 minutes until softened and translucent, scraping up any browned bits from the bottom of the pan with a wooden spoon. Add the minced garlic and cook for 30 seconds until fragrant—don’t let it burn or it will turn bitter.
- Add the rice to the pan and stir to coat it in the butter and onion mixture. Cook for 1-2 minutes, stirring constantly, until the rice starts to look slightly translucent at the edges and smells nutty. This toasting step makes a real difference in the final texture and flavor of the rice.
- Pour in the chicken broth and stir to combine. Scrape up any remaining browned bits from the bottom of the pan. Bring the mixture to a gentle simmer—you should see small bubbles around the edges. Taste the liquid and adjust salt if needed. Remember that the rice will absorb some of the saltiness, so it should taste slightly saltier than you want the final dish to be.
- Nestle the chicken thighs back into the pan, skin-side up, placing them evenly over the rice. The rice should be mostly submerged in the liquid. If it looks dry, add a splash more broth or water.
- Cover the pan tightly with foil and transfer to the preheated oven. Bake for 25 minutes covered. The foil traps steam, which helps the rice cook evenly and keeps the chicken moist.
- After 25 minutes, remove the foil carefully (watch out for the steam—it’s hot!) and continue baking uncovered for another 15-20 minutes. The rice should be tender and have absorbed most of the liquid, and the chicken skin should be crispy again. If you want extra-crispy skin, you can broil for 2-3 minutes at the end—just watch it closely so it doesn’t burn.
- Remove the pan from the oven and let it rest for 5 minutes before serving. This resting time allows the rice to finish absorbing any remaining liquid and makes it easier to serve without it being too wet. Fluff the rice gently with a fork before serving.
One thing I learned the hard way: don’t peek during the covered baking time. Every time you lift that foil, you let out steam that the rice needs to cook properly. Trust the process and let it do its thing.
If you notice the rice is still a bit crunchy after the full baking time but the liquid is absorbed, sprinkle a few tablespoons of hot broth or water over the top, re-cover with foil, and bake for another 5-10 minutes. This happens sometimes depending on your oven or the specific rice brand.
Cooking Tips & Techniques
After making this dish more times than I can count, I’ve picked up a few tricks that make a real difference. Here are the ones worth knowing:
Pat the chicken really dry. I cannot stress this enough. Moisture is the enemy of crispy skin. Use paper towels and really press them into the skin to absorb as much moisture as possible. Let the chicken sit uncovered in the fridge for 30 minutes if you have time—it dries out the skin even more and guarantees that perfect crunch.
Don’t move the chicken too early. When you first put the chicken skin-side down, it will stick to the pan. That’s normal. Let it cook undisturbed for a full 5-7 minutes. The skin will release naturally once it’s properly browned and crispy. If you try to flip it too early, you’ll tear the skin and lose that beautiful crust.
Toast the rice. I know it adds an extra step, but toasting the rice in the pan drippings before adding the liquid transforms the flavor. It gives the rice a nutty, almost popcorn-like aroma and helps the grains stay separate instead of clumping together. Don’t skip this step—it’s worth the extra 90 seconds.
Watch the garlic. Garlic burns quickly, especially in butter. Add it after the onions have softened and cook it just until fragrant—about 30 seconds. If you add it too early or cook it too long, it turns bitter and can ruin the whole dish. When in doubt, pull the pan off the heat for a moment while you add the garlic.
Use the right pan size. A 12-inch skillet is ideal. If your pan is too small, the rice will be too deep and may not cook evenly. If it’s too large, the liquid will spread too thin and the rice might dry out before it’s fully cooked. Stick with a 12-inch pan for best results.
I once forgot to cover the pan with foil and ended up with dry, crunchy rice and overcooked chicken. It was a sad dinner, but it taught me that the foil is non-negotiable. The steam created during the covered baking time is what makes the rice fluffy and tender.
Variations & Adaptations
This recipe is wonderfully adaptable. Here are some variations I’ve tried and loved:
Vegetable-Packed Version: Add 1 cup of frozen peas and carrots to the rice along with the broth, or stir in 2 cups of fresh spinach after the covered baking time. The spinach wilts perfectly into the hot rice. I’ve also added diced bell peppers and zucchini along with the onions—just make sure to cut them into small, even pieces so they cook through.
Herb and Citrus Twist: Add the zest of one lemon along with the garlic, and stir in 2 tablespoons of fresh lemon juice along with the broth. Garnish with fresh dill or parsley instead of just parsley. The brightness cuts through the richness of the butter beautifully. This version is especially good in spring and summer.
Spicy Kick: Add ½ teaspoon of red pepper flakes along with the garlic, or stir in a diced jalapeño (seeds removed unless you want serious heat) with the onions. You can also use andouille or smoked sausage—sear slices along with the chicken for a Cajun-inspired twist. My husband loves this version with extra cayenne.
Dairy-Free Adaptation: Substitute the butter with 4 tablespoons of olive oil or your favorite vegan butter. The flavor changes slightly—it’s less rich but still delicious. I’ve used good-quality extra virgin olive oil with excellent results.
Creamy Mushroom Version: Add 8 ounces of sliced cremini mushrooms along with the onions and cook until they release their liquid and start to brown. Stir in ¼ cup of heavy cream or coconut cream along with the broth for an extra-luxurious rice. This version feels like a special occasion dinner.
I’ve tried a version with brown rice instead of white rice, and it works but requires adjustments. Use 1½ cups of brown rice and increase the broth to 3 cups. Bake covered for 45 minutes instead of 25, then uncovered for 20-25 minutes. The texture is chewier and nuttier—still delicious, just different.
Serving & Storage Suggestions
This dish is best served hot, straight from the pan. The contrast between the crispy chicken skin and the tender, flavorful rice is at its peak right after resting. Here’s how I like to serve it:
Fluff the rice gently with a fork before serving to separate the grains. Place one or two chicken thighs on top of a generous scoop of rice. Garnish with fresh parsley and serve with lemon wedges on the side—a squeeze of lemon juice brightens everything and cuts through the richness.
For side dishes, a simple green salad with a lemony vinaigrette is perfect. The acidity balances the buttery rice and chicken. Steamed green beans or roasted asparagus also work beautifully. If you’re feeding a crowd, you can pair this with some crusty bread to soak up any extra pan juices.
For a complete meal that requires minimal effort, try serving this alongside a fresh cucumber mint green tea cooler for a refreshing contrast on warmer evenings.
Storage: Leftovers keep well in an airtight container in the refrigerator for up to 4 days. The rice may absorb more liquid as it sits, so it will be slightly less fluffy than when freshly made, but the flavors actually meld and deepen overnight.
Reheating: The best way to reheat is in a covered skillet over medium-low heat with a splash of broth or water to add moisture back to the rice. Heat for 5-7 minutes, stirring occasionally, until warmed through. You can also use the microwave—cover the plate with a damp paper towel and heat in 30-second intervals to prevent the rice from drying out.
Freezing: This dish freezes well for up to 3 months. Let it cool completely, then transfer to a freezer-safe container. To reheat, thaw overnight in the refrigerator, then reheat in a covered skillet as described above. The chicken skin won’t be as crispy after freezing, but the flavor remains excellent.
The flavors actually develop and improve overnight. I often make a double batch on purpose so we have leftovers for lunch the next day. The rice absorbs even more of the garlic butter flavor, and the chicken stays tender and juicy.
Nutritional Information & Benefits
Here’s an approximate nutritional breakdown per serving (based on 6 servings, using one chicken thigh per serving):
- Calories: 485
- Protein: 32g
- Fat: 22g
- Carbohydrates: 38g
- Fiber: 1g
- Sugar: 2g
- Sodium: 680mg
Chicken thighs are an excellent source of high-quality protein, which supports muscle health and keeps you feeling full and satisfied. They also provide important B vitamins, including niacin and B6, which support energy metabolism and brain function.
Garlic offers more than just flavor—it contains compounds like allicin that have been studied for their potential immune-supporting and anti-inflammatory properties. Plus, it adds significant flavor without extra calories or sodium.
This recipe is naturally gluten-free, making it suitable for those with celiac disease or gluten sensitivity. For a lower-carb option, you can reduce the rice to 1 cup and increase the vegetables. For a lower-fat version, use boneless skinless chicken thighs and reduce the butter to 2 tablespoons total.
If you’re looking for other nutritious one-pan meals, this easy crispy lemon rosemary salmon sheet pan dinner is another favorite in our house for busy nights when we want something healthy and delicious.
Conclusion
This easy one-pan garlic butter chicken thighs with rice has become a staple in our kitchen for good reason. It delivers on every level—flavor, convenience, and comfort—without demanding too much from you at the end of a long day. The crispy chicken skin, the tender meat, and the garlicky, buttery rice come together in a way that feels special but requires minimal effort.
I love that this recipe gives you permission to relax. There’s no complicated technique, no precise timing that will ruin everything if you’re off by a minute. Just good ingredients cooked simply in one pan, the way weeknight dinners should be.
I’d love to hear how this recipe turns out for you. Did you try any of the variations? Did your family ask for it three nights in a row like mine did? Drop a comment below and let me know—I read every single one and love hearing about your kitchen adventures. And if you’re looking for more one-pan dinner inspiration, check out this easy slow cooker honey garlic chicken and vegetables recipe for another set-it-and-forget-it meal that delivers big flavor with minimal effort.
Happy cooking, friends. Here’s to more dinners that make everyone at the table smile.
Frequently Asked Questions
Can I use chicken breasts instead of thighs?
Yes, you can substitute boneless skinless chicken breasts. However, chicken breasts cook faster and can dry out more easily. Reduce the covered baking time to 20 minutes and the uncovered time to 10-12 minutes. Check the internal temperature—it should reach 165°F (74°C). For best results, pound the breasts to an even thickness so they cook uniformly.
Why is my rice still crunchy after baking?
Crunchy rice usually means one of three things: the oven temperature wasn’t hot enough, the pan wasn’t covered tightly enough during the covered baking time, or the rice-to-liquid ratio was off. Make sure your oven is fully preheated to 400°F and that the foil is sealed tightly around the edges of the pan. If the rice is still crunchy but the liquid is absorbed, add a few tablespoons of hot broth, re-cover, and bake for another 5-10 minutes.
Can I make this recipe in a slow cooker or Instant Pot?
This recipe is designed for the oven, but you can adapt it. For a slow cooker, sear the chicken in a skillet first, then transfer everything to the slow cooker and cook on low for 4-5 hours or high for 2-3 hours. The rice won’t be as fluffy, and the chicken skin won’t be crispy. For an Instant Pot, use the sauté function to sear the chicken and toast the rice, then pressure cook on high for 6 minutes with a natural release. The texture will be different but still delicious.
How do I prevent the chicken skin from getting soggy?
The key to crispy skin is starting with dry chicken and searing it properly. Pat the chicken very dry with paper towels before seasoning. Sear skin-side down until deeply golden—don’t rush this step. During the covered baking time, the skin will soften slightly, but it will crisp back up during the uncovered baking time. For extra-crispy skin, broil for 2-3 minutes at the end, watching carefully so it doesn’t burn.
Can I use brown rice instead of white rice?
Yes, but you’ll need to adjust the liquid and cooking time. Use 1½ cups of brown rice and increase the broth to 3 cups. Bake covered for 45 minutes instead of 25, then uncovered for 20-25 minutes. Brown rice has a chewier texture and nuttier flavor—it’s delicious but different from the original. Make sure to check that the rice is tender before serving, as brown rice can vary in cooking time depending on the brand.
Pin This Recipe!
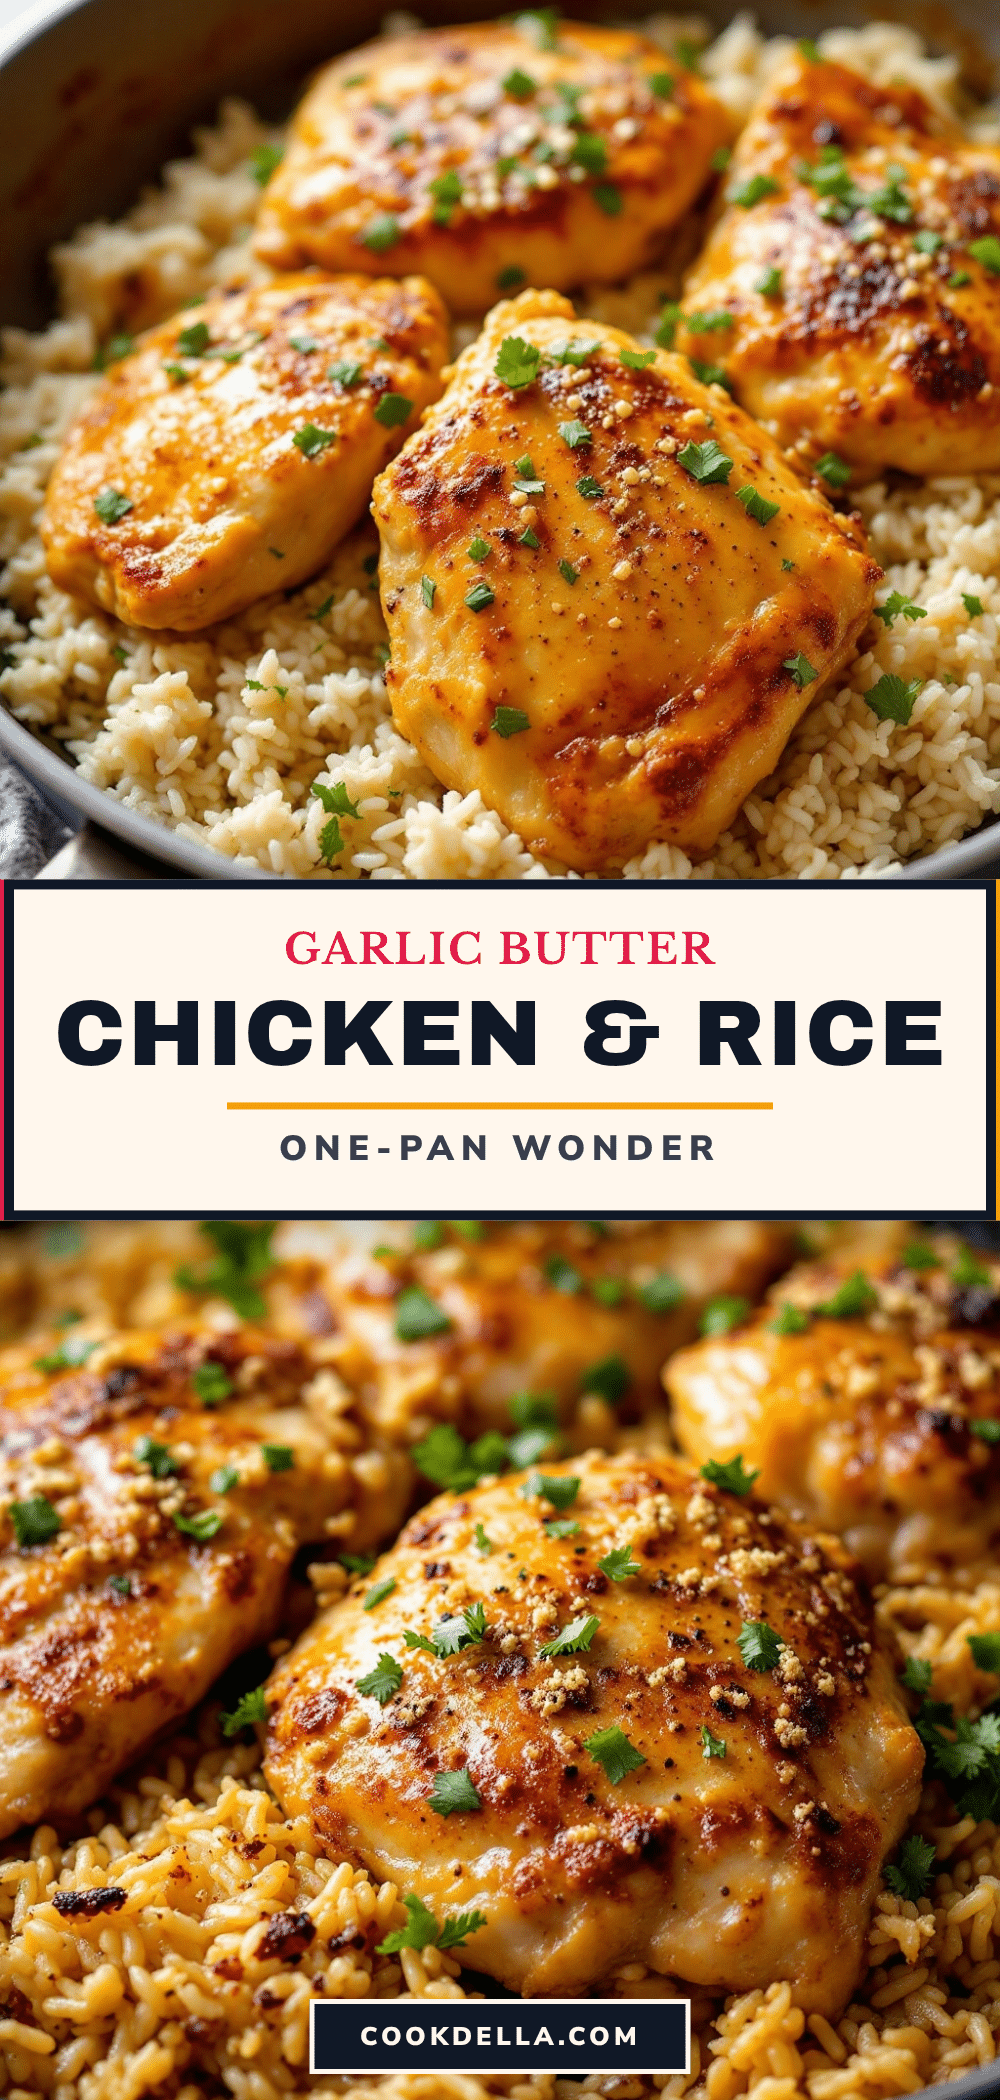
Easy One-Pan Garlic Butter Chicken Thighs with Rice

Juicy, crispy-skinned chicken thighs baked on a bed of garlicky, buttery rice—all in one pan. This simple, comforting weeknight dinner comes together in under an hour with minimal cleanup.
- Prep Time: 15 minutes
- Cook Time: 45 minutes
- Total Time: 1 hour
- Yield: 6 servings 1x
- Category: Main Course
- Cuisine: American
Ingredients
- 6–8 bone-in, skin-on chicken thighs (about 2 pounds total)
- 4 tablespoons unsalted butter, divided
- 6–8 cloves garlic, minced
- 1½ cups long-grain white rice (basmati or jasmine)
- 2½ cups low-sodium chicken broth
- 1 medium onion, finely diced
- 1 teaspoon dried thyme
- 1 teaspoon paprika (smoked or sweet)
- Salt and black pepper to taste (about 1 teaspoon salt and ½ teaspoon pepper for the chicken)
- Fresh parsley for garnish (optional)
- Lemon wedges for serving (optional)
Instructions
- Preheat oven to 400°F (200°C). Pat chicken thighs dry with paper towels. Season both sides generously with salt, pepper, paprika, and dried thyme. Let sit at room temperature for 10 minutes.
- Heat 2 tablespoons butter in a large oven-safe skillet (12-inch) over medium-high heat. Place chicken thighs skin-side down in a single layer. Cook undisturbed for 5-7 minutes until skin is deep golden brown and crispy.
- Flip chicken and cook for another 3 minutes. Transfer to a plate; do not wipe out the pan.
- Reduce heat to medium. Add remaining 2 tablespoons butter to the pan. Add diced onion and cook 3-4 minutes until softened, scraping up browned bits. Add minced garlic and cook 30 seconds until fragrant.
- Add rice to the pan and stir to coat. Cook 1-2 minutes, stirring constantly, until rice looks slightly translucent and smells nutty.
- Pour in chicken broth and stir, scraping up any remaining browned bits. Bring to a gentle simmer. Taste and adjust salt if needed.
- Nestle chicken thighs back into the pan, skin-side up, over the rice.
- Cover pan tightly with foil. Bake for 25 minutes.
- Remove foil carefully. Continue baking uncovered for 15-20 minutes until rice is tender and liquid is absorbed. For extra-crispy skin, broil 2-3 minutes at the end.
- Remove from oven and let rest 5 minutes. Fluff rice with a fork before serving. Garnish with parsley and serve with lemon wedges if desired.
Notes
Pat chicken very dry for crispy skin. Don’t peek during covered baking time. If rice is still crunchy after baking but liquid is absorbed, add a few tablespoons hot broth, re-cover, and bake 5-10 more minutes. For dairy-free, substitute butter with olive oil or vegan butter.
Nutrition
- Serving Size: 1 chicken thigh with
- Calories: 485
- Sugar: 2
- Sodium: 680
- Fat: 22
- Saturated Fat: 9
- Carbohydrates: 38
- Fiber: 1
- Protein: 32
Keywords: one-pan chicken, garlic butter chicken, chicken thighs and rice, easy weeknight dinner, one skillet meal


