That first whiff of warm cream and parmesan hitting my face as I unscrewed the thermos lid—the kind that instantly makes you close your eyes for a second—still takes me straight to my kitchen counter at 6:15 AM on a random Tuesday. I was trying to solve a problem that had been bugging me for weeks.
My son kept coming home with half-eaten lunches, and the culprit was always the same. Soggy pasta. He would request chicken alfredo, and I would cringe because I knew exactly what would happen by noon. The noodles would turn into a sad, bloated mess, and the sauce would separate into an oily puddle. It broke my heart a little, honestly.
So I did what any slightly stubborn home cook would do. I spent a weekend testing every trick I could think of. I undercooked the pasta, I thickened the sauce until it was almost paste-like, I even tried layering the ingredients in the thermos like some sort of edible science experiment. And then, finally, it worked. The thermos came home empty, and my son said, “Mom, can you make this again tomorrow?” That was the win I needed.
This Easy No-Soggy Thermos Chicken Alfredo is the result of those trials. It is the kind of recipe that makes you feel like a lunch-packing superhero, and it is way simpler than you think.
Why You’ll Love This Recipe
Let me tell you, this isn’t just another thermos recipe that promises the world and delivers a mushy disappointment. I have tested this more times than I care to count—probably seven or eight versions before I got it right. Here is why this one actually works.
- No More Soggy Noodles : The secret is in the prep. By slightly undercooking the pasta and using a sauce that holds its structure, you get perfectly tender fettuccine that tastes freshly made, even hours later.
- Quick & Easy : From start to finish, this comes together in about 25 minutes. That includes cooking the chicken, making the sauce, and packing the thermos. Perfect for chaotic mornings when you are running on coffee and sheer willpower.
- Simple Ingredients : You do not need anything fancy. Chicken breast, fettuccine, heavy cream, parmesan, butter, garlic, and a couple of pantry staples. That is it.
- Kid-Approved & Parent-Trusted : This is the kind of lunch that gets traded, shared, and requested. My nephew asked for the recipe, and he is ten. That says something.
- Unbelievably Delicious : The flavor is rich and creamy without being heavy. The chicken stays juicy, and the sauce coats every strand of pasta like a warm hug.
What makes this recipe different from the dozens of other thermos alfredos out there is the technique. Most recipes tell you to just toss everything in the thermos and hope for the best. I actually tested the temperature retention, the sauce consistency at different time intervals, and the noodle texture after four hours. This version is built on real trial and error, not guesswork.
What Ingredients You Will Need
This recipe uses simple, wholesome ingredients to deliver that classic alfredo flavor without any fuss. Most of these are probably in your kitchen right now, which is exactly how I like it.
- 8 ounces fettuccine pasta (or any long pasta you prefer; I like De Cecco for its texture)
- 1 pound boneless, skinless chicken breast (cut into bite-sized pieces; about 450g)
- 2 tablespoons unsalted butter (divided; one for the chicken, one for the sauce)
- 3 cloves garlic, minced (fresh is best, but jarred works in a pinch)
- 1 cup heavy cream (240ml; do not substitute with milk here—it needs the fat to stay stable)
- 1/2 cup freshly grated Parmesan cheese (about 50g; please skip the pre-shredded stuff, it does not melt the same)
- 1/4 teaspoon salt (plus more for pasta water)
- 1/4 teaspoon black pepper
- 1/8 teaspoon garlic powder (optional, but it adds a nice depth)
- 1 tablespoon olive oil (for cooking the chicken)
- 1 tablespoon chopped fresh parsley (for garnish, optional but pretty)
A quick note on the cheese: I know it is tempting to grab the bag of pre-grated parmesan, but it contains anti-caking agents that make the sauce grainy. Spend the extra two minutes grating a block of Parmigiano-Reggiano. Your thermos will thank you.
For the chicken, I prefer using chicken breast because it stays tender and doesn’t dry out as easily when reheated in the thermos. If you have leftover rotisserie chicken, that works beautifully too—just shred it and add it to the sauce at the end.
Equipment Needed
You do not need a fancy kitchen for this recipe. Just a few basics that you probably already own.
- Large pot (for boiling pasta; at least 4 quarts capacity)
- Large skillet or sauté pan (for cooking the chicken and making the sauce)
- Cutting board and sharp knife
- Measuring cups and spoons
- Wooden spoon or silicone spatula
- Colander
- Thermos (a wide-mouth 16-ounce or larger thermos works best; I use a Stanley thermos and it holds temperature like a dream)
- Kitchen thermometer (optional, but helpful to check the internal temperature of the chicken)
If you do not have a wide-mouth thermos, you can use a standard one, but it will be trickier to fill and eat from. I found a decent budget-friendly option at Target for around $15, and it has held up for two years now. Just make sure to preheat your thermos with hot water before filling it—this step is non-negotiable for keeping the pasta hot and non-soggy.
Preparation Method
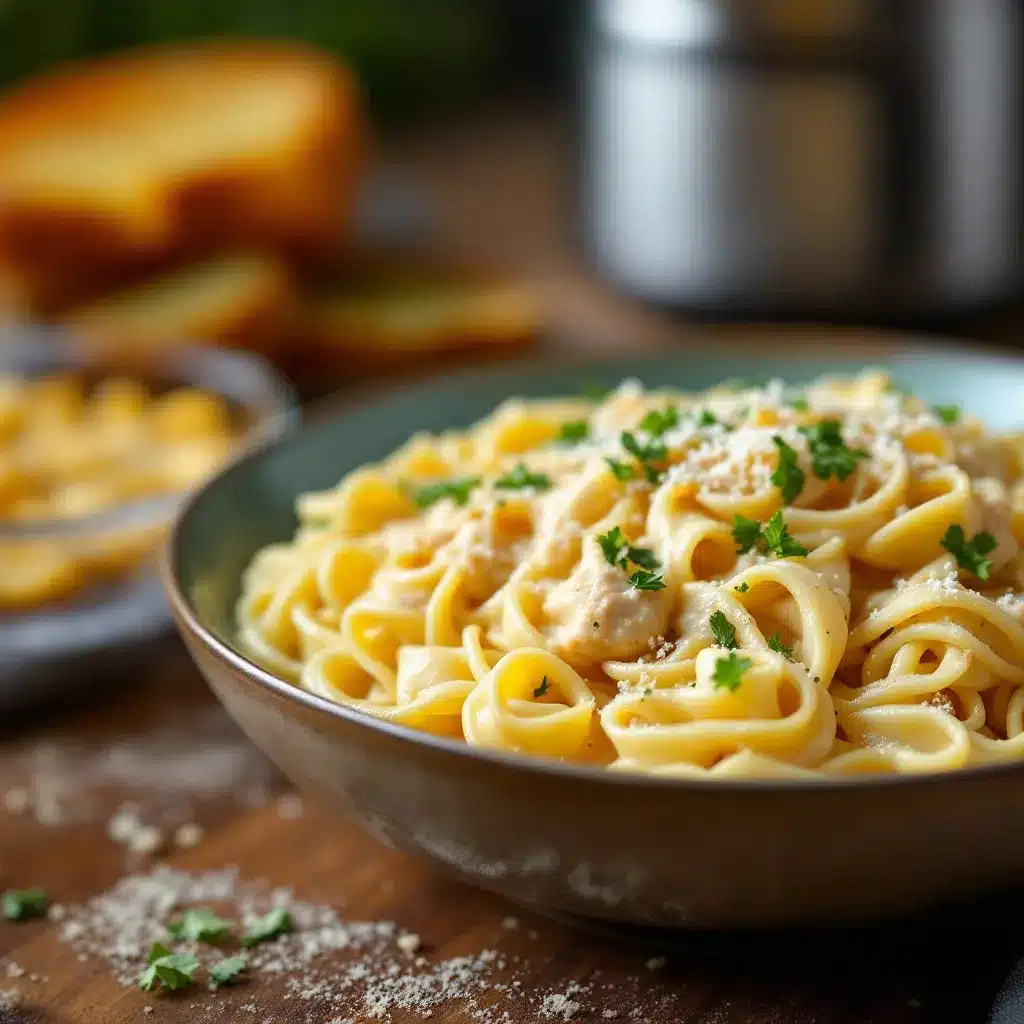
Alright, let us get cooking. Follow these steps closely, and you will have a thermos full of creamy, non-soggy alfredo that will make your kid the envy of the lunch table.
- Preheat your thermos. Fill it with boiling water, screw the lid on, and let it sit while you cook. This step is crucial—it warms the walls of the thermos so the pasta stays hot without steaming and getting soggy.
- Bring a large pot of salted water to a boil. Add a generous tablespoon of salt—the water should taste like the sea. Drop in the fettuccine and cook it for 2 minutes LESS than the package directions. For most brands, that is about 8 to 9 minutes. You want the pasta to be al dente with a slight chew in the center. Drain it, but do not rinse it. Toss it with a tiny drizzle of olive oil to prevent sticking.
- While the pasta cooks, season the chicken. Pat the chicken pieces dry with paper towels. Season them with 1/4 teaspoon salt and 1/4 teaspoon black pepper. This helps the chicken brown properly.
- Cook the chicken. Heat 1 tablespoon of olive oil and 1 tablespoon of butter in a large skillet over medium-high heat. When the butter stops foaming, add the chicken in a single layer. Do not crowd the pan—cook in batches if needed. Let it cook undisturbed for 4 to 5 minutes until golden brown on one side. Flip and cook for another 3 to 4 minutes until the internal temperature reaches 165°F (74°C). Transfer the chicken to a plate and tent it loosely with foil.
- Make the sauce. Reduce the heat to medium. Add the remaining 1 tablespoon of butter to the same skillet. Once melted, add the minced garlic and sauté for about 30 seconds until fragrant. Do not let it burn—it turns bitter fast.
- Add the cream. Pour in the heavy cream and stir, scraping up any browned bits from the bottom of the pan. Bring it to a gentle simmer, then reduce the heat to low. Let it cook for 2 to 3 minutes, stirring occasionally, until it thickens slightly.
- Add the cheese. Remove the skillet from the heat. Gradually sprinkle in the grated Parmesan while stirring constantly. This prevents clumps. Stir until the cheese is fully melted and the sauce is smooth and glossy. Add the garlic powder if using.
- Combine everything. Add the cooked pasta and the cooked chicken to the skillet. Toss gently with tongs until everything is evenly coated in the sauce. The sauce will look a little thicker than usual—that is intentional. It will loosen slightly in the thermos.
- Pack the thermos. Empty the hot water from your thermos. Quickly spoon the pasta mixture into the thermos, pressing it down gently to remove air pockets. Screw the lid on tightly. The pasta should fill the thermos completely to retain heat.
- Let it rest. Allow the sealed thermos to sit for 5 minutes before packing it in the lunch bag. This gives the heat time to distribute evenly.
A few visual cues: The sauce should coat the back of a spoon without running off too quickly. If it looks too thin, let it simmer for another minute. The chicken should feel firm to the touch but still juicy when you cut into it. And the pasta should have a slight resistance when you bite into it—it will continue cooking slightly in the thermos.
Cooking Tips & Techniques
I have made every mistake in the book with thermos pasta, so you do not have to. Here is what I learned the hard way.
Do not overcook the pasta. This is the single most important tip. If you cook the pasta to al dente according to the package, it will be mushy by lunchtime. Undercook it by a full 2 minutes. Trust me on this. I ruined three batches before I figured out the timing.
Preheat the thermos every single time. I know it is an extra step, and on busy mornings it is tempting to skip it. But if you do not preheat, the cold walls of the thermos will suck the heat out of the pasta instantly, creating condensation that turns your beautiful alfredo into a watery mess. Fill it with boiling water while you cook, and dump it right before filling.
Use full-fat cream. I tried using half-and-half once because I was trying to be healthy. Big mistake. The sauce broke and separated within an hour. Heavy cream has the fat content needed to stay emulsified and stable over several hours. Save the lighter options for dinners you eat immediately.
Let the sauce cool slightly before packing. This sounds counterintuitive, but if you pack piping-hot pasta into a preheated thermos, it continues cooking and can turn mushy. Let the pasta sit in the skillet for 2 to 3 minutes after tossing before transferring it to the thermos. The residual heat will keep it warm without overcooking.
Fill the thermos completely. Air is the enemy of heat retention. If there is empty space at the top, the pasta will cool faster and develop condensation. Pack it right to the brim, pressing down gently as you go.
Variations & Adaptations
This recipe is a great base, and I have played around with it quite a bit. Here are some variations that work well.
- Vegetarian Version : Skip the chicken and add a cup of steamed broccoli florets or sautéed mushrooms. The broccoli holds up surprisingly well in the thermos and adds a nice pop of green. I have made this for my sister who is vegetarian, and she said it was the best thermos lunch she has ever had.
- Gluten-Free Option : Use gluten-free fettuccine or brown rice pasta. Cook it according to the package directions, then undercook it by 1 minute instead of 2. Gluten-free pasta tends to get mushy faster, so adjust accordingly.
- Protein Swap : Substitute the chicken with cooked Italian sausage (casings removed) or shredded rotisserie chicken. Both work beautifully and add different flavor profiles. I used leftover chicken from a roast chicken dinner once, and it was fantastic.
- Spicy Twist : Add 1/4 teaspoon of red pepper flakes along with the garlic for a subtle heat. My husband loves this version, and it pairs surprisingly well with the creamy sauce.
- Dairy-Free Adaptation : Use full-fat canned coconut milk instead of heavy cream and a dairy-free parmesan alternative. The texture will be slightly different—a bit thinner—but it still holds up well in the thermos. I tested this with my lactose-intolerant friend, and she gave it a thumbs up.
One personal variation I tried that turned out surprisingly well was adding a handful of baby spinach to the sauce right before combining. It wilts down and adds a bit of nutrition without changing the flavor much. My kids did not even notice.
Serving & Storage Suggestions
This recipe is designed to be eaten straight from the thermos, but here are a few tips to make the experience even better.
Serving Temperature : The pasta should be warm, not piping hot, by lunchtime. If your thermos is well-preheated, it will stay at a safe temperature (above 140°F) for 4 to 5 hours. If you are packing it for an older child or adult who prefers it hotter, use a thermos with a vacuum-insulated design.
What to Serve With It : A simple side of baby carrots, cucumber slices, or a small apple balances out the richness of the alfredo. I also like to pack a small container of grapes or a homemade trail mix for variety. For a heartier lunch, pair it with a small quinoa and kale power bowl on the side—it adds a fresh, healthy contrast.
Storage Instructions : This recipe is best made fresh and eaten the same day. However, if you have leftovers, store them in an airtight container in the refrigerator for up to 2 days. Do not freeze it—the cream sauce will separate and become grainy upon thawing.
Reheating Tips : To reheat leftovers, place the pasta in a skillet over medium-low heat with a splash of milk or cream. Stir gently until warmed through. Do not microwave it—the uneven heat will make the sauce separate. If you are packing it for the next day, reheat it on the stove, then follow the thermos-packing instructions as usual.
Flavor Development : Honestly, the flavors actually meld together beautifully after a few hours in the thermos. The garlic and parmesan become more pronounced, and the chicken absorbs the creamy sauce. It is one of those rare recipes that tastes even better at lunchtime than it did fresh off the stove.
Nutritional Information & Benefits
Here is an estimated nutritional breakdown per serving (based on 4 servings). Keep in mind these are rough numbers and can vary based on specific ingredients and portion sizes.
| Nutrient | Amount Per Serving |
|---|---|
| Calories | 520 |
| Protein | 35g |
| Fat | 28g |
| Carbohydrates | 32g |
| Fiber | 2g |
| Sugar | 3g |
| Sodium | 480mg |
This recipe provides a good balance of protein from the chicken, healthy fats from the cream and cheese, and carbohydrates for energy. The Parmesan cheese adds calcium and a small amount of vitamin A. If you are watching your sodium intake, you can reduce the salt in the pasta water and use low-sodium chicken broth if you add any.
For those with dietary restrictions, this recipe contains dairy and gluten. It can be adapted for gluten-free diets as mentioned above, but it is not suitable for dairy-free diets without significant modifications. I personally love that this recipe feels indulgent but is actually quite balanced—it keeps my kids full and focused through the afternoon without the sugar crash that comes with processed lunch options.
Conclusion
This Easy No-Soggy Thermos Chicken Alfredo is the kind of recipe that makes school lunches feel special without adding stress to your morning routine. It is creamy, comforting, and—most importantly—it actually stays creamy and comforting by lunchtime. No sad, soggy noodles. No separated sauce. Just a warm, delicious meal that your kids will actually look forward to eating.
I love this recipe because it solves a real problem. It is not about being fancy or impressing anyone. It is about making sure your child sits down to a lunch that tastes like it was just made, even though you packed it hours ago. That feeling of opening an empty thermos at the end of the day? Pure gold.
If you try this recipe, I would love to hear how it went. Did your kids love it? Did you add your own twist? Drop a comment below or tag me in your photos. And if you are looking for more lunchbox-friendly ideas, check out our full collection of recipes for inspiration. Happy cooking, and here is to no more soggy lunches!
Frequently Asked Questions
Can I use jarred alfredo sauce instead of making it from scratch?
You can, but I do not recommend it for thermos packing. Jarred sauces tend to be thinner and more prone to separation. Homemade sauce with heavy cream and fresh Parmesan holds its texture much better over several hours. If you are in a pinch, thicken the jarred sauce with an extra tablespoon of cream cheese before using.
How long will the pasta stay warm in the thermos?
With proper preheating and a good-quality thermos, the pasta should stay warm (above 140°F) for 4 to 5 hours. I have tested this with a Stanley thermos and it was still warm at the 6-hour mark, though the texture started to soften slightly after 5 hours. For best results, eat within 4 hours of packing.
Can I use whole wheat pasta instead of regular fettuccine?
Yes, whole wheat pasta works well, but you need to adjust the cooking time. Whole wheat pasta tends to hold its texture better and is less likely to get mushy. Cook it according to the package directions, then undercook it by 1 minute instead of 2. The nutty flavor pairs nicely with the creamy alfredo sauce.
My thermos is only 12 ounces. Can I still make this recipe?
Absolutely. Simply halve the recipe ingredients. Use 4 ounces of pasta, 1/2 pound of chicken, and adjust the sauce quantities accordingly. The cooking times remain the same. Just make sure to preheat the smaller thermos thoroughly and pack it full to retain heat.
Can I add vegetables to this recipe without making it soggy?
Yes, but choose your vegetables wisely. Broccoli florets, bell peppers, and snap peas hold up well. Avoid watery vegetables like zucchini or tomatoes. I recommend sautéing the vegetables briefly before adding them to the pasta to remove excess moisture. Steamed broccoli is my go-to—it adds color and nutrition without compromising the texture.
Pin This Recipe!
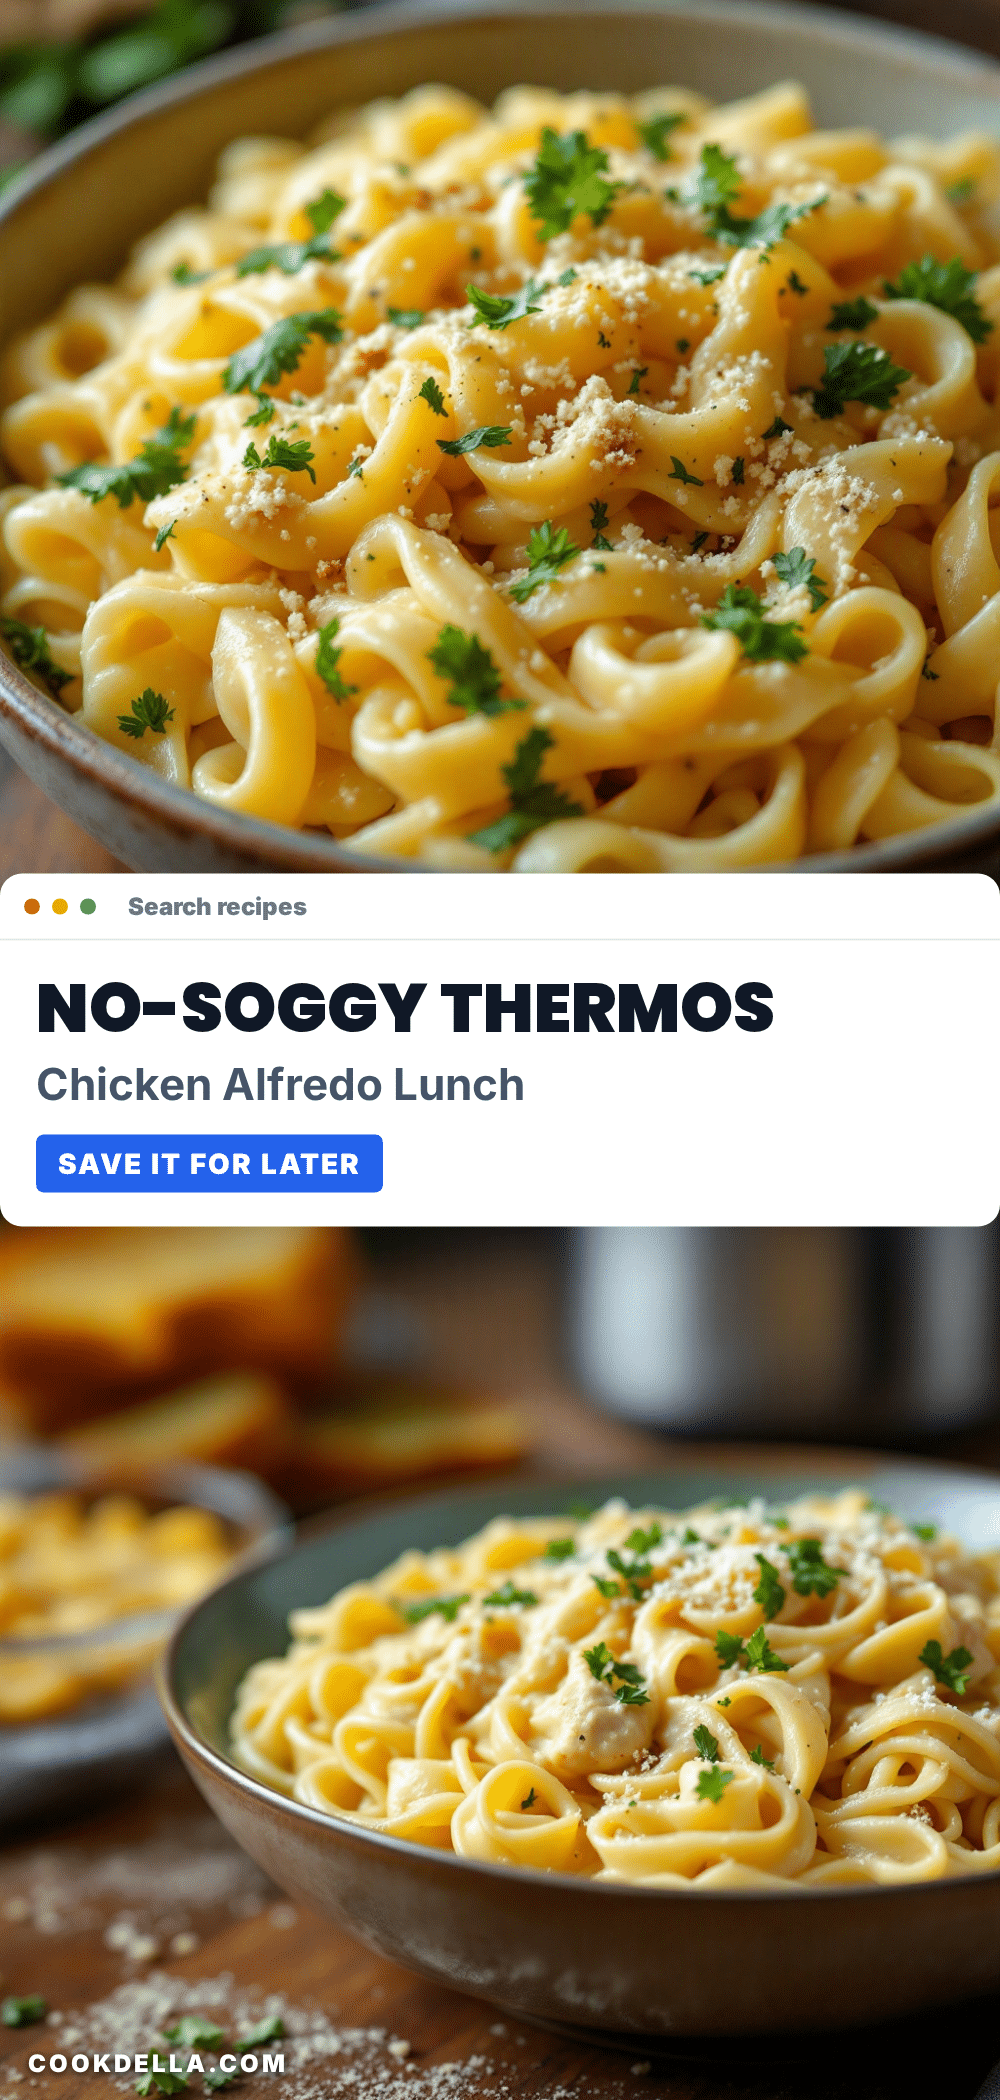
Easy Thermos Chicken Alfredo: Best No-Soggy School Lunch
This Easy No-Soggy Thermos Chicken Alfredo is the kind of recipe that makes school lunches feel special without adding stress to your morning routine. It is creamy, comforting, and—most importantly—it actually stays creamy and comforting by lunchtime.
- Prep Time: 10 minutes
- Cook Time: 15 minutes
- Total Time: 25 minutes
- Yield: 4 servings 1x
- Category: Main Course
- Cuisine: Italian-American
Ingredients
- 8 ounces fettuccine pasta
- 1 pound boneless, skinless chicken breast (cut into bite-sized pieces)
- 2 tablespoons unsalted butter (divided)
- 3 cloves garlic, minced
- 1 cup heavy cream
- 1/2 cup freshly grated Parmesan cheese
- 1/4 teaspoon salt
- 1/4 teaspoon black pepper
- 1/8 teaspoon garlic powder (optional)
- 1 tablespoon olive oil
- 1 tablespoon chopped fresh parsley (optional, for garnish)
Instructions
- Preheat your thermos: Fill it with boiling water, screw the lid on, and let it sit while you cook.
- Bring a large pot of salted water to a boil. Add the fettuccine and cook it for 2 minutes less than the package directions (about 8 to 9 minutes). Drain, do not rinse, and toss with a tiny drizzle of olive oil.
- Pat the chicken pieces dry and season with 1/4 teaspoon salt and 1/4 teaspoon black pepper.
- Heat 1 tablespoon olive oil and 1 tablespoon butter in a large skillet over medium-high heat. Add the chicken in a single layer and cook undisturbed for 4 to 5 minutes until golden brown. Flip and cook for another 3 to 4 minutes until internal temperature reaches 165°F. Transfer to a plate and tent with foil.
- Reduce heat to medium. Add the remaining 1 tablespoon butter to the skillet. Once melted, add the minced garlic and sauté for about 30 seconds until fragrant.
- Pour in the heavy cream and stir, scraping up any browned bits. Bring to a gentle simmer, then reduce heat to low. Cook for 2 to 3 minutes, stirring occasionally, until slightly thickened.
- Remove the skillet from heat. Gradually sprinkle in the grated Parmesan while stirring constantly until smooth and glossy. Add garlic powder if using.
- Add the cooked pasta and chicken to the skillet. Toss gently with tongs until everything is evenly coated.
- Empty the hot water from the thermos. Quickly spoon the pasta mixture into the thermos, pressing down gently to remove air pockets. Screw the lid on tightly.
- Let the sealed thermos rest for 5 minutes before packing in a lunch bag.
Notes
Do not overcook the pasta—undercook by 2 minutes. Preheat the thermos every time with boiling water. Use full-fat heavy cream for stability. Let the sauce cool slightly before packing. Fill the thermos completely to retain heat.
Nutrition
- Serving Size: 1 serving
- Calories: 520
- Sugar: 3
- Sodium: 480
- Fat: 28
- Saturated Fat: 16
- Carbohydrates: 32
- Fiber: 2
- Protein: 35
Keywords: thermos chicken alfredo, no-soggy pasta, school lunch, easy thermos recipe, creamy alfredo, kid-friendly lunch


