That was my four-year-old nephew, Leo, standing in my kitchen with his arms crossed like a tiny CEO. I was supposed to be the fun aunt who made lunch, and he was making it very clear that “fun” did not mean “surprise vegetables.” I had a container of cherry tomatoes, some steamed broccoli, and a block of cheddar cheese. Honestly, I was about five seconds from just handing him a granola bar and calling it a day. But then I looked at the bright red tomatoes, the deep green broccoli, the yellow cheese—and it hit me. A rainbow. Not a lecture about nutrition, not a hidden puree situation. A real, visible, edible rainbow. I grabbed a bento box, sliced the cheese into little suns, and started building. He watched the whole thing, and when I put the lid on, he said, “Is it magic?” And that is how this Healthy Rainbow Veggie Bento Box for Kindergarteners was born. It wasn’t about tricking him. It was about making the food so visually fun that the veggies became the main event. I haven’t looked at lunch packing the same way since.
Why You’ll Love This Recipe
Let’s be real for a second—packing lunch for a kindergartener can feel like a high-stakes negotiation. You want them to eat something that isn’t just crackers and fruit snacks, and they want… well, crackers and fruit snacks. This bento box changes the game because it doesn’t ask them to settle. It gives them a rainbow.
- Quick & Easy: This whole box comes together in under 15 minutes. That’s faster than arguing about why carrots aren’t candy.
- Simple Ingredients: You don’t need any fancy “bento supplies” or expensive organic snacks. We are using regular grocery store produce, cheese, and protein.
- Perfect for Little Hands: Everything is cut into bite-sized, easy-to-pick-up pieces. No forks required, which is a huge win in the kindergarten cafeteria.
- Crowd-Pleaser: I’ve tested this on my nephew, his friends, and even a few skeptical parents. The visual appeal works every single time. Kids love eating a “picture.”
- Unbelievably Nutritious: This isn’t just a pretty plate. You are packing in fiber, vitamins, protein, and healthy fats without a single complaint. The colors do the convincing for you.
What makes this different from just a regular lunch? It’s the intentionality. I’m not just throwing leftovers in a box. I’m using the rainbow method to naturally balance the meal. Red for antioxidants, orange for vitamin C, green for iron, purple for brain health. It’s a nutritionist-approved approach that looks like play. This is the kind of lunch that makes a kid feel special—like they opened their box and found a little treasure. It’s comfort food for the soul, disguised as a craft project.
What Ingredients You Will Need
This recipe is built on simplicity. You don’t need a dozen exotic items. The magic is in the color and the cut. Here is exactly what you need to build a rainbow that a kindergartener will actually eat.
For the Red Zone (Antioxidants & Sweetness)
- Cherry Tomatoes: 5-6, halved (look for sweet, firm ones—they taste like candy to kids)
- Red Bell Pepper: ¼ of a large pepper, sliced into thin strips (the crunch is addictive)
For the Orange/Yellow Zone (Vitamin C & Fun Shapes)
- Carrot: 1 medium, peeled and cut into coin shapes or small sticks
- Yellow Bell Pepper: ¼ of a large pepper, sliced into rings or small squares
- Cheddar Cheese: 1 oz, cut into star shapes using a small cookie cutter (this is non-negotiable for fun factor)
For the Green Zone (Iron & Fiber)
- Steamed Broccoli Florets: 4-5 small florets (steam them just until bright green and tender—nobody likes mushy broccoli)
- Cucumber: 4-5 slices, quartered (I recommend English cucumber for less seeds and a sweeter skin)
- Edamame: ¼ cup, shelled (these are little protein-packed green beans that kids love to pop in their mouths)
For the Purple/Blue Zone (Brain Health & Wow Factor)
- Blueberries: ¼ cup, fresh (the burst of sweetness is the surprise treat)
- Purple Cabbage: 2-3 thin shreds (optional—adds a beautiful pop of color, but some kids are wary. I use it sparingly like confetti)
For the Protein & Dip (The Glue That Holds It Together)
- Rotisserie Chicken: ¼ cup, shredded (or use this easy slow cooker honey garlic chicken if you have leftovers—it works beautifully here)
- Plain Greek Yogurt: 2 tablespoons (I use Fage or Stonyfield for thickness)
- Mild Ranch Seasoning: ½ teaspoon (mix into the yogurt for a simple, healthy dip)
Ingredient Selection Tip: When buying produce for kids, choose the brightest, most vibrant pieces you can find. A sad, pale carrot doesn’t inspire a rainbow. Also, if your child is sensitive to textures, you can steam the carrots for 2 minutes to soften them slightly. For a vegetarian version, swap the chicken for this fresh quinoa—it packs into the bento perfectly.
Equipment Needed
You don’t need a professional kitchen to make this work. Here is the simple gear that makes the rainbow come to life.
- Bento Box or Lunch Container: A divided container is ideal. I use a silicone bento box with 4-5 compartments. If you don’t have one, a standard meal prep container works—just use silicone muffin cups to separate the colors.
- Small Cookie Cutters: Star, heart, or animal shapes. I found a set of mini star cutters at the dollar store, and they are my secret weapon. They turn cheese and cucumber into art.
- Sharp Knife & Cutting Board: A good paring knife makes precise cuts easy. A mandoline slicer is optional but helpful for uniform cucumber rounds.
- Steamer Basket: For the broccoli. I use a simple stovetop steamer, but a microwave-safe bowl with a plate on top works in a pinch.
- Small Bowl: For mixing the yogurt dip.
Budget-Friendly Tip: Don’t rush out to buy a fancy bento box. I started using a clean egg carton for my nephew’s first rainbow lunch, and he loved it. The novelty matters more than the container.
Preparation Method
This is where the fun happens. Follow these steps, and you’ll have a lunchbox masterpiece in under 15 minutes. I promise, it’s easier than it looks.
- Prep the Veggies (5 minutes): Wash all your produce thoroughly. Halve the cherry tomatoes. Slice the red and yellow bell peppers into thin strips. Peel the carrot and cut it into coins or sticks. Quarter the cucumber slices. Shred the purple cabbage thinly. Pat everything dry with a paper towel—wet veggies make the box soggy.
- Steam the Broccoli (3 minutes): Place the small broccoli florets in a steamer basket over boiling water. Cover and steam for exactly 2-3 minutes, until they turn bright green and a fork can pierce the stem easily. Immediately rinse them under cold water to stop the cooking. This keeps them crunchy, not mushy. I learned this the hard way after serving sad, gray broccoli once—never again.
- Cut the Cheese (1 minute): Take your cheddar cheese slice and press the small cookie cutter firmly through it. Pop out the star (or heart, or dinosaur). Save the scraps for a snack—I usually eat them while packing, honestly.
- Make the Dip (1 minute): In a small bowl, mix the plain Greek yogurt with the mild ranch seasoning. Stir until combined. Taste it—it should be tangy and herby. If your kid is extra picky, you can use a tablespoon of ketchup instead. No judgment here.
- Assemble the Protein (2 minutes): If using rotisserie chicken, shred it into small, bite-sized pieces. If you are using leftover slow cooker honey garlic chicken, make sure it’s cooled down before packing. Place the chicken in one corner of the bento box.
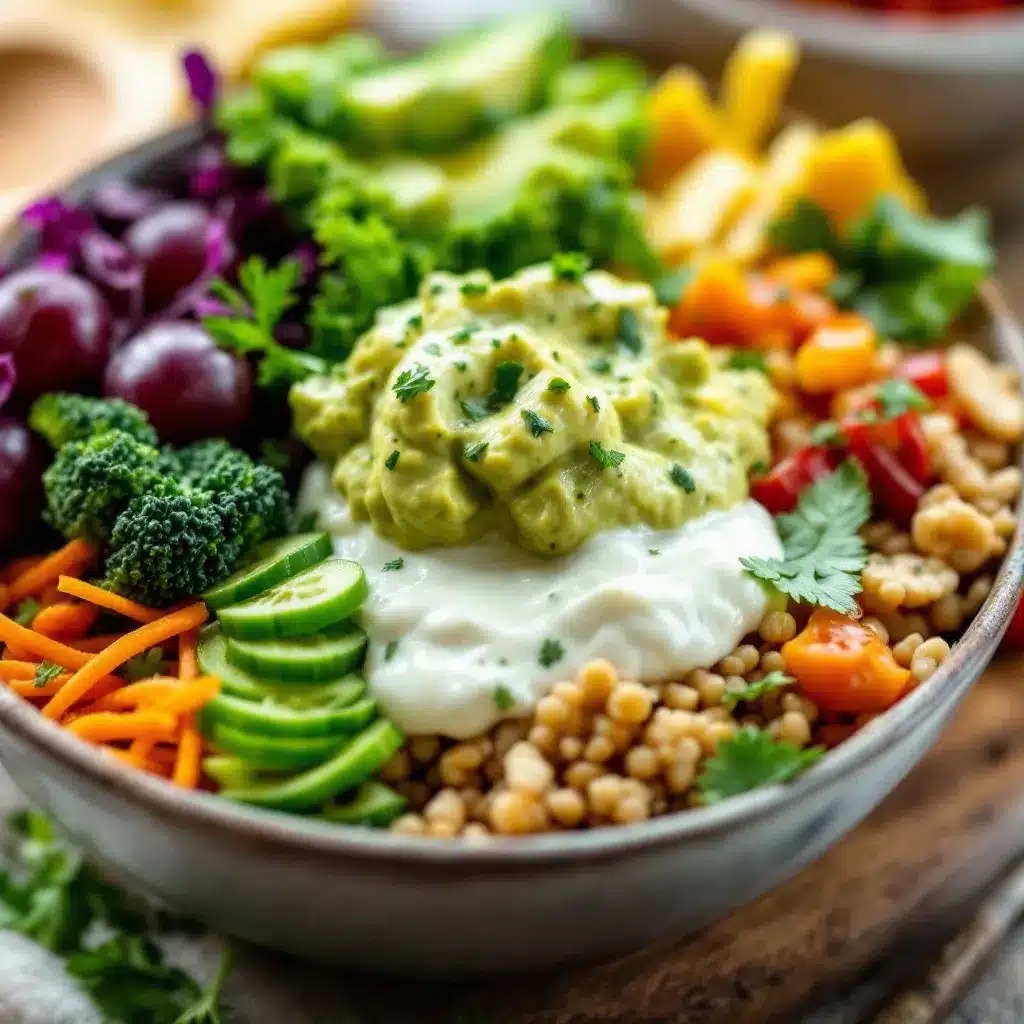
- Build the Rainbow (3 minutes): Now for the magic. Arrange your ingredients in the bento box by color. Start with the reds (tomatoes, red pepper) in one section. Move to orange/yellow (carrots, yellow pepper, cheese stars). Then green (broccoli, cucumber, edamame). Finish with purple/blue (blueberries, cabbage). Place the yogurt dip in a small silicone cup in the center or in its own compartment.
- Final Touch (30 seconds): Put the lid on the bento box. Give it a gentle shake to settle everything. Open it back up and adjust any pieces that shifted. You want it to look like a present when they open it.
Sensory Cue: When you open the box, you should see a vibrant spectrum of colors. The broccoli should be bright green, not olive. The carrots should be orange, not pale. If it looks like a box of crayons, you did it right.
Cooking Tips & Techniques
I’ve made this bento box at least twenty times now, and I’ve collected a few hard-won lessons. Here is what I wish I knew from the start.
- Don’t Overcook the Broccoli: This is my number one mistake. Over-steamed broccoli turns into a sad, smelly mess that no kid will touch. Steam it just until it’s bright green and still has a bite. Then shock it in ice water. It stays crunchy and sweet.
- Cut Everything the Same Size: Kids are visual creatures. If the carrot coins are different sizes, it throws off the whole rainbow vibe. Use a mandoline or just be consistent with your knife cuts. Uniform pieces look more intentional and are easier for little fingers to grab.
- Pack It Tight: A loose bento box means ingredients will slide around and mix together. That defeats the purpose of the rainbow. Pack each compartment full so nothing moves. The blueberries should be snug against the broccoli.
- Use the Dip Strategically: Some kids won’t touch a vegetable unless it has something to dip into. I put the yogurt ranch in a separate compartment and tell them it’s “magic paint.” They dip the veggies to make them “glow.” It sounds silly, but it works.
- Prep Ahead for Busy Mornings: I chop the veggies and cut the cheese stars the night before. In the morning, I just steam the broccoli and assemble. It cuts the time down to 5 minutes. This is a lifesaver on school days.
Variations & Adaptations
This recipe is a template, not a rulebook. Here are some ways to switch it up based on what your kid likes or what you have in the fridge.
- Protein Swap: Not a chicken fan? Use hard-boiled egg slices, turkey roll-ups, or these Mediterranean chickpea stuffed mini peppers (just chop them up small). For a vegan option, add extra edamame or a small container of hummus.
- Seasonal Rainbow: In summer, swap the blueberries for blackberries and add golden beets. In fall, use roasted butternut squash cubes (orange) and pomegranate seeds (red). The rainbow changes with the seasons.
- Dairy-Free Version: Skip the cheese stars and use a dairy-free cheese alternative or avocado slices cut into shapes. The yogurt dip can be swapped for a simple mashed avocado with lime juice.
- The “No Dip” Box: Some kids just want to eat and go. If your child isn’t a dipper, skip the yogurt and add a few extra blueberries or a small handful of raisins for sweetness. The protein and veggies still balance the meal.
- My Personal Variation: I once made a “monster rainbow” for Halloween by using a spider-shaped cookie cutter for the cheese and adding googly eyes made of cream cheese and black sesame seeds. Leo thought it was hilarious. Sometimes, a little theme goes a long way.
Serving & Storage Suggestions
This bento box is designed to be eaten cold or at room temperature. Here is how to serve it and store it for the best experience.
- Serving Temperature: Serve the bento box cold, straight from the fridge. If you are packing it for lunch, keep it in an insulated lunch bag with an ice pack. The veggies stay crisp, and the yogurt dip stays cool.
- Presentation: When you open the box, arrange the colors so they are visible. I like to put the brightest colors (red tomatoes, yellow peppers) on top so the rainbow pops immediately. The cheese stars should be the first thing they see.
- Storage: This box is best assembled fresh, but you can prep the components up to 2 days in advance. Store the chopped veggies in separate airtight containers in the fridge. The steamed broccoli should be kept in a container with a paper towel to absorb moisture.
- Reheating: This is a cold lunch, so no reheating needed. If you want to serve it warm for dinner, you can microwave the broccoli and chicken for 30 seconds, but keep the fresh veggies and dip separate.
- Flavor Development: Honestly, this box tastes best within 4 hours of assembly. The cucumbers and tomatoes release water over time, which can make the box a little wet. If you are packing it in the morning for lunch, pat the veggies dry again before assembling.
Nutritional Information & Benefits
This isn’t just a pretty lunch—it’s a powerhouse of nutrition designed to fuel a busy kindergartener’s brain and body. Here is a rough breakdown per serving (one bento box).
| Nutrient | Amount |
|---|---|
| Calories | ~320 kcal |
| Protein | 22g |
| Carbohydrates | 28g |
| Fiber | 8g |
| Fat | 12g |
| Vitamin A | 120% DV |
| Vitamin C | 180% DV |
| Calcium | 15% DV |
| Iron | 10% DV |
Pin This Recipe!
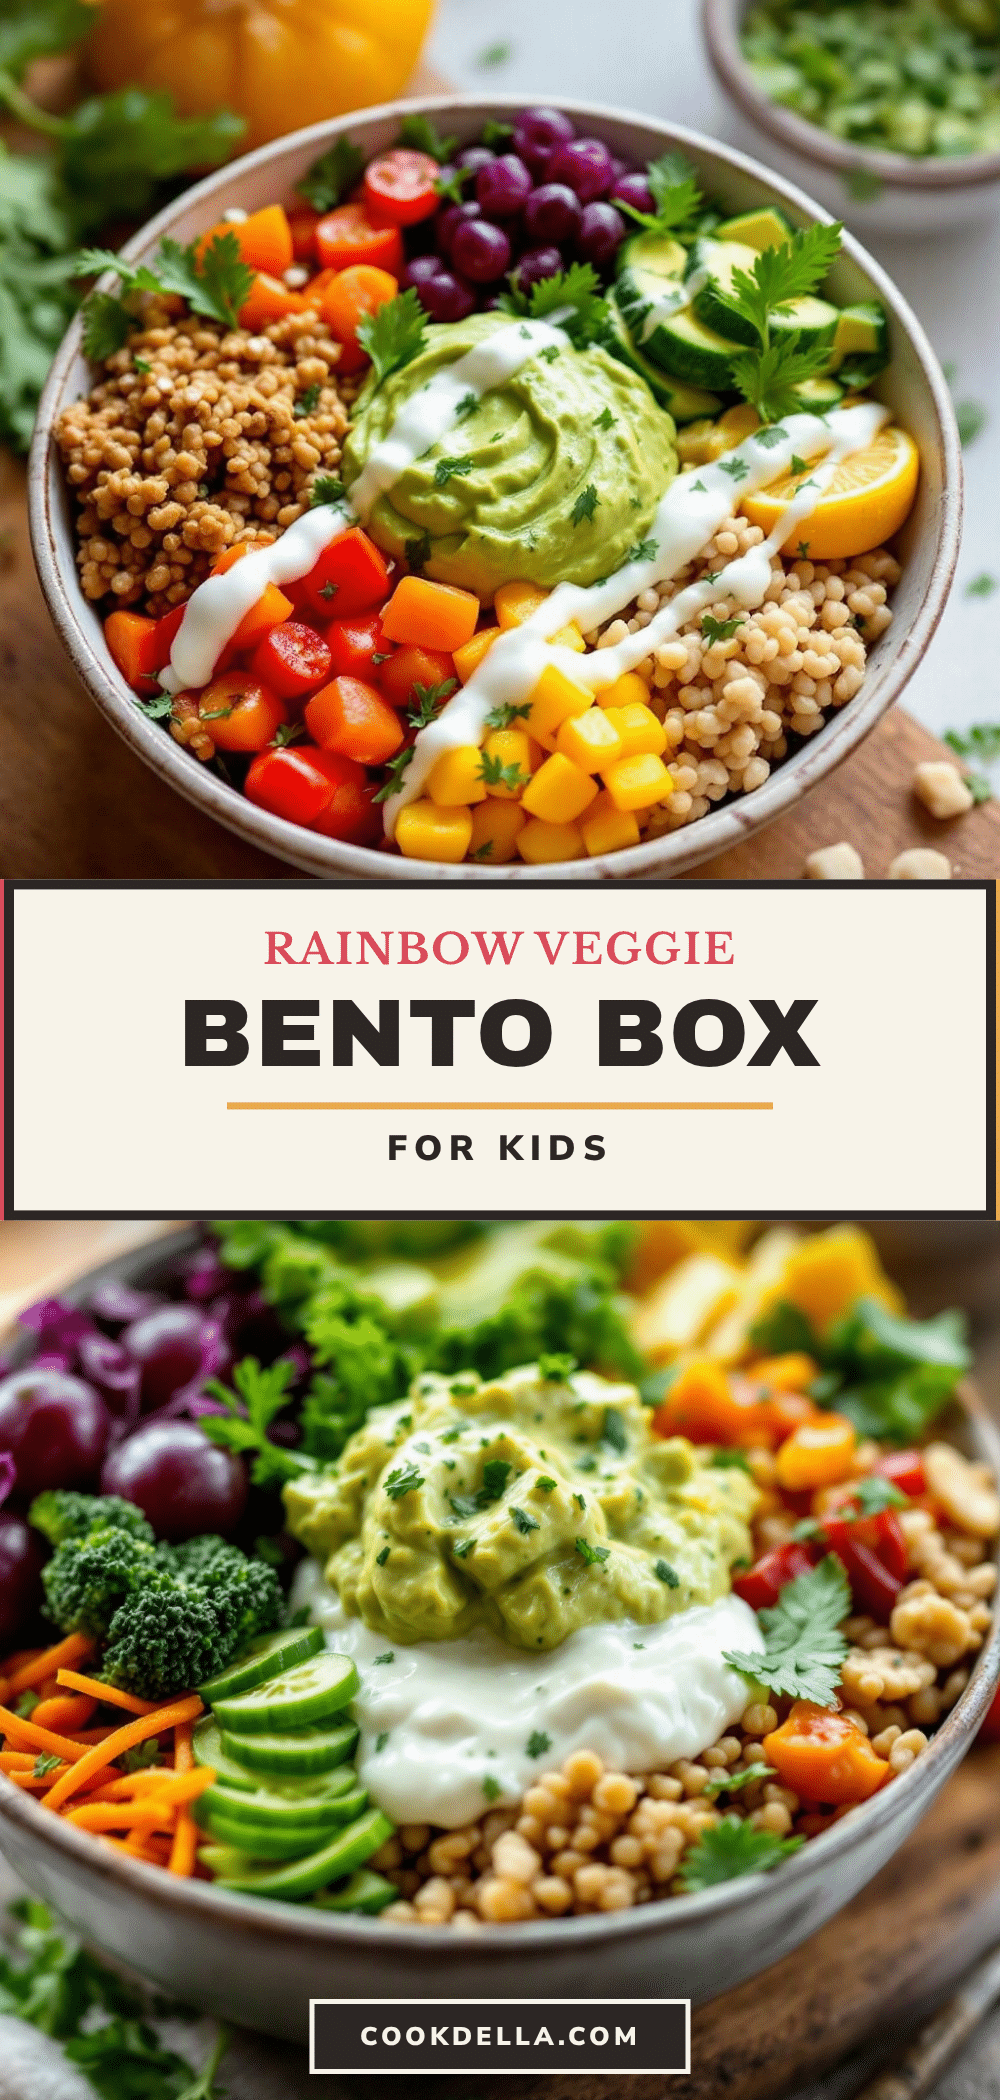
Healthy Rainbow Veggie Bento Box for Kids
A visually fun and nutritious bento box packed with colorful veggies, protein, and a yogurt dip, designed to make lunch exciting for kindergarteners. Ready in under 15 minutes.
- Prep Time: 10 minutes
- Cook Time: 3 minutes
- Total Time: 13 minutes
- Yield: 1 serving 1x
- Category: Lunch
- Cuisine: American
Ingredients
- 5–6 cherry tomatoes, halved
- 1/4 red bell pepper, sliced into thin strips
- 1 medium carrot, peeled and cut into coins or sticks
- 1/4 yellow bell pepper, sliced into rings or small squares
- 1 oz cheddar cheese, cut into star shapes
- 4–5 small steamed broccoli florets
- 4–5 cucumber slices, quartered
- 1/4 cup shelled edamame
- 1/4 cup fresh blueberries
- 2–3 thin shreds purple cabbage (optional)
- 1/4 cup shredded rotisserie chicken
- 2 tablespoons plain Greek yogurt
- 1/2 teaspoon mild ranch seasoning
Instructions
- Wash all produce thoroughly. Halve cherry tomatoes. Slice red and yellow bell peppers into thin strips. Peel carrot and cut into coins or sticks. Quarter cucumber slices. Shred purple cabbage thinly. Pat everything dry.
- Place broccoli florets in a steamer basket over boiling water. Cover and steam for 2-3 minutes until bright green and tender. Rinse under cold water to stop cooking.
- Press a small cookie cutter firmly through the cheddar cheese slice to create star shapes. Save scraps for another use.
- In a small bowl, mix Greek yogurt with ranch seasoning until combined.
- Shred rotisserie chicken into small, bite-sized pieces.
- Arrange ingredients in a bento box by color: reds (tomatoes, red pepper), orange/yellow (carrots, yellow pepper, cheese stars), green (broccoli, cucumber, edamame), purple/blue (blueberries, cabbage). Place yogurt dip in a small silicone cup or separate compartment.
- Put the lid on the bento box, give it a gentle shake to settle, then adjust any pieces that shifted.
Notes
Prep veggies and cheese stars the night before to save time. For a vegetarian version, swap chicken for quinoa or extra edamame. If your child doesn’t like broccoli, substitute with steamed green beans, snap peas, or avocado slices. The yogurt dip can be replaced with ketchup or mashed avocado if preferred.
Nutrition
- Serving Size: 1 bento box
- Calories: 320
- Sugar: 12
- Sodium: 450
- Fat: 12
- Saturated Fat: 5
- Carbohydrates: 28
- Fiber: 8
- Protein: 22
Keywords: bento box, kids lunch, rainbow veggies, healthy lunch, kindergarten lunch, easy lunch, vegetarian option, gluten-free


