I want smoky chipotle beef chili right now and I have everything except the patience to wait all day. That is the exact thought that hit me last Saturday at 10 AM, with the game starting at 4 and a fridge full of ground beef, bell peppers, and a can of chipotles I had been staring at for weeks. You know those moments when your brain just decides what it wants and nothing else will do? That was me, standing in my kitchen in mismatched socks, already mentally taste-testing a bowl of chili that didn’t exist yet.
Here is the thing about game day cooking—it has to deliver without demanding too much attention. Nobody wants to be stuck stirring a pot when the quarterback is dropping back to pass. This smoky chipotle beef chili solves that problem completely. It is the kind of recipe that lets you brown the meat, dump everything in, and walk away while the flavors figure themselves out. The chipotles do the heavy lifting, adding that deep, campfire smokiness and just enough heat to keep things interesting without making anyone reach for their water glass.
I have made a lot of chili over the years. Some were too thin, some were basically meat soup, and a few were so spicy they felt like a dare. This one hit the sweet spot on the first try, and I have been making it ever since. It is the chili I bring to tailgates, the one I make when I want something that tastes like it simmered for hours but actually came together in under an hour. And honestly? It is the chili that made my neighbor, a self-proclaimed chili snob, ask for the recipe before he finished his first bowl. That is when I knew this one was special.
Why You’ll Love This Recipe
This is not just another chili recipe you find on the internet. I tested this one seven times before I got it right, and every batch taught me something new. The first version was too watery. The second was underseasoned. The third had way too much chipotle and tasted like a campfire in a bowl. But the fourth? That was the one. Here is why this recipe works so well for game day and every other day you need a bowl of something comforting.
- Bold Smoky Flavor Without the Work : The chipotle peppers in adobo sauce bring that deep, roasted flavor that usually takes hours to develop. You get it in about 45 minutes flat.
- Perfect for a Crowd : This recipe scales up easily. Double it for a big party or halve it for a quiet night in. Either way, it delivers.
- Make-Ahead Friendly : Chili actually tastes better the next day. Make it Friday night, and Sunday’s game day prep is just reheating and garnishing.
- Customizable Heat Level : One chipotle gives you mild warmth. Two or three bring the heat. You control the spice dial completely.
- Budget-Friendly Ingredients : Ground beef, canned beans, pantry spices—nothing fancy here. Your wallet will thank you.
- One-Pot Wonder : Everything cooks in a single Dutch oven or large pot. Less cleanup means more time watching the game.
This recipe is different because it balances that intense smoky flavor with the right amount of acidity and sweetness. The chipotles bring the smoke, the tomatoes bring the tang, and a tiny bit of brown sugar rounds everything out. It is not sweet chili—do not worry about that—but it is chili with depth, the kind that makes you take a second bite just to figure out what that flavor is. And once you figure it out, you will be hooked.
What Ingredients You Will Need
This recipe uses simple, everyday ingredients that come together to create something much bigger than the sum of their parts. Most of these are pantry staples, and the ones that are not are worth keeping on hand for future batches.
For the Chili Base
- 2 tablespoons olive oil (use avocado oil if you prefer, but olive oil works great)
- 2 pounds ground beef (80/20 is ideal—the fat adds flavor, but you can use 90/10 if you want it leaner)
- 1 large yellow onion, diced (about 2 cups)
- 1 red bell pepper, diced (green works too, but red adds sweetness)
- 4 cloves garlic, minced (fresh is best, but jarred minced garlic works in a pinch)
- 2 tablespoons tomato paste (this adds richness and helps thicken the chili)
For the Seasoning
- 2 tablespoons chili powder (I use McCormick for consistent heat and flavor)
- 1 tablespoon ground cumin (toast it in the pot for 30 seconds before adding liquid—trust me on this)
- 1 teaspoon smoked paprika (this doubles down on the smoky flavor)
- 1 teaspoon dried oregano (Mexican oregano if you have it, but regular works fine)
- 1/2 teaspoon cayenne pepper (optional, for extra heat)
- 1 teaspoon salt (plus more to taste)
- 1/2 teaspoon black pepper
For the Liquid and Body
- 1 can (14.5 ounces) fire-roasted diced tomatoes (do not drain them—the liquid is flavor gold)
- 1 can (15 ounces) kidney beans, drained and rinsed (dark red kidney beans hold their shape better)
- 1 can (15 ounces) black beans, drained and rinsed (adds creaminess and texture)
- 2 chipotle peppers in adobo sauce, minced (plus 1 tablespoon of the adobo sauce—this is the star ingredient)
- 2 cups beef broth (low-sodium so you control the salt level)
- 1 tablespoon brown sugar (light or dark both work—it balances the heat and acidity)
For Garnish (Optional but Highly Recommended)
- Shredded cheddar cheese
- Sour cream or Greek yogurt
- Fresh cilantro, chopped
- Diced red onion or green onions
- Pickled jalapeños
- Crushed tortilla chips or oyster crackers
I always recommend buying whole cumin seeds and grinding them yourself if you have the time. The flavor difference is noticeable, and it takes about 30 seconds with a mortar and pestle. But pre-ground cumin works perfectly fine—just make sure it is not sitting in your spice cabinet for more than six months. Old spices are the enemy of good chili.
Equipment Needed
You do not need a fancy kitchen to make this chili. Here is what I use every single time:
- Dutch oven or large heavy-bottomed pot (5 to 6 quarts is ideal. I use a Le Creuset that I saved up for, but a Lodge enameled Dutch oven works just as well for a fraction of the price)
- Sharp chef’s knife (dicing onions and peppers is so much easier with a good knife—my Victorinox has lasted me years)
- Cutting board
- Wooden spoon or silicone spatula (for stirring and scraping up the browned bits)
- Measuring spoons and cups
- Can opener
- Colander (for rinsing the beans)
- Garlic press (optional, but I hate mincing garlic by hand)
- Ladle (for serving)
If you do not have a Dutch oven, a large soup pot or even a deep skillet with high sides will work. The key is having enough surface area to brown the meat properly without overcrowding it. If the meat steams instead of browns, you will miss out on that deep, savory flavor that makes chili taste like it cooked all day.
Preparation Method
Let me walk you through this step by step. I have made this chili enough times to know exactly where things can go wrong, and I will point those spots out as we go.
Step 1: Brown the Beef
Heat the olive oil in your Dutch oven over medium-high heat. Add the ground beef and break it apart with your wooden spoon. Let it cook undisturbed for 4 to 5 minutes until the bottom is deeply browned. Then stir and continue cooking until all the meat is browned, about 3 to 4 more minutes. Use a slotted spoon to transfer the beef to a plate, leaving about 2 tablespoons of fat in the pot. If there is more than that, pour some off. If there is less, add a splash more oil.
Pro tip: Do not crowd the pan. If your pot is small, brown the beef in two batches. Crowding causes steaming, and steaming means no crust. That crust is pure flavor.
Step 2: Sauté the Aromatics
Reduce the heat to medium. Add the diced onion and bell pepper to the pot. Cook for 5 to 6 minutes, stirring occasionally, until the onion is translucent and starting to brown at the edges. Add the minced garlic and cook for 30 seconds until fragrant. You will smell it immediately—that is your cue to move to the next step.
Step 3: Bloom the Spices
Add the tomato paste, chili powder, cumin, smoked paprika, oregano, cayenne (if using), salt, and black pepper. Stir constantly for 1 minute. This step is non-negotiable. Toasting the spices in the fat releases their essential oils and makes them taste twice as flavorful. The tomato paste will darken slightly and smell rich and concentrated.
Step 4: Build the Chili
Return the browned beef to the pot. Add the fire-roasted tomatoes (with their juice), the minced chipotle peppers, the adobo sauce, the brown sugar, and the beef broth. Stir everything together, scraping the bottom of the pot to release any browned bits. Those bits are liquid gold—do not leave them stuck to the pot.
Step 5: Simmer
Bring the chili to a boil, then reduce the heat to low. Cover the pot with the lid slightly ajar and let it simmer for 30 minutes. Stir occasionally to prevent sticking. After 30 minutes, remove the lid and stir in the drained kidney beans and black beans. Let it simmer uncovered for another 10 to 15 minutes until the chili thickens to your liking.
Sensory cue: The chili should look thick enough that a spoon dragged through it leaves a trail that slowly fills back in. It should smell smoky, slightly sweet, and deeply savory—like something you want to eat immediately.
Step 6: Taste and Adjust
This is the most important step. Taste the chili and adjust the seasoning. Does it need more salt? A pinch more cumin? Another dash of adobo sauce? Trust your palate here. I usually end up adding another quarter teaspoon of salt and a splash of lime juice at this stage.
Step 7: Rest and Serve
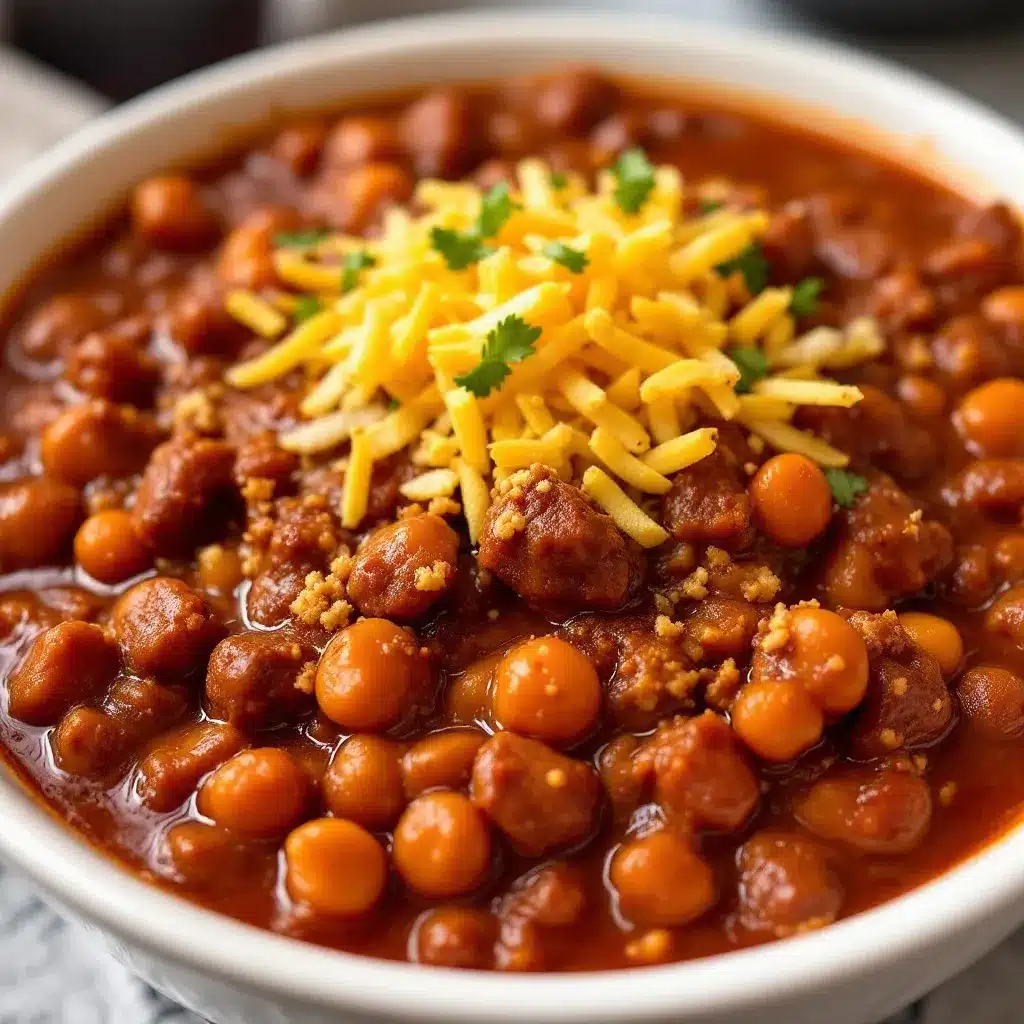
Turn off the heat and let the chili rest for 5 to 10 minutes before serving. This allows the flavors to settle and the chili to thicken slightly more. Ladle into bowls and top with your favorite garnishes. I go heavy on the shredded cheddar and sour cream, with a generous handful of fresh cilantro on top.
Cooking Tips & Techniques
I have made every mistake you can imagine with chili, and I am sharing them so you do not have to. Here are the things I wish someone had told me when I started making this recipe.
Do not skip browning the meat properly. The first few times I made chili, I rushed this step. I would stir the meat constantly, never letting it sit long enough to develop that deep brown crust. The result was gray, flavorless meat that made the whole pot taste flat. Let the meat sit. Walk away if you have to. That crust is where the flavor lives.
Toast your spices. This is the single biggest flavor upgrade you can make in any chili recipe. Thirty seconds in the hot fat transforms dried spices from dusty and flat to aromatic and vibrant. I learned this the hard way after making a batch of chili that tasted like nothing despite using a whole jar of chili powder.
Watch your heat level. Chipotle peppers vary in heat depending on the brand and batch. Start with one pepper and taste before adding more. You can always add heat, but you cannot take it out. I once added three chipotles to a batch meant for a party and spent the whole game apologizing to guests whose mouths were on fire.
Let it rest before serving. Chili that sits for 10 minutes after cooking tastes noticeably better than chili served straight from the boil. The flavors meld, the texture thickens, and everything comes together. This is also why leftover chili always tastes better the next day.
Use a heavy-bottomed pot. Thin pots create hot spots that burn the chili on the bottom while leaving the top cold. A Dutch oven or heavy stockpot distributes heat evenly and prevents scorching. If you only have a thin pot, stir more frequently and keep the heat lower.
Variations & Adaptations
One of the best things about chili is how adaptable it is. Here are some ways to make this recipe your own.
Make it vegetarian. Swap the ground beef for two cans of black beans and one can of pinto beans, plus an extra diced bell pepper and a cup of chopped mushrooms. The mushrooms add that meaty texture you crave. I have made this version for my vegetarian friends, and they always ask for seconds.
Go low and slow. If you have time, let the chili simmer on low heat for 2 to 3 hours instead of 45 minutes. The flavors deepen and the texture becomes almost velvety. Just keep an eye on the liquid level and add more broth if it gets too thick.
Switch up the protein. Ground turkey or chicken work beautifully here. Use dark meat turkey for the most flavor, and add an extra tablespoon of olive oil since poultry is leaner than beef. I have also made this with cubed chuck roast that I browned in batches and simmered for 2 hours—absolutely incredible, but definitely a weekend project.
Make it spicier. Add a diced jalapeño with the onions and bell pepper, or stir in a teaspoon of crushed red pepper flakes with the spices. For serious heat, add a minced habanero—but warn your guests!
Smoke it up. If you have a smoker, smoke the ground beef for 30 minutes at 225°F before browning it. The extra layer of smoke flavor takes this chili to another level. I did this for a tailgate once, and people were genuinely confused about how I got so much flavor in such a short time.
Serving & Storage Suggestions
This chili is incredibly versatile when it comes to serving. Here is how I like to do it.
Serving temperature: Serve it piping hot, straight from the pot. The garnishes will cool it down to the perfect eating temperature. I set up a chili bar with bowls of shredded cheese, sour cream, diced onions, cilantro, and pickled jalapeños so everyone can customize their bowl.
What to serve with it: Cornbread is the classic pairing, and for good reason. The sweet, crumbly bread balances the smoky, spicy chili perfectly. I also love serving this with football game day charcuterie cups on the side for a complete spread. Tortilla chips for dipping are non-negotiable in my house, and a simple side salad with lime vinaigrette cuts through the richness beautifully. If you want another dip option, this chili pairs great with creamy crockpot jalapeño popper dip for an extra indulgent game day table.
Storage: Let the chili cool completely, then transfer it to an airtight container. It will keep in the refrigerator for up to 5 days. The flavors actually improve over the first 2 to 3 days as they meld together.
Freezing: This chili freezes beautifully. Portion it into freezer-safe bags or containers, leaving an inch of headspace for expansion. It will keep for up to 3 months. Thaw overnight in the refrigerator before reheating.
Reheating: Reheat on the stovetop over medium-low heat, stirring occasionally. Add a splash of beef broth or water if it has thickened too much. You can also microwave individual portions in 30-second bursts, stirring between each. The chili will be slightly thicker after freezing, but the flavor remains just as bold.
Nutritional Information & Benefits
Here is the approximate nutritional breakdown for one serving of this chili (about 1.5 cups, without garnishes):
| Nutrient | Amount |
|---|---|
| Calories | 420 |
| Protein | 32g |
| Fat | 22g |
| Carbohydrates | 28g |
| Fiber | 9g |
| Sugar | 8g |
| Sodium | 780mg |
This chili is packed with protein from the beef and beans, making it a satisfying meal that keeps you full through the fourth quarter. The fiber from the beans and vegetables supports digestive health, and the chipotle peppers contain capsaicin, which has anti-inflammatory properties. The tomatoes provide lycopene, a powerful antioxidant, especially when cooked. If you are watching your sodium, use low-sodium broth and no-salt-added canned tomatoes, and rinse your beans thoroughly. This recipe is naturally gluten-free and dairy-free if you skip the cheese garnish. For a lower-carb option, serve it over cauliflower rice or simply omit the beans—though I think the beans are worth keeping for the texture and fiber.
Conclusion
This smoky chipotle beef chili is the kind of recipe that becomes a staple in your rotation. It is bold enough to impress guests, simple enough to make on a Tuesday night, and forgiving enough to adapt to whatever you have in your fridge. I have made it for Super Bowl parties, chilly fall dinners, and lazy Sunday afternoons when all I want is a bowl of something warm and satisfying. Every single time, it delivers.
I want you to make this chili your own. Add extra chipotle if you like things spicy. Throw in some corn or diced zucchini if you have them. Top it with crushed Fritos and a mountain of cheese if that is your style. The recipe is a starting point, not a rulebook. The best chili is the one that tastes right to you.
If you make this recipe, I would love to hear about it. Drop a comment below and tell me how it turned out, what you added, or what you served with it. Your tweaks might inspire someone else’s perfect bowl. And if you are looking for more game day inspiration, do not miss my easy sweet and salty football snack mix or these football charcuterie board sliders for the ultimate spread. Happy cooking, and enjoy the game!
Frequently Asked Questions
Can I make this chili in a slow cooker?
Absolutely. Brown the beef and sauté the aromatics on the stovetop first, then transfer everything except the beans to a slow cooker. Cook on low for 6 to 8 hours or on high for 3 to 4 hours. Stir in the beans during the last 30 minutes of cooking. The slow cooker version is even more forgiving and develops incredible depth of flavor.
How do I thicken my chili if it is too thin?
If your chili is thinner than you would like, remove the lid and let it simmer uncovered for 10 to 15 minutes. The excess liquid will evaporate and the chili will thicken naturally. You can also mash some of the beans against the side of the pot and stir them in—the starch acts as a natural thickener. Avoid adding cornstarch or flour unless absolutely necessary, as it can change the texture.
Can I use dried beans instead of canned?
Yes, but you will need to cook them separately first. Soak 1 cup of dried kidney beans and 1 cup of dried black beans overnight, then drain and rinse them. Cook them in fresh water until tender, about 1 to 2 hours depending on the beans. Add them to the chili during the last 30 minutes of simmering. Using dried beans gives you more control over texture and reduces sodium, but it does add prep time.
What is the best way to reduce the spice level?
Start with only one chipotle pepper instead of two, and skip the cayenne pepper entirely. You can also add an extra can of diced tomatoes or an extra cup of beef broth to dilute the heat. Serving the chili with a generous dollop of sour cream or Greek yogurt helps balance the spiciness on the plate. Remember, you can always add more heat later, but you cannot take it out.
How far ahead can I make this chili for a party?
You can make this chili up to 3 days in advance. In fact, I recommend it. The flavors deepen and meld together beautifully overnight. Make the chili, let it cool completely, and store it in the refrigerator. Reheat it on the stovetop or in a slow cooker on the day of your party. If using a slow cooker to reheat, add an extra half cup of broth to prevent it from drying out, and switch to warm once it is hot.
Pin This Recipe!
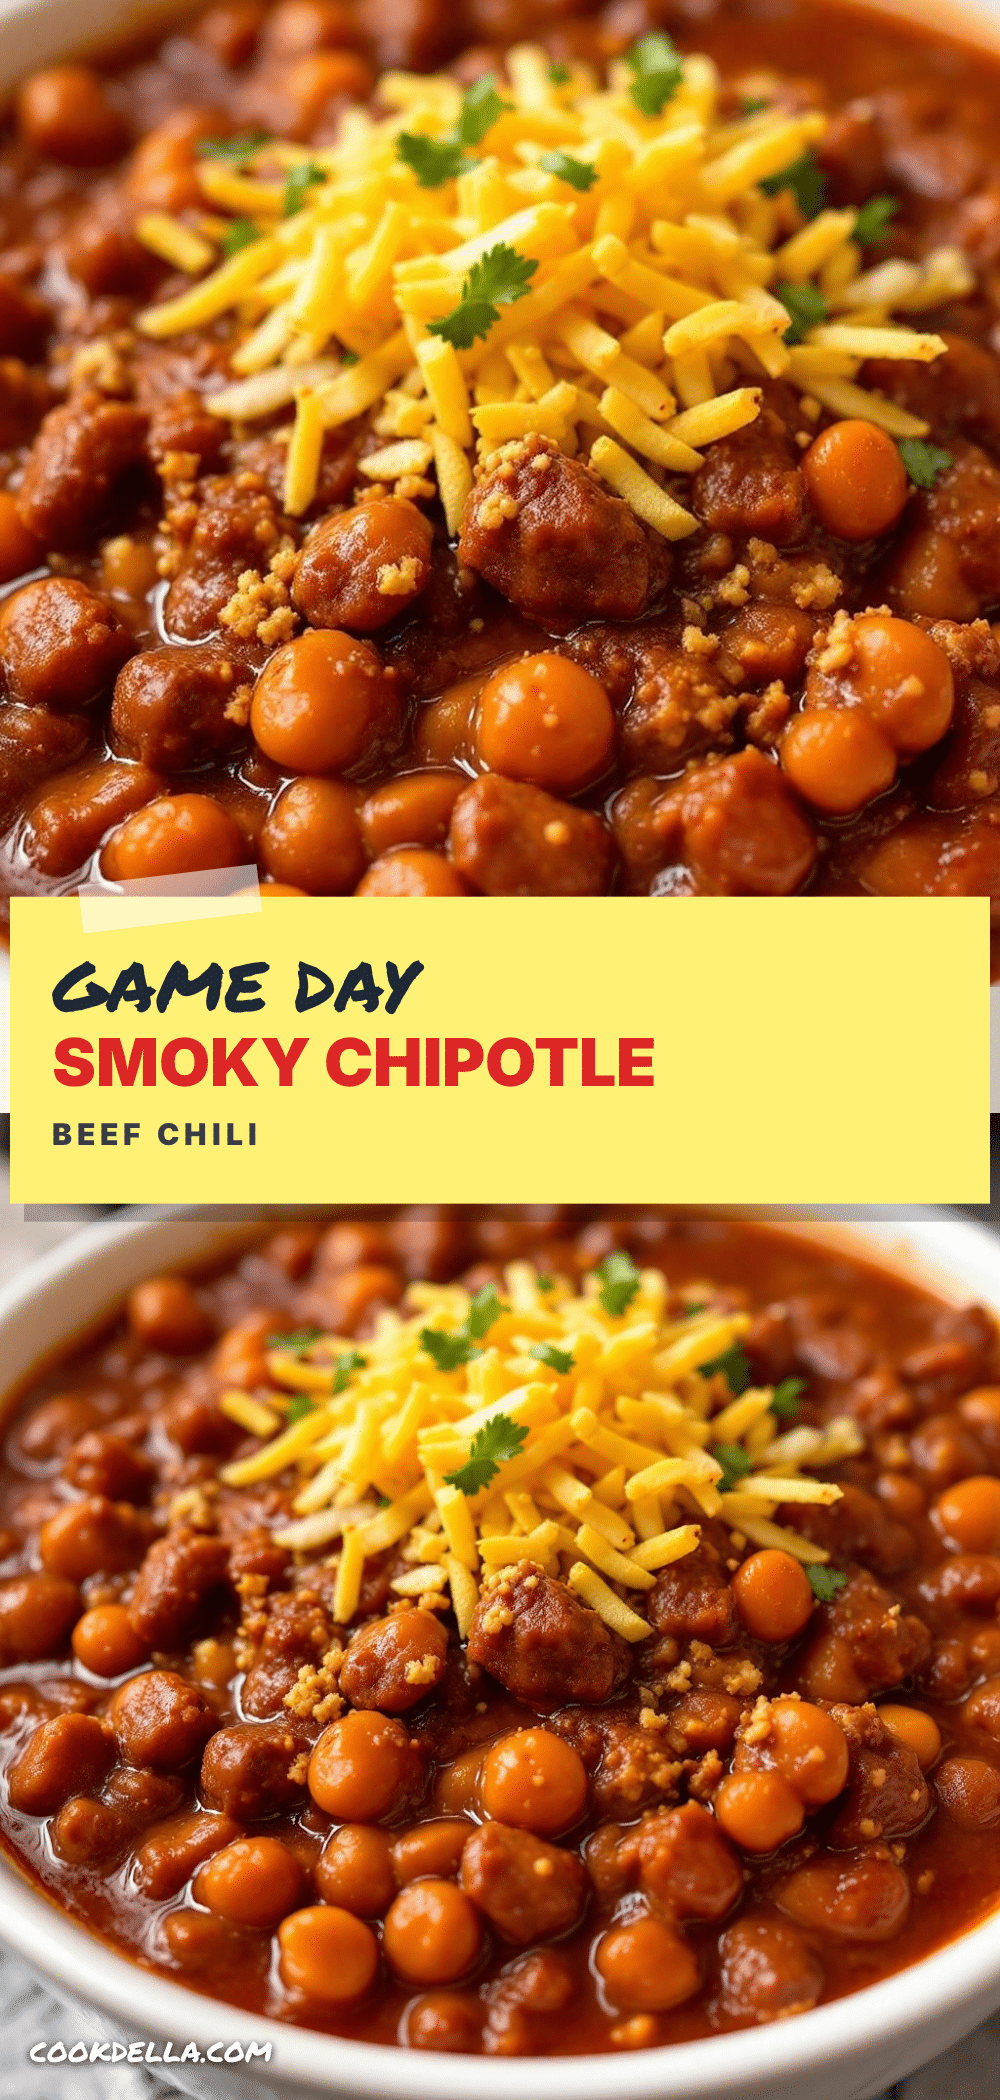
Smoky Chipotle Beef Chili: Best Game Day Recipe

This smoky chipotle beef chili delivers deep, campfire smokiness and just enough heat in under an hour. Perfect for game day, it’s a one-pot wonder that lets you brown the meat, dump everything in, and walk away while the flavors meld.
- Prep Time: 15 minutes
- Cook Time: 45 minutes
- Total Time: 1 hour
- Yield: 6 servings 1x
- Category: Main Course
- Cuisine: American
Ingredients
- 2 tablespoons olive oil
- 2 pounds ground beef (80/20)
- 1 large yellow onion, diced (about 2 cups)
- 1 red bell pepper, diced
- 4 cloves garlic, minced
- 2 tablespoons tomato paste
- 2 tablespoons chili powder
- 1 tablespoon ground cumin
- 1 teaspoon smoked paprika
- 1 teaspoon dried oregano
- 1/2 teaspoon cayenne pepper (optional)
- 1 teaspoon salt
- 1/2 teaspoon black pepper
- 1 can (14.5 ounces) fire-roasted diced tomatoes (undrained)
- 1 can (15 ounces) kidney beans, drained and rinsed
- 1 can (15 ounces) black beans, drained and rinsed
- 2 chipotle peppers in adobo sauce, minced, plus 1 tablespoon adobo sauce
- 2 cups low-sodium beef broth
- 1 tablespoon brown sugar
- Shredded cheddar cheese (for garnish)
- Sour cream or Greek yogurt (for garnish)
- Fresh cilantro, chopped (for garnish)
- Diced red onion or green onions (for garnish)
- Pickled jalapeños (for garnish)
- Crushed tortilla chips or oyster crackers (for garnish)
Instructions
- Heat olive oil in a Dutch oven over medium-high heat. Add ground beef and break it apart. Cook undisturbed for 4-5 minutes until deeply browned, then stir and cook 3-4 more minutes until all meat is browned. Transfer beef to a plate, leaving about 2 tablespoons of fat in the pot.
- Reduce heat to medium. Add diced onion and bell pepper. Cook 5-6 minutes, stirring occasionally, until onion is translucent and starting to brown. Add minced garlic and cook 30 seconds until fragrant.
- Add tomato paste, chili powder, cumin, smoked paprika, oregano, cayenne (if using), salt, and black pepper. Stir constantly for 1 minute to toast the spices.
- Return browned beef to the pot. Add fire-roasted tomatoes (with juice), minced chipotle peppers, adobo sauce, brown sugar, and beef broth. Stir, scraping the bottom to release browned bits.
- Bring to a boil, then reduce heat to low. Cover with lid slightly ajar and simmer for 30 minutes, stirring occasionally. Remove lid, stir in drained kidney beans and black beans. Simmer uncovered 10-15 minutes until chili thickens.
- Taste and adjust seasoning as needed (add more salt, cumin, or adobo sauce).
- Turn off heat and let chili rest 5-10 minutes before serving. Ladle into bowls and top with desired garnishes.
Notes
Do not skip browning the meat properly; let it sit to develop a deep crust. Toast spices in the hot fat for 30 seconds to maximize flavor. Start with one chipotle pepper and taste before adding more to control heat. Let chili rest before serving for better flavor melding. Use a heavy-bottomed pot to prevent scorching. Chili tastes even better the next day.
Nutrition
- Serving Size: 1.5 cups
- Calories: 420
- Sugar: 8
- Sodium: 780
- Fat: 22
- Saturated Fat: 8
- Carbohydrates: 28
- Fiber: 9
- Protein: 32
Keywords: smoky chipotle beef chili, game day chili, easy chili recipe, one-pot chili, ground beef chili, chipotle chili


