The last Saturday of September, and the kitchen counter is sticky with something that isn’t quite sugar and isn’t quite butter yet. My nephew is standing on a step stool, his fingers already dusted with flour, and he’s holding up a bag of candy corn like he’s discovered gold. I wasn’t planning on making anything that afternoon. I had a list of things to do—grocery shopping, laundry, the usual weekend chores. But he looked at me with that specific kind of hope only a seven-year-old can muster, and I caved. That’s how these Easy Candy Corn Sugar Cookie Bars happened. Not from a carefully tested recipe or a seasonal baking schedule. Just from a kid who wanted candy corn in something chewy and warm, and an aunt who didn’t have the heart to say no.
The first batch was a disaster, honestly. The cookie layer spread too thin, and the candy corn melted into sugary puddles that burned on the pan. But we tried again the next weekend, and the weekend after that, until we got it right. These bars are the result of those messy afternoons—a soft, buttery sugar cookie base that’s thick enough to hold its shape, topped with a layer of colorful candy corn that stays intact because you press it in at just the right moment. They’re not fancy. They’re not complicated. But they taste like the kind of fall afternoon you want to hold onto a little longer.
There’s something about candy corn that people either love or roll their eyes at. I’m in the love camp, but I get the skepticism. On its own, it’s a little one-dimensional. But pressed into a warm sugar cookie bar? It softens just enough to get chewy, and the sweetness balances against the buttery cookie in a way that surprised me. These bars have become our unofficial kickoff to Halloween baking season, right alongside those easy black cat sugar cookies that disappear from the cooling rack before they’re even fully set. They’re simple enough for a lazy Sunday, but colorful enough to bring to a party. And honestly? They’re the kind of recipe that makes you feel like you’re getting away with something, because they’re so easy.
Why You’ll Love This Recipe
I’ve tested this recipe more times than I care to admit, and here’s what I’ve learned: these Easy Candy Corn Sugar Cookie Bars are the kind of dessert that works for almost any fall occasion. They’re not fussy, they don’t require a stand mixer or any fancy techniques, and they come together in about 30 minutes of active time. That matters when you’re juggling a dozen other things during the busy holiday season.
- Quick & Easy: From mixing bowl to oven in under 15 minutes. The hardest part is waiting for them to cool enough to cut.
- Simple Ingredients: Butter, sugar, flour, eggs, vanilla—the usual suspects you probably already have in your pantry. No specialty extracts or hard-to-find items.
- Perfect for Fall Gatherings: Halloween parties, Thanksgiving dessert tables, classroom treats, or just a cozy night in with a movie. They’re portable, sliceable, and always grab attention.
- Crowd-Pleaser: Even the candy corn skeptics tend to come back for seconds. The cookie base is that good—soft, chewy, with slightly crisp edges.
- Unbelievably Delicious: The combination of buttery sugar cookie and slightly softened candy corn creates a texture that’s hard to describe but impossible to stop eating.
What makes these bars different from other candy corn desserts I’ve tried is the timing. Most recipes have you mix the candy corn into the dough, which turns it into a melted mess. Instead, you press the candy corn into the top of the bars halfway through baking. This keeps the colors distinct and gives you that satisfying pop of candy corn texture against the soft cookie. It’s a small adjustment, but it makes all the difference.
These bars are the kind of recipe that makes you close your eyes after the first bite. Not because they’re gourmet or complicated, but because they taste exactly like what you wanted them to taste like—simple, sweet, and full of fall. They’re comfort food reimagined for the Halloween season, and they deliver that same soul-soothing satisfaction without the stress of decorating cookies or making elaborate layer cakes.
What Ingredients You Will Need
This recipe uses simple, straightforward ingredients to deliver that perfect sugar cookie texture with a festive twist. Most of these are pantry staples, which means you can whip up a batch on a whim without a special trip to the store.
- Unsalted butter, softened (1 cup, or 2 sticks) — I always use unsalted so I can control the salt level. Let it sit out for about 30 minutes before starting. If you’re short on time, you can microwave it in 5-second bursts, but be careful not to melt it.
- Granulated sugar (1 ½ cups) — Standard white sugar gives these bars that classic sugar cookie sweetness and helps create those slightly crisp edges.
- Large eggs (2, room temperature) — Room temperature eggs incorporate more evenly into the butter and sugar mixture. If you forgot to take them out ahead of time, place them in a bowl of warm water for 5 minutes.
- Vanilla extract (2 teaspoons) — Pure vanilla extract makes a difference here. I prefer Nielsen-Massey for its rich flavor, but any good quality brand works. Avoid imitation vanilla if you can.
- All-purpose flour (3 cups) — Spoon and level your flour for the most accurate measurement. Scooping directly from the bag can pack in too much flour and make the bars dry.
- Baking powder (1 teaspoon) — This gives the bars a gentle lift without making them too cakey.
- Salt (½ teaspoon) — Don’t skip this. Salt balances the sweetness and enhances the buttery flavor.
- Candy corn (1 ½ cups, plus extra for topping) — You’ll need about one standard 15-ounce bag. I’ve tried several brands, and Brach’s works best for consistent texture and color. Avoid seasonal knock-offs that might be softer or melt differently.
For the candy corn, here’s a tip I learned the hard way: buy the fresh bag, not the one that’s been sitting in your pantry since last Halloween. Stale candy corn gets hard and doesn’t soften properly in the oven. If you’re not sure, give a piece a gentle squeeze—it should have a little give, not feel rock hard.
If you want to get creative, you can substitute the candy corn with autumn-colored M&Ms or chopped Reese’s Pieces for a different flavor profile. But for the classic candy corn experience, stick with the original. The colors—yellow, orange, and white—are what make these bars so festive and fun.
Equipment Needed
You don’t need much to make these bars, which is part of their appeal. Here’s what you’ll need:
- 9×13-inch baking pan — This is the standard size for these bars. A metal pan gives you slightly crisper edges, while glass or ceramic will produce a softer, more evenly baked bar. Both work fine.
- Parchment paper — Absolutely essential for easy removal. Leave some overhang on the long sides so you can lift the whole batch out at once.
- Electric mixer — A hand mixer or stand mixer with the paddle attachment works. You can do this by hand with a wooden spoon, but it takes some elbow grease to get the butter and sugar properly creamed.
- Large mixing bowl — Any large bowl will do. I prefer a glass or ceramic bowl for even mixing.
- Whisk — For combining the dry ingredients.
- Rubber spatula — For scraping down the sides of the bowl and pressing the dough into the pan.
- Cooling rack — A wire rack allows air to circulate around the pan, preventing the bottom from getting soggy.
- Sharp knife — A chef’s knife or a large serrated knife works best for clean cuts. A plastic knife actually works surprisingly well for cutting through the candy corn without dragging.
If you don’t have a 9×13 pan, you can use two 8×8 square pans instead. Just reduce the baking time by about 5 minutes and check for doneness earlier. I’ve also made these in a disposable aluminum pan for taking to potlucks, and they turn out just fine.
Preparation Method
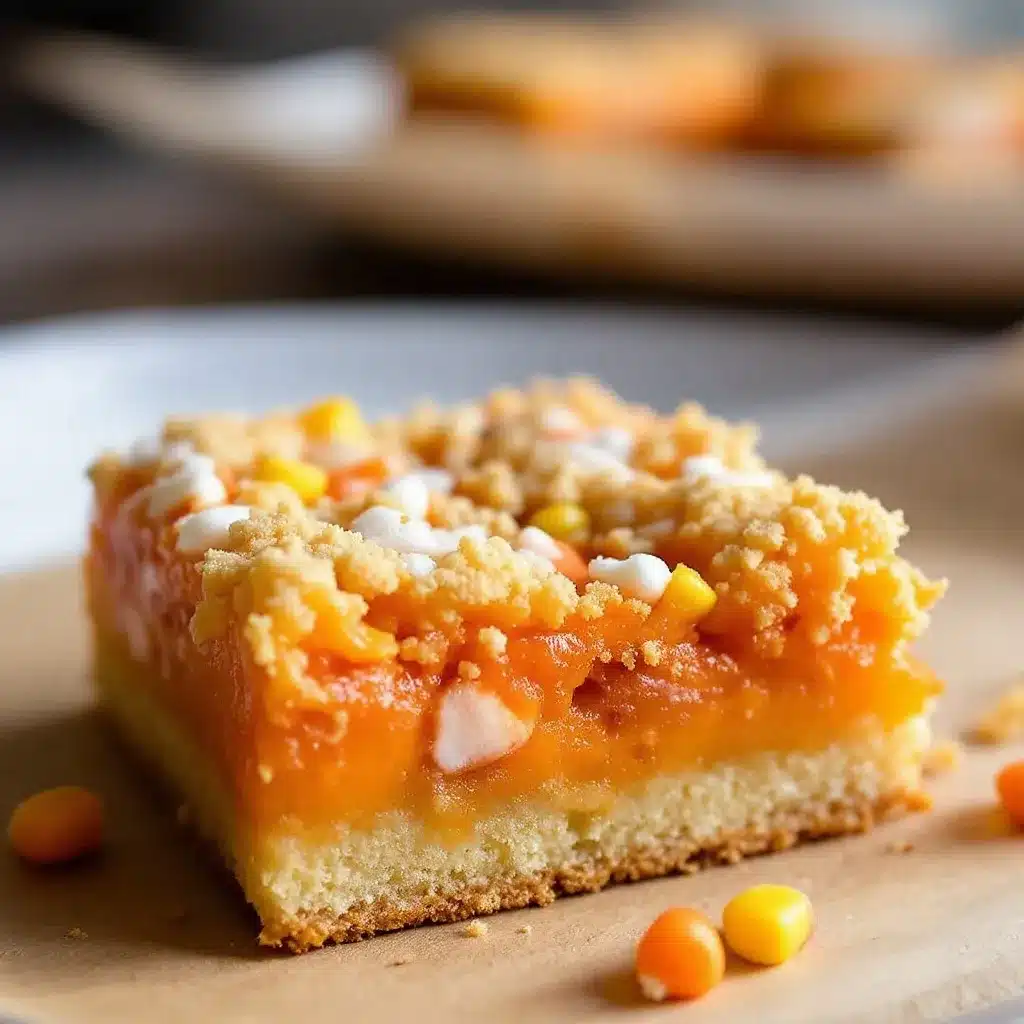
Let me walk you through this step by step. I’ve included all the little details that make the difference between good bars and great bars.
Step 1: Preheat and prepare your pan.
Preheat your oven to 350°F (175°C). Line your 9×13-inch baking pan with parchment paper, leaving about 2 inches of overhang on the two long sides. This creates handles that let you lift the entire batch out after baking. Lightly spray the parchment with non-stick cooking spray for extra insurance.
Step 2: Cream the butter and sugar.
In a large mixing bowl, beat the softened butter and granulated sugar together on medium speed until light and fluffy, about 3 to 4 minutes. You’re looking for a pale, creamy texture—like the color of a vanilla milkshake. Scrape down the sides and bottom of the bowl with your spatula halfway through. Don’t rush this step; proper creaming incorporates air that helps the bars rise and gives them that tender texture.
Step 3: Add the eggs and vanilla.
Add the eggs one at a time, beating well after each addition. The mixture might look a little separated at first, but keep mixing until it comes back together and looks smooth. Add the vanilla extract and beat just until combined. Scrape the bowl again.
Step 4: Combine the dry ingredients.
In a separate bowl, whisk together the all-purpose flour, baking powder, and salt. Whisking aerates the flour and ensures the baking powder and salt are evenly distributed. No one wants a pocket of baking powder in their cookie bar.
Step 5: Mix the dry ingredients into the wet.
Add the flour mixture to the butter mixture in two additions, mixing on low speed after each addition. Stop as soon as the flour disappears—overmixing develops gluten and makes the bars tough. The dough will be thick and slightly sticky, like a soft sugar cookie dough. Use your spatula to give it a few final stirs from the bottom to make sure everything is incorporated.
Step 6: Press the dough into the pan.
Transfer the dough to your prepared pan. It’s going to be thick and a little stubborn. Use your spatula or lightly floured hands to press it evenly into the corners. Try to make the surface as level as possible so the bars bake evenly. If the dough sticks to your fingers, lightly dust them with flour.
Step 7: First bake.
Bake the bars for 12 minutes at 350°F (175°C). They should look set around the edges but still soft and slightly underdone in the center. This is exactly what you want. Pull them out of the oven and let them rest on the counter for 2 minutes—just enough time to cool slightly without fully setting.
Step 8: Add the candy corn.
Now comes the important part. Gently press the candy corn into the top of the partially baked bars. Arrange them in rows or scatter them randomly—whatever pattern makes you happy. Press each piece in just enough so it stays in place, but don’t push it all the way to the bottom. You want the candy corn to sit on top and soften, not melt into the dough completely.
Step 9: Second bake.
Return the pan to the oven and bake for another 10 to 12 minutes. The edges should be golden brown, and the center should look set but still soft. A toothpick inserted into the center (avoiding any candy corn) should come out with a few moist crumbs, not wet batter. The candy corn will look slightly puffed and glossy—that’s perfect.
Step 10: Cool completely.
Place the pan on a wire rack and let the bars cool completely in the pan. This takes about 1 to 2 hours. I know it’s tempting to cut into them while they’re warm, but the bars need time to set. Cutting too early will give you crumbly, messy pieces. Once cool, use the parchment handles to lift the entire batch out onto a cutting board.
Step 11: Slice and serve.
Use a sharp knife to cut the bars into squares. I usually go for 12 large bars or 24 smaller ones, depending on the occasion. For clean cuts, wipe the knife clean between slices. If the candy corn gives you trouble, a plastic knife actually cuts through it more cleanly than metal.
Cooking Tips & Techniques
After making these Easy Candy Corn Sugar Cookie Bars more times than I can count, I’ve picked up a few tricks that make the process smoother and the results more consistent.
Don’t overbake. This is the number one mistake I see people make. Sugar cookie bars should be soft and tender, not dry and crumbly. Pull them out when the center still looks slightly underdone. They’ll continue to set as they cool on the counter. If you wait until the center looks fully baked, they’ll be overdone by the time they cool.
Timing the candy corn addition. The two-stage baking process is non-negotiable. If you press the candy corn into raw dough and bake everything together, the candy corn melts into unrecognizable blobs. If you add it at the very end, it doesn’t soften enough and falls off when you cut the bars. The sweet spot is adding it after 12 minutes of baking, when the surface is set but still warm and slightly tacky.
Room temperature ingredients matter. Cold butter doesn’t cream properly, and cold eggs can make the mixture separate. Set your butter and eggs out about 30 minutes before you start. If you’re in a hurry, you can soften butter in the microwave in short bursts, but watch it carefully—melted butter changes the texture of the bars completely.
Use parchment paper. I cannot stress this enough. Parchment paper makes removal effortless and cleanup almost nonexistent. Wax paper will melt in the oven, and aluminum foil can stick to the bars. Spend the few cents on parchment paper.
Let them cool. I know I mentioned this already, but it deserves repeating. These bars need to cool completely before you cut them. If you’re in a rush, you can pop the pan in the refrigerator for about 30 minutes after they’ve cooled to room temperature. Chilled bars cut much more cleanly.
Check your candy corn. Not all candy corn is created equal. Some brands are softer and melt more easily, while others are harder and hold their shape better. Brach’s is my go-to for consistent results. If you’re using a store brand, you might need to adjust the baking time slightly. Keep an eye on them during the second bake.
I once forgot to set a timer and left the bars in for the full 25 minutes without adding the candy corn at the halfway point. The result was a pan of overbaked cookie with a pile of unmelted candy corn on top that refused to stick. It was a sad, crumbly mess. Learn from my mistakes—set that timer.
Variations & Adaptations
These Easy Candy Corn Sugar Cookie Bars are pretty perfect as written, but I’ve experimented with a few variations over the years. Here are some of my favorites.
Chocolate Drizzle: After the bars have cooled completely, melt about ½ cup of semi-sweet chocolate chips with 1 teaspoon of coconut oil and drizzle it over the top. The chocolate adds a nice bitterness that balances the sweetness of the candy corn. Let the chocolate set before cutting. This is my personal favorite variation.
Pumpkin Spice Version: Add 1 teaspoon of pumpkin pie spice to the dry ingredients and replace ¼ cup of the butter with ¼ cup of pumpkin puree. The pumpkin adds moisture and a subtle fall flavor that pairs beautifully with the candy corn. Just be aware that the bars will be slightly softer and may need an extra minute or two of baking time.
Gluten-Free Adaptation: Substitute the all-purpose flour with a 1:1 gluten-free baking flour blend. I’ve had good results with Bob’s Red Mill Gluten-Free 1-to-1 Baking Flour. No other adjustments needed, though the texture will be slightly more tender and less chewy. These are great for gluten-sensitive guests.
White Chocolate Chips: Mix ½ cup of white chocolate chips into the dough before pressing it into the pan. The white chocolate adds creamy pockets of sweetness that complement the candy corn. This works especially well if you’re making these for a crowd that might find straight candy corn too sweet.
Mini Version: Press the dough into a lined 9×13 pan and bake as directed, but instead of cutting into bars, use a small cookie cutter to cut out shapes after baking. Pumpkin, ghost, and leaf shapes work perfectly for Halloween. You’ll have some scraps, but those are the baker’s tax.
If you’re looking for more fall baking inspiration, these bars pair beautifully with a batch of soft baked pumpkin snickerdoodle cookies for a full dessert spread. The spiced, cinnamon-sugar cookies offer a nice contrast to the sweet, buttery bars.
Serving & Storage Suggestions
These Easy Candy Corn Sugar Cookie Bars are versatile enough to serve at almost any fall gathering. Here’s how I like to handle serving and storing them.
Serving Temperature: These bars are best at room temperature. The cookie base stays soft and chewy, and the candy corn has the perfect texture—slightly softened but still holding its shape. If you’ve refrigerated them, let them sit out for about 15 minutes before serving.
Presentation Ideas: Arrange the bars on a white platter or cake stand to let the orange, yellow, and white colors pop. For Halloween parties, I like to place them on a platter with a few purple orange pastel Halloween cupcakes for a coordinated dessert table. The pastel colors of the cupcakes complement the bright candy corn tones beautifully.
Pairing Suggestions: These bars are sweet on their own, but they pair wonderfully with a tall glass of cold milk or a warm cup of coffee. For an adult twist, try serving them with a spiced chai latte or a pumpkin spice latte. The warmth of the spices cuts through the sweetness nicely. If you’re feeling ambitious, a homemade pumpkin spice latte is the perfect companion.
Storage: Store the bars in an airtight container at room temperature for up to 5 days. Layer them with parchment paper between each layer to prevent sticking. Do not refrigerate them unless absolutely necessary—the cold temperature can make the candy corn hard and the cookie base dry.
Freezing: These bars freeze surprisingly well. Wrap the entire slab or individual bars tightly in plastic wrap, then place them in a freezer-safe bag or container. Freeze for up to 3 months. To thaw, let them sit at room temperature for about 30 minutes. The candy corn might lose a little of its shine, but the flavor stays intact.
Flavor Development: Honestly, these bars taste even better the day after baking. The flavors meld together, and the texture becomes even more tender. If you can resist eating them all on day one, you’ll be rewarded on day two.
Nutritional Information & Benefits
Let’s be real—these are a treat, not a health food. But here’s the nutritional breakdown for one large bar (based on 12 servings) so you know what you’re working with.
- Calories: Approximately 380 per bar
- Total Fat: 16g
- Saturated Fat: 10g
- Carbohydrates: 56g
- Sugar: 38g
- Protein: 4g
- Fiber: 1g
- Sodium: 180mg
These values are estimates and will vary based on the exact ingredients and brands you use. The butter provides a good source of vitamin A, and the eggs add a small amount of protein. The candy corn, while mostly sugar, does bring a festive touch that makes these bars feel special.
Dietary Considerations: This recipe contains gluten, dairy, and eggs. For a gluten-free version, use a 1:1 gluten-free flour blend. For a dairy-free version, substitute the butter with a high-quality vegan butter stick (not margarine) and use a dairy-free candy corn brand. Unfortunately, there’s no good egg substitute for this recipe without significantly changing the texture.
Allergen Notes: Candy corn is typically gluten-free, but some brands may be processed in facilities that handle wheat. Check the packaging if you’re serving someone with celiac disease or a severe gluten allergy.
My personal take? These bars are for enjoyment, not for nutritional optimization. They’re a seasonal treat that brings joy to Halloween parties, fall gatherings, and quiet evenings at home. One bar isn’t going to derail your wellness goals, and the memories made while baking and sharing them are worth every calorie.
Conclusion
These Easy Candy Corn Sugar Cookie Bars are exactly what a fall dessert should be—simple, festive, and genuinely delicious. They don’t require complicated techniques or hard-to-find ingredients. They don’t demand hours of your time or a perfectly decorated kitchen. They just ask for a little butter, a little sugar, and a handful of candy corn.
What I love most about this recipe is how adaptable it is. You can dress it up with a chocolate drizzle for a party, keep it simple for a weeknight treat, or let the kids press the candy corn into the dough and call it an afternoon activity. It’s the kind of recipe that grows with you and your family, evolving to fit whatever occasion you need it for.
I’d love to hear how these turn out for you. Did you add a twist? Did the kids help? Did you bring them to a Halloween party and watch them disappear? Drop a comment below and let me know. And if you make these for a gathering, tag me in your photos—I always love seeing these bars out in the wild. Happy fall baking, friends. Make something sweet, share it with someone you love, and don’t forget to save a piece for yourself.
Frequently Asked Questions
Can I use salted butter instead of unsalted?
Yes, you can. Just reduce the added salt to ¼ teaspoon to keep the overall salt level balanced. The bars might be slightly saltier, but some people actually prefer that contrast with the sweet candy corn.
Why did my candy corn melt into the dough?
This usually happens when the candy corn is added too early or pressed too deep into the dough. Make sure you’re adding it after the first 12 minutes of baking, when the surface is set but still soft. Gently press each piece just until it stays in place—don’t push it all the way to the bottom of the pan.
Can I make these ahead of time for a party?
Absolutely. These bars actually taste better the next day. Bake them up to 2 days in advance, store them in an airtight container at room temperature, and cut them just before serving. You can also freeze the whole slab for up to 3 months and thaw it the day before your event.
My bars came out dry. What went wrong?
Overbaking is the most common culprit. Sugar cookie bars should be pulled from the oven while the center still looks slightly underdone. Overmixing the dough can also develop too much gluten, resulting in a tougher, drier texture. Next time, mix just until the flour disappears and set that timer carefully.
Can I use a different type of candy instead of candy corn?
Definitely. Autumn-colored M&Ms, Reese’s Pieces, or chopped peanut butter cups all work well. Keep in mind that different candies have different melting points, so you might need to adjust the timing of when you add them. Harder candies like M&Ms can go on at the same time as candy corn, while softer candies might do better added later in the baking process.
Pin This Recipe!
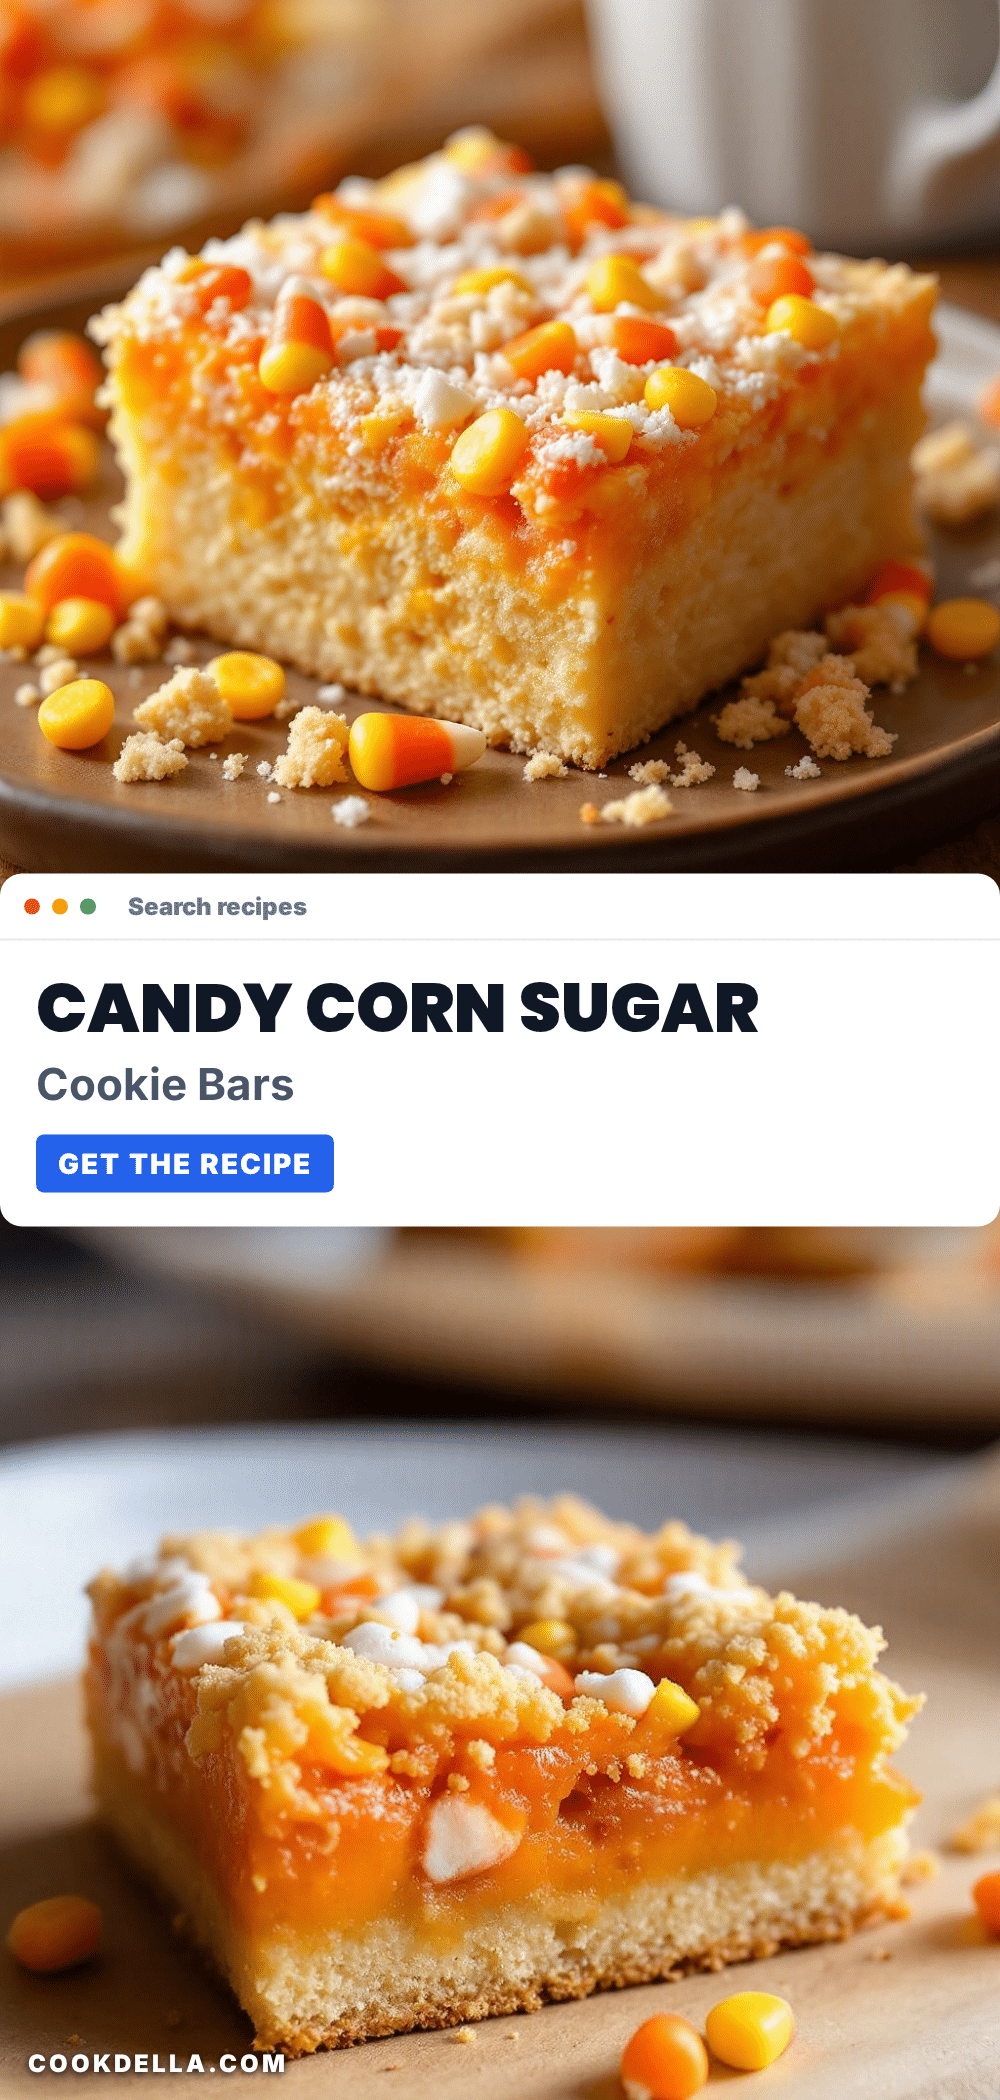
Easy Candy Corn Sugar Cookie Bars: Best Fall Dessert

Soft, buttery sugar cookie bars topped with colorful candy corn that stays intact thanks to a clever two-stage baking method. Perfect for Halloween parties, fall gatherings, or a cozy night in.
- Prep Time: 15 minutes
- Cook Time: 22-24 minutes
- Total Time: 1 hour 40 minutes (including cooling)
- Yield: 12 large bars or 24 small bars 1x
- Category: Dessert
- Cuisine: American
Ingredients
- 1 cup (2 sticks) unsalted butter, softened
- 1 ½ cups granulated sugar
- 2 large eggs, room temperature
- 2 teaspoons vanilla extract
- 3 cups all-purpose flour
- 1 teaspoon baking powder
- ½ teaspoon salt
- 1 ½ cups candy corn (plus extra for topping)
Instructions
- Preheat oven to 350°F (175°C). Line a 9×13-inch baking pan with parchment paper, leaving overhang on the long sides. Lightly spray with non-stick cooking spray.
- In a large mixing bowl, beat softened butter and granulated sugar on medium speed until light and fluffy, about 3-4 minutes. Scrape down sides halfway through.
- Add eggs one at a time, beating well after each addition. Add vanilla extract and beat until combined. Scrape bowl again.
- In a separate bowl, whisk together flour, baking powder, and salt.
- Add flour mixture to butter mixture in two additions, mixing on low speed until just combined. Dough will be thick and slightly sticky.
- Transfer dough to prepared pan and press evenly into corners using a spatula or lightly floured hands.
- Bake for 12 minutes. Bars should look set around edges but still soft in center. Remove from oven and let rest for 2 minutes.
- Gently press candy corn into the top of the partially baked bars in rows or scattered pattern. Press just enough to stay in place.
- Return pan to oven and bake for another 10-12 minutes until edges are golden brown and center is set but still soft. A toothpick inserted in center (avoiding candy corn) should come out with moist crumbs.
- Cool completely in pan on a wire rack, about 1-2 hours. Use parchment handles to lift bars out onto a cutting board.
- Slice into squares using a sharp knife, wiping clean between cuts. For cleaner cuts through candy corn, use a plastic knife.
Notes
Don’t overbake; pull bars when center still looks slightly underdone. The two-stage baking process is key to keeping candy corn intact. Use room temperature ingredients for best results. Bars taste even better the next day.
Nutrition
- Serving Size: 1 large bar
- Calories: 380
- Sugar: 38
- Sodium: 180
- Fat: 16
- Saturated Fat: 10
- Carbohydrates: 56
- Fiber: 1
- Protein: 4
Keywords: candy corn, sugar cookie bars, fall dessert, Halloween dessert, easy cookie bars, candy corn bars


