That first little eye-peek of dough — the kind that makes you squint and tilt your head before you even realize you’re smiling — still takes me straight to my friend Maria’s tiny kitchen, three Halloweens ago. She was frantically wrapping crescent strips around little smoked sausages, muttering about how her kids would only eat “scary food” if it was also “lunch food.” And honestly? That moment changed my whole approach to Halloween. Because here’s the thing about this easy mummy pigs in a blanket recipe: it’s not about elaborate costumes or sugar comas. It’s about the quiet, slightly ridiculous joy of turning a weeknight staple into something that makes a six-year-old gasp. (And a thirty-six-year-old, if we’re being honest.)
I remember standing there, watching her work, and thinking, “This is it. This is the perfect Halloween recipe.” No fondant. No food coloring. No stress. Just a tube of crescent dough, a bag of little smokies, and a few mustard dots that suddenly become eyes. It’s the kind of recipe that feels like a secret handshake between parents — we all know the kids are just eating hot dogs wrapped in bread, but for one night, they’re eating *mummies*. And that makes all the difference.
So when I finally made my own batch the next week (with a few tweaks, because I can’t leave well enough alone), I knew this was something I had to share. It’s the recipe that proves Halloween doesn’t have to be complicated to be memorable. It just has to be a little bit silly — and a whole lot of delicious.
Why You’ll Love This Recipe
Let me be real with you: I’ve tested this recipe about seven times. The first batch? The dough unwrapped in the oven and looked like sad, naked hot dogs. The second batch? I over-baked them and the mummies were crispy and sad. But by batch number four? Perfection. Here’s why this version is the one you’ll come back to year after year:
- Ridiculously Easy: We’re talking 15 minutes of prep, start to finish. No chilling, no resting, no complicated folding techniques. If you can wrap a strip of dough around a sausage, you can make these.
- Kid-Friendly (and Kid-Approved): My nephew, who once declared he “doesn’t eat things that look at him,” ate six of these in one sitting. The mummy wrapping makes them fun without being scary.
- Perfect for Halloween Parties: Whether it’s a classroom party, a spooky movie night, or a pre-trick-or-treat dinner, these little guys disappear faster than candy corn at a dentist’s office.
- Simple Ingredients: You probably already have everything in your kitchen. No specialty grocery trips required — just crescent dough, cocktail sausages, and a little mustard.
- Crowd-Pleaser: I’ve brought these to four different Halloween gatherings now, and every single time, someone asks for the recipe. Even the adults who claim they’re “too old for Halloween stuff” sneak a second one.
- Unbelievably Customizable: You can swap the sausages, change the dough, add cheese, or make them gluten-free — and they still come out looking adorable.
What makes mummy pigs in a blanket different from every other Halloween appetizer out there? It’s the perfect balance of fun and function. They’re festive enough to feel special, but simple enough that you’re not stuck in the kitchen while everyone else is having fun. Plus, that first bite — where the flaky, buttery dough gives way to the salty, smoky sausage — is pure comfort. It’s the kind of food that makes you close your eyes for a second, even at a loud party.
What Ingredients You Will Need
This recipe uses simple, everyday ingredients to create something that looks way more impressive than it actually is. Here’s what you’ll need to gather:
For the Mummies
- 1 can (8 oz) refrigerated crescent roll dough — I prefer Pillsbury, but any brand works. The key is finding a brand that has clean perforations so you can easily separate the dough into strips. (Pro tip: if the dough cracks when you unroll it, let it sit at room temperature for 5 minutes.)
- 1 package (12-14 oz) mini cocktail sausages or little smokies — Hillshire Farm Lit’l Smokies are my go-to. They’re the perfect size and have a nice snap when you bite into them. Look for the regular or beef variety — the cheese-filled ones can get messy.
- Mustard for the eyes — Yellow mustard gives the best contrast against the baked dough. I’ve tried dijon, and it works, but the color isn’t as striking. (Adds that classic mummy look.)
For the Glaze (Optional but Recommended)
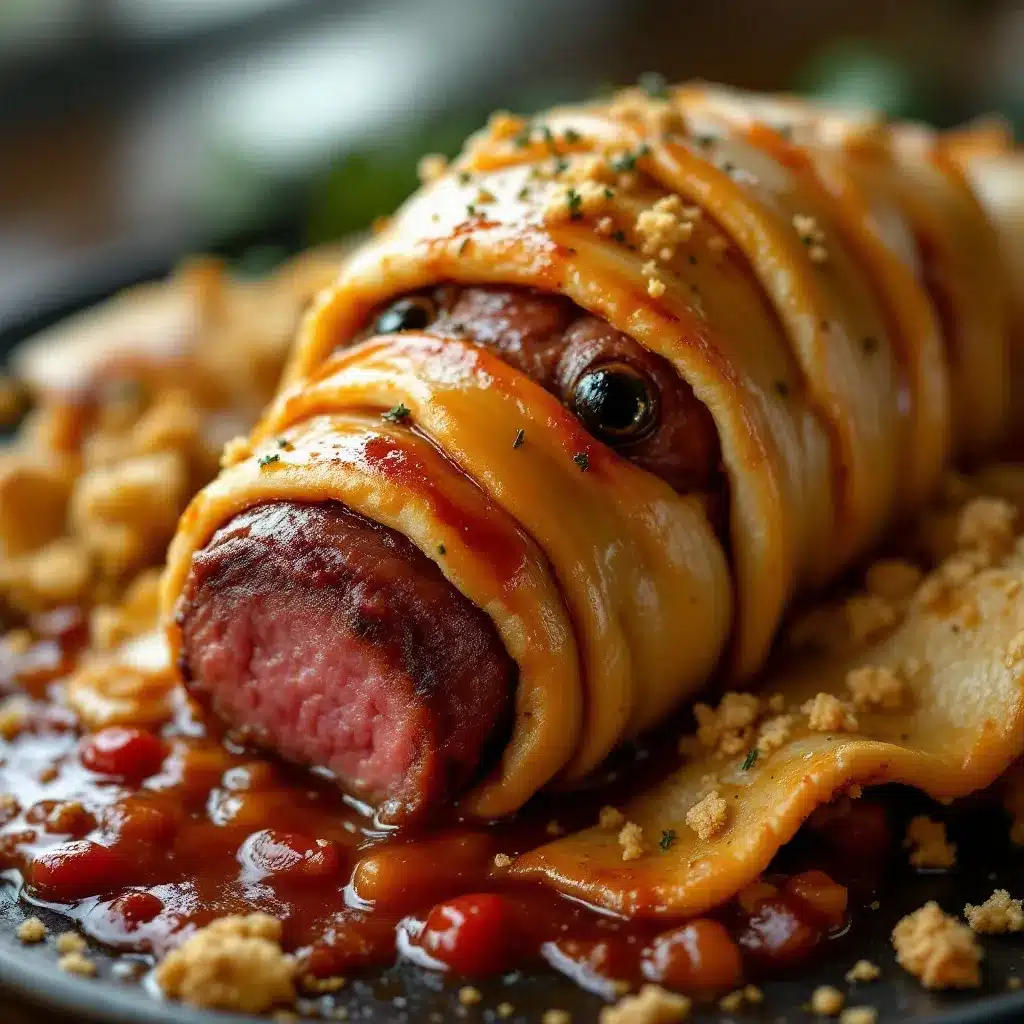
- 1 large egg, beaten — This gives the mummies a beautiful golden-brown finish. If you’re egg-free, you can brush them with a little milk or melted butter instead.
- Sesame seeds, poppy seeds, or everything bagel seasoning — Not traditional for mummies, but I love adding a sprinkle of everything bagel seasoning for extra flavor and texture. It makes the mummies look a little “dusty” — which is honestly perfect for Halloween.
For Serving (Optional)
- Ketchup, ranch dressing, or spicy mayo for dipping — I’m a ketchup purist with these, but my husband swears by ranch. Blood-red marinara sauce is also a fun Halloween-themed option.
Ingredient Selection Tips: When choosing your cocktail sausages, look for ones that are uniform in size — this ensures even baking. If you can find the beef little smokies, they tend to have a richer flavor that stands up well to the buttery dough. For the crescent dough, I recommend the sheets (if you can find them) over the perforated triangles — they give you longer, more continuous strips for wrapping. But honestly, the classic perforated version works perfectly fine; you just have to pinch the seams together.
Substitution Guidance: For a gluten-free version, use gluten-free crescent dough (I’ve had good luck with the Immaculate Baking brand). For a vegetarian option, swap the cocktail sausages for vegetarian cocktail sausages or even cheese sticks cut into thirds. And if you want a lower-carb version, you can wrap the sausages in thin strips of provolone cheese instead of dough — they won’t be as mummy-like, but they’ll still be delicious.
Equipment Needed
You don’t need much for this recipe, which is honestly one of the best things about it. Here’s what you’ll need:
- Baking sheet — A standard half-sheet pan works perfectly. Line it with parchment paper for easy cleanup. (I learned this the hard way after scraping caramelized dough off a bare pan.)
- Sharp knife or pizza cutter — For cutting the crescent dough into strips. A pizza cutter gives you cleaner, more even strips, but a sharp knife works just fine.
- Pastry brush — For applying the egg wash. If you don’t have one, you can use a paper towel or even your fingers (just wash your hands first!).
- Small bowl — For beating the egg. I use a ramekin — less to wash later.
- Toothpicks (optional) — If your dough starts to unwrap during baking, you can secure the ends with toothpicks. Remove them before serving, obviously.
- Cooling rack — Not strictly necessary, but it helps the mummies stay crispy on the bottom instead of getting soggy from trapped steam.
Budget-Friendly Options: Don’t have a pizza cutter? A butter knife works. No pastry brush? Use a clean, unused paintbrush from your kid’s art supplies (I keep one specifically for baking). And if you don’t have parchment paper, you can grease the baking sheet with butter or cooking spray — just watch the bottoms so they don’t burn.
Preparation Method
Alright, let’s make some mummies! Here’s the step-by-step process that I’ve perfected through trial and (a lot of) error.
Step 1: Preheat and Prep (5 minutes)
Preheat your oven to 375°F (190°C). Line a baking sheet with parchment paper. While the oven is heating, take your crescent dough out of the refrigerator and let it sit at room temperature for about 5 minutes. This makes it much easier to work with — cold dough cracks and tears, and nobody wants a mummy with a broken bandage.
Step 2: Prepare the Dough Strips (5 minutes)
Unroll the crescent dough onto a clean, lightly floured surface. If you’re using the perforated triangle sheets, pinch the seams together to create one large rectangle. Then, using a pizza cutter or sharp knife, cut the dough lengthwise into thin strips — about ½ inch (1.25 cm) wide. You should get about 12-16 strips depending on how precise you are. Don’t stress about perfection; mummies are supposed to look a little messy!
Personal Tip: I’ve found that slightly uneven strips actually look better — they give the mummies a more authentic “wrapped in bandages” appearance. So if some strips are wider than others, embrace it.
Step 3: Wrap the Sausages (10 minutes)
Take one cocktail sausage and place it at one end of a dough strip. Wrap the strip around the sausage, slightly overlapping the dough as you go, like you’re wrapping a tiny bandage. Leave a small gap near the top of the sausage — this is where the “face” will go. Press the end of the dough strip gently to seal it against the wrapped layers.
Place the wrapped mummy on the prepared baking sheet, seam-side down. Repeat with the remaining sausages and dough strips. Space them about 1 inch (2.5 cm) apart on the baking sheet — they’ll puff up a bit as they bake.
Troubleshooting Tip: If the dough keeps unwrapping, try dampening the end of the strip with a tiny bit of water before pressing it down. This acts like glue and helps the dough stay put.
Step 4: Apply the Egg Wash (2 minutes)
In a small bowl, beat the egg with 1 tablespoon of water until smooth. Using a pastry brush, gently brush each mummy with the egg wash. This gives them that beautiful golden-brown color. If you’re using seeds or seasoning, sprinkle them on now while the egg wash is still wet.
Step 5: Bake (10-12 minutes)
Place the baking sheet in the preheated oven and bake for 10-12 minutes, or until the dough is golden brown and puffed. The sausages should be heated through. Keep an eye on them during the last 2 minutes — ovens vary, and you don’t want burnt mummies.
Sensory Cue: Your kitchen will start smelling like buttery, savory goodness around the 7-minute mark. The mummies are done when the dough is a deep golden brown and the sausages are visibly plump and slightly glistening.
Step 6: Add the Eyes (2 minutes)
Remove the mummies from the oven and let them cool on the baking sheet for about 2 minutes. Then, using a toothpick or the tip of a knife, dab a tiny amount of mustard onto the exposed sausage to create two eyes. You can make them dots, little slits, or even googly-eye-style circles — whatever makes you smile.
Pro Tip: If the mustard is too thick to dab, put a small amount in a tiny bowl and dip the toothpick in it. This gives you more control and prevents giant mustard blobs.
Cooking Tips & Techniques
I’ve made these mummy pigs in a blanket more times than I care to count, and I’ve collected a few hard-won lessons along the way. Here are my best tips for perfect results every time:
Don’t Overwork the Dough: Crescent dough is delicate. If you handle it too much, it becomes tough and doesn’t puff up as nicely. Be gentle when wrapping — think of it as tucking a baby into bed, not wrestling an alligator.
Leave Room for the Eyes: This was my biggest mistake in the beginning. I would wrap the dough all the way to the top of the sausage, leaving no room for the face. Make sure you stop about ½ inch (1.25 cm) from the top so the “face” is visible. Trust me, it makes a huge difference in the final look.
Watch the Oven Like a Hawk: I once got distracted by a phone call and let my mummies bake for 14 minutes. They came out looking like crispy, overdone mummies — which, I guess, is thematically appropriate? But they weren’t as good. Set a timer for 10 minutes and check them. If they need more time, add it in 1-minute increments.
Make Ahead for Parties: You can assemble the mummies up to 24 hours in advance. Just place them on the baking sheet, cover tightly with plastic wrap, and refrigerate. When you’re ready to bake, add 2-3 minutes to the baking time since they’ll be cold from the fridge. This is a lifesaver for Halloween parties when you’re already juggling a million things.
Use Parchment Paper: I cannot stress this enough. Parchment paper makes cleanup a breeze and prevents the bottoms from burning. If you use a silicone baking mat, reduce the baking time by 1-2 minutes since silicone conducts heat differently.
Variations & Adaptations
One of the best things about this recipe is how endlessly customizable it is. Here are some of my favorite variations:
Cheesy Mummies
Before wrapping the sausage, wrap a thin strip of cheddar or mozzarella cheese around it. Then proceed with the dough wrapping as usual. The cheese melts into the sausage and creates a gooey, delicious center. (Warning: these are a bit messier to eat, but worth it.)
Spicy Mummies
Use spicy cocktail sausages (like jalapeño cheddar little smokies) or brush the sausages with sriracha before wrapping. For an extra kick, add a tiny drop of hot sauce to the mustard eyes. These are always a hit at adult parties.
Sweet Mummies
Okay, this one is a little out there, but hear me out: use breakfast sausages instead of cocktail sausages, and brush the dough with a mixture of melted butter and maple syrup before baking. The sweet-savory combination is surprisingly addictive. My kids call them “breakfast mummies.”
Vegetarian Mummies
Swap the cocktail sausages for vegetarian cocktail sausages (I like the Field Roast brand) or even thick carrot sticks that have been roasted until tender. For a non-traditional but delicious option, use pieces of firm tofu that have been marinated in soy sauce and liquid smoke.
Gluten-Free Mummies
Use gluten-free crescent dough (available at most major grocery stores) and follow the same instructions. The texture will be slightly different — a bit more crumbly — but the taste is still fantastic.
Serving & Storage Suggestions
These mummy pigs in a blanket are best served warm, right out of the oven. The dough is flaky and buttery, the sausages are hot and juicy, and the mustard eyes are still fresh and bright. Here’s how to serve and store them:
Serving Temperature: Serve them warm, but not piping hot — let them cool for about 5 minutes after baking so nobody burns their mouth. They’re also delicious at room temperature, which makes them perfect for parties and buffets.
Presentation Ideas: Arrange the mummies on a platter lined with black or orange napkins for a festive look. You can scatter a few candy corn or pumpkin-shaped candies around the platter for color. For a spooky touch, serve them on a “graveyard” platter — use a dark-colored plate and arrange the mummies in a circle around a small bowl of “blood” (marinara sauce).
Complementary Dishes: These pair beautifully with other Halloween snacks. I love serving them alongside a batch of black cat sugar cookies for a sweet-savory combo. A bowl of creamy jalapeño popper dip on the side is also a hit — the cool, creamy dip balances the warm, salty mummies perfectly.
Storage Instructions: Store leftover mummies in an airtight container in the refrigerator for up to 3 days. The dough will soften slightly, but they’ll still be tasty. To reheat, place them on a baking sheet in a 350°F (175°C) oven for 5-7 minutes, or until warmed through. Avoid the microwave — it makes the dough soggy and sad.
Freezer-Friendly: You can freeze the baked mummies for up to 1 month. Let them cool completely, then place them in a single layer in a freezer-safe bag or container. To reheat, bake from frozen at 350°F (175°C) for 10-12 minutes. Add fresh mustard eyes after reheating, as the frozen ones tend to bleed.
Nutritional Information & Benefits
Let’s be honest — these mummy pigs in a blanket are a treat, not a health food. But here’s a rough breakdown of what you’re getting:
| Nutrient | Per Serving (2 mummies) |
|---|---|
| Calories | 220-260 |
| Total Fat | 14-18g |
| Saturated Fat | 5-7g |
| Cholesterol | 30-40mg |
| Sodium | 500-650mg |
| Carbohydrates | 18-22g |
| Protein | 7-9g |
Health Benefits: On the positive side, cocktail sausages do provide a decent amount of protein, which helps keep you full and satisfied. The dough provides quick energy from carbohydrates — perfect for fueling a night of trick-or-treating. And if you use the everything bagel seasoning, you’re getting a tiny bit of sesame seeds (hello, healthy fats!) and poppy seeds (which contain fiber and minerals).
Dietary Considerations: This recipe contains gluten (from the crescent dough), dairy (from the butter in the dough), and eggs (from the egg wash). For a dairy-free version, use crescent dough that doesn’t contain butter (check the label) and skip the egg wash. For a nut-free version, this recipe is naturally nut-free as written.
Conclusion
Look, I know Halloween can be overwhelming. Between the costumes, the decorations, the candy shopping, and the pressure to throw the perfect party, it’s easy to forget that the holiday is supposed to be fun. That’s why I love this recipe so much. It’s not fancy. It’s not complicated. It’s just a silly, delicious, ridiculously easy way to make Halloween night feel special without adding stress to your plate.
These easy mummy pigs in a blanket have become a tradition in my house — the one thing my kids request every single October. And honestly? I don’t mind making them. They take 15 minutes of prep, they make the kitchen smell amazing, and they always, always make someone smile. Whether it’s a toddler who giggles at the mustard eyes or a grown adult who secretly loves anything adorable, these little mummies bring joy.
So go ahead — make a batch for your Halloween party. Make them for a spooky movie night. Make them just because it’s Tuesday and you want to eat something that looks like it’s wearing a tiny bandage. (No judgment here.) And when you do, I’d love to hear about it. Leave a comment below and tell me how your mummies turned out — did you add cheese? Did you make them spicy? Did your kids try to name each one? (Mine did. They were all named Gerald.)
Happy Halloween, friends. May your dough be flaky, your sausages be snappy, and your mummies be absolutely adorable.
Frequently Asked Questions
Can I make mummy pigs in a blanket ahead of time?
Absolutely! You can assemble them up to 24 hours in advance and keep them covered in the refrigerator. When you’re ready to serve, just add 2-3 minutes to the baking time since they’ll be starting from cold.
What can I use instead of crescent dough?
Puff pastry works beautifully — just cut it into strips and proceed as directed. You can also use refrigerated pizza dough, biscuit dough (flattened and cut into strips), or even wonton wrappers for a lighter, crispier version.
How do I prevent the dough from unwrapping during baking?
Make sure you place the mummies seam-side down on the baking sheet. The weight of the sausage helps keep the dough in place. If you’re still having trouble, you can secure the end of the dough strip with a toothpick — just remember to remove it before serving!
Can I use hot dogs instead of cocktail sausages?
Yes! Just cut each hot dog into 3-4 pieces before wrapping. You’ll need to adjust the baking time slightly — add 1-2 minutes since the larger pieces take longer to heat through.
What’s the best way to reheat leftover mummy pigs in a blanket?
The oven is your best bet. Reheat them at 350°F (175°C) for 5-7 minutes. The air fryer also works great — 3-4 minutes at 350°F. Avoid the microwave unless you’re okay with soft, slightly soggy dough.
Pin This Recipe!
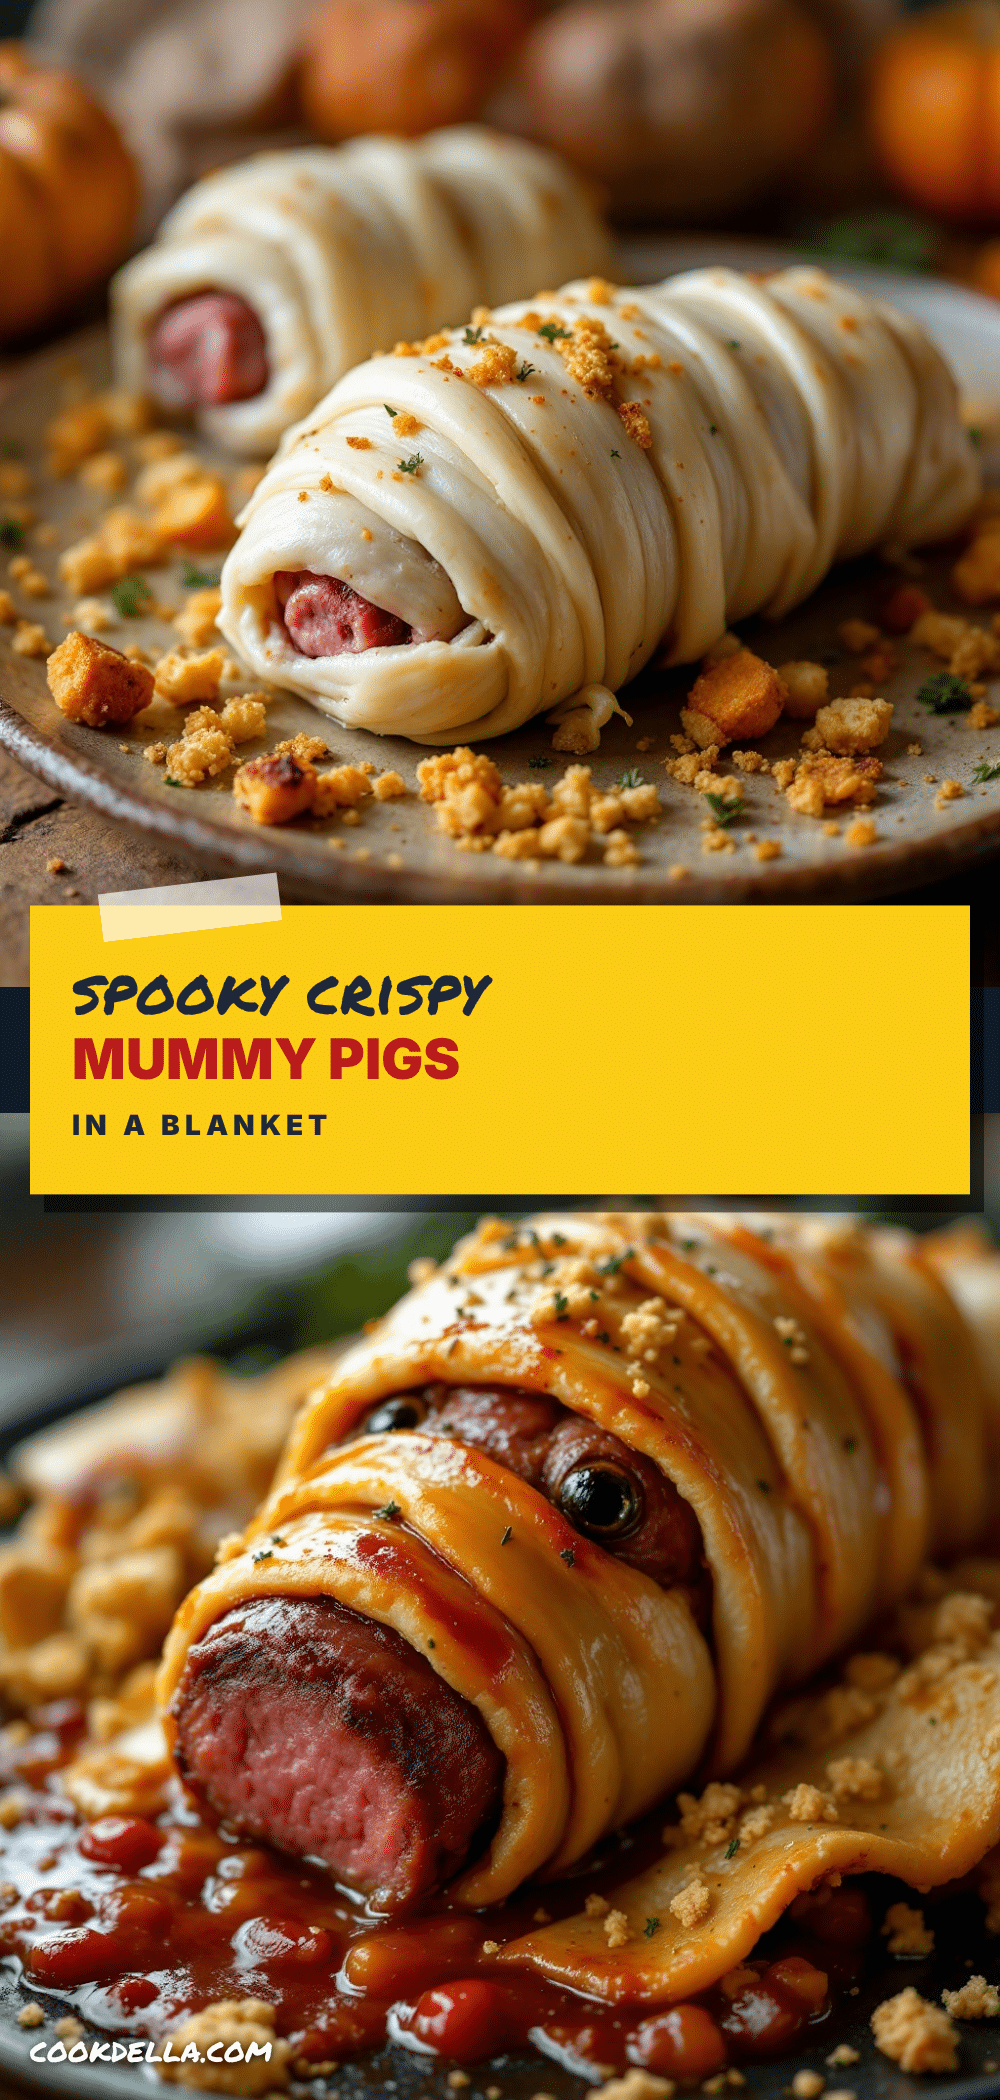
Easy Mummy Pigs in a Blanket: Best Halloween Recipe
These easy mummy pigs in a blanket are a fun, kid-friendly Halloween appetizer made with crescent dough and cocktail sausages, topped with mustard eyes. Perfect for parties, they’re simple to make and always a crowd-pleaser.
- Prep Time: 15 minutes
- Cook Time: 12 minutes
- Total Time: 27 minutes
- Yield: 4 servings (2 mummies per serving) 1x
- Category: Appetizer
- Cuisine: American
Ingredients
- 1 can (8 oz) refrigerated crescent roll dough
- 1 package (12-14 oz) mini cocktail sausages or little smokies
- Mustard for the eyes (yellow mustard recommended)
- 1 large egg, beaten (for glaze, optional)
- Sesame seeds, poppy seeds, or everything bagel seasoning (optional)
- Ketchup, ranch dressing, or spicy mayo for dipping (optional)
Instructions
- Preheat oven to 375°F (190°C). Line a baking sheet with parchment paper. Let crescent dough sit at room temperature for 5 minutes.
- Unroll dough onto a lightly floured surface. If using perforated triangles, pinch seams together to form a rectangle. Cut dough lengthwise into thin strips, about 1/2 inch (1.25 cm) wide.
- Place one cocktail sausage at the end of a dough strip. Wrap the strip around the sausage, slightly overlapping, leaving a small gap near the top for the face. Press the end to seal. Place seam-side down on the baking sheet. Repeat with remaining sausages and strips, spacing them about 1 inch apart.
- In a small bowl, beat egg with 1 tablespoon water. Brush each mummy with egg wash. Sprinkle with seeds or seasoning if desired.
- Bake for 10-12 minutes, until golden brown and puffed. Let cool on baking sheet for 2 minutes.
- Using a toothpick or knife tip, dab a small amount of mustard onto the exposed sausage to create two eyes. Serve warm.
Notes
For best results, leave a 1/2-inch gap at the top of the sausage for the face. If dough unwraps, dampen the end with water before sealing. Assemble up to 24 hours ahead and refrigerate; add 2-3 minutes to baking time. Store leftovers in an airtight container in the refrigerator for up to 3 days. Reheat in a 350°F oven for 5-7 minutes.
Nutrition
- Serving Size: 2 mummies
- Calories: 240
- Sugar: 2
- Sodium: 575
- Fat: 16
- Saturated Fat: 6
- Carbohydrates: 20
- Protein: 8
Keywords: mummy pigs in a blanket, Halloween appetizer, easy Halloween recipe, crescent roll sausages, kid-friendly Halloween food


