Third time this week I found myself standing in front of the fridge at 3 PM, staring into the abyss of snack options. And honestly, by the third time, I knew exactly what was about to happen. My hand would reach past the string cheese, skip the yogurt, and land on the little container of these peanut butter granola bites I’d made on Sunday night. The thing that kept pulling me back wasn’t just convenience—though let’s be real, that’s a big part of it. It was the way the oats softened just slightly after a day in the fridge, and how the peanut butter and honey created this almost fudge-like texture that somehow felt indulgent but wasn’t.
I’ve made versions of no-bake energy bites for years, but this particular combo clicked in a way the others didn’t. Maybe it was the ratio—a little less honey than most recipes call for, a pinch more salt. Or maybe it was the mini chocolate chips I finally stopped being precious about and just added generously. Whatever it was, I made them three times in one week. Not because I was testing, but because I couldn’t stop. And when a snack has that kind of gravitational pull, you pay attention.
These Easy No-Bake Peanut Butter Granola Bites are the kind of thing you make without thinking, and then suddenly you’re reaching for them instead of everything else in your kitchen. That’s the sign of a recipe worth keeping.
Why You’ll Love This Recipe
I’ve tested a lot of no-bake snack recipes over the years, and most of them fall into one of two camps: either they’re too sticky to roll into balls, or they crumble the second you look at them. These Easy No-Bake Peanut Butter Granola Bites hit that sweet spot where they hold together perfectly without being overly dense. After making batch after batch, I can tell you this version is the one that actually works every single time.
- Ready in 5 Minutes: No baking, no waiting for anything to cool, no complicated steps. Mix, roll, eat. That’s the whole process.
- Pantry Staples Only: You probably have everything you need right now. Oats, peanut butter, honey, chocolate chips—the kind of ingredients that don’t require a special trip to the store.
- Perfect for Busy Days: These are my go-to for hectic mornings, afternoon slumps, and post-workout refueling. They travel well, don’t require refrigeration for a few hours, and satisfy that craving for something sweet and substantial.
- Kid-Approved and Adult-Friendly: I’ve brought these to playdates and work meetings alike. They disappear fast, and nobody guesses they’re made with simple, wholesome ingredients.
- Customizable to Your Taste: The base recipe is forgiving enough that you can swap in different nut butters, add-ins, or sweeteners based on what you have or what you’re craving.
What makes these different from other recipes is the texture. I spent a lot of time figuring out the right ratio of wet to dry ingredients so the bites are chewy but not sticky, firm but not hard. They don’t leave your hands greasy, and they don’t fall apart in your bag. It’s a small thing, but when you’re eating them on the go, it makes all the difference.
Honestly, the first time I made these, I closed my eyes after the first bite. Not because they were fancy or complicated, but because they tasted exactly like the kind of snack I’d been looking for—something that felt like a treat but didn’t leave me feeling sluggish afterward. That’s a rare combination, and it’s why I keep coming back to this recipe.
What Ingredients You Will Need
This recipe uses simple, wholesome ingredients that come together to create a snack that’s both satisfying and delicious. No obscure items, no special health food store runs—just real food that works.
- Rolled Oats (old-fashioned oats): These provide the base and the chewy texture. I recommend using rolled oats rather than quick oats, as they hold up better and give the bites a more substantial feel. If you only have quick oats, they’ll work, but the texture will be softer. For a gluten-free version, make sure your oats are certified gluten-free.
- Creamy Peanut Butter: The main binder and flavor driver. I use natural peanut butter (the kind that’s just peanuts and salt) because it has a better texture and isn’t overly sweet. If you use a commercial peanut butter with added sugar and oils, you may need to adjust the honey slightly. Pro tip: If your natural peanut butter has separated, stir it really well before measuring.
- Honey: This adds sweetness and helps bind everything together. Maple syrup works as a substitute if you want a vegan option, but the flavor will be slightly different. I’ve also used agave nectar in a pinch, and it works fine.
- Mini Chocolate Chips: Because everything is better with chocolate. Mini chips distribute more evenly than regular-sized ones, so you get chocolate in every bite. Semi-sweet is my go-to, but milk chocolate or dark chocolate both work. If you’re dairy-free, look for dairy-free chocolate chips.
- Ground Flaxseed (optional but recommended): This isn’t essential, but it adds a nice nutritional boost and helps with binding. I use golden flaxseed because it has a milder flavor, but brown works too. You can also substitute chia seeds or omit it entirely.
- Vanilla Extract: A small amount that rounds out the flavors and makes everything taste more cohesive. Pure vanilla extract is best, but imitation works in a pinch.
- Salt: A pinch of salt balances the sweetness and brings out the peanut butter flavor. If your peanut butter is already salted, you might want to skip this or use just a tiny pinch.
I’ve made these with both Skippy and Jif when I didn’t have natural peanut butter on hand, and they work fine—just know the bites will be a bit sweeter and softer. My personal preference is for a natural peanut butter like Teddie or Smucker’s Natural, which gives a more pronounced peanut flavor without the extra sugar.
For the oats, I usually buy Bob’s Red Mill or Quaker Old-Fashioned Oats. Both work well, and I haven’t noticed a significant difference between brands. The key is making sure they’re fresh—oats that have been sitting in your pantry for a year will have a slightly stale taste.
If you want to add a little extra texture, you can toss in some unsweetened shredded coconut or chopped nuts. I’ve done both, and they’re great additions, but the basic recipe is already pretty perfect on its own.
Equipment Needed
One of the best things about this recipe is how little equipment it requires. You don’t need a stand mixer, food processor, or any fancy gadgets.
- Large Mixing Bowl: Any medium-to-large bowl will work. I use a glass mixing bowl because it’s easy to see when everything is fully combined.
- Spatula or Wooden Spoon: For mixing the ingredients together. A silicone spatula works great because it scrapes the sides cleanly.
- Measuring Cups and Spoons: Standard set for accurate measurements. I’ve made these using the “eyeball it” method before, and they turned out fine, but measuring is better for consistency.
- Cookie Scoop or Small Spoon: For portioning the mixture into uniform balls. A 1-tablespoon cookie scoop is my favorite tool here—it makes perfectly sized bites and keeps your hands clean.
- Baking Sheet or Plate: To hold the formed bites while they chill. Line it with parchment paper or wax paper for easy cleanup.
- Parchment Paper or Wax Paper: Optional but helpful for preventing sticking and making cleanup easier.
If you don’t have a cookie scoop, you can use a regular spoon and then roll the mixture between your palms. It takes a little longer, but it works just as well. I’ve also used a melon baller in a pinch, and that worked surprisingly well.
For storage, you’ll want an airtight container. A glass container with a tight-fitting lid is ideal, but a zip-top bag works fine for short-term storage. I keep mine in a mason jar on the counter for easy grabbing.
Preparation Method
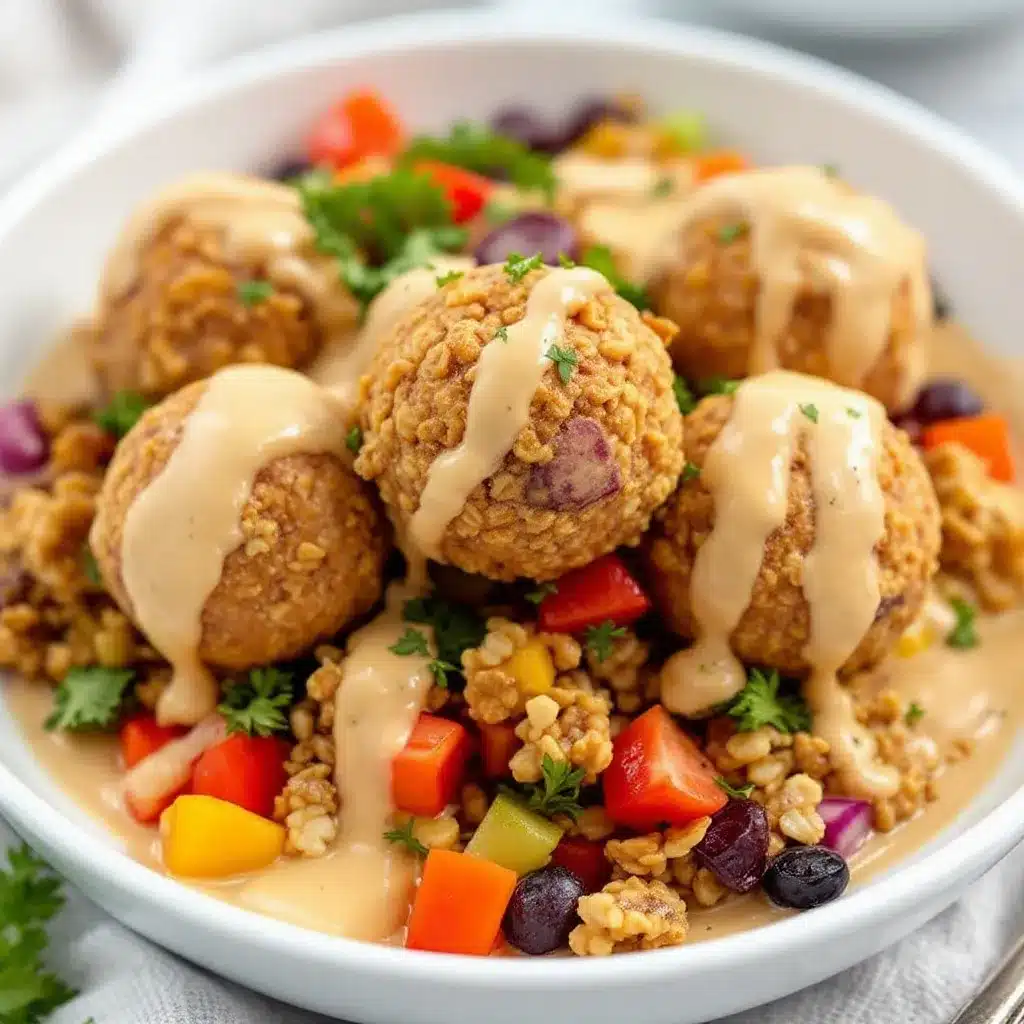
These Easy No-Bake Peanut Butter Granola Bites come together in about five minutes of active time. The hardest part is waiting for them to chill.
- Combine the dry ingredients. In a large mixing bowl, add 1 cup (100g) rolled oats, 2 tablespoons (14g) ground flaxseed (if using), and a pinch of salt. Stir them together with a spatula or spoon until evenly distributed. This step takes about 30 seconds but ensures the flaxseed doesn’t clump up later.
- Add the wet ingredients. Add 1/2 cup (128g) creamy peanut butter, 1/3 cup (113g) honey, and 1/2 teaspoon vanilla extract to the bowl. Stir everything together until the mixture is fully combined. At first, it might seem like the peanut butter isn’t incorporating, but keep stirring—it will come together. The mixture should be thick and slightly sticky, with no dry patches of oats. If it feels too dry, add a teaspoon more honey or a tablespoon more peanut butter. If it feels too wet, add a tablespoon more oats.
- Fold in the chocolate chips. Add 1/3 cup (60g) mini chocolate chips to the bowl. Fold them in gently until they’re evenly distributed throughout the mixture. Try not to overmix at this point, or the chocolate chips might start to melt from the warmth of your hands.
- Chill the mixture (optional but helpful). If the mixture feels too sticky to handle, pop the bowl in the refrigerator for 10-15 minutes. This firms up the peanut butter and makes rolling much easier. I usually skip this step if I’m in a hurry, but it’s a game-changer if you have warm hands or live in a hot climate.
- Roll into balls. Using a 1-tablespoon cookie scoop or a small spoon, portion out the mixture. Roll each portion between your palms to form a smooth ball. The mixture should hold together easily without crumbling. If it’s falling apart, press it more firmly in your hands—the warmth helps it bind. Place each ball on a parchment-lined baking sheet or plate. This recipe makes about 18-20 bites, depending on how big you roll them.
- Chill until firm. Place the baking sheet in the refrigerator for at least 30 minutes. This step is important—it allows the bites to set up and become firm enough to hold their shape at room temperature. If you’re impatient like me, you can eat one right away, but they’ll be softer and messier. After 30 minutes, they’re ready to eat.
- Store properly. Transfer the chilled bites to an airtight container. Store them in the refrigerator for up to 2 weeks, or at room temperature for up to 5 days. If storing at room temperature, keep them in a cool, dry place away from direct sunlight.
Sensory cue: When you’re mixing, the mixture should look like a cohesive dough—not crumbly, not soupy. It should feel slightly tacky when you press it between your fingers but shouldn’t leave a sticky residue. When you taste the raw mixture (go ahead, I won’t tell), it should be sweet, salty, and deeply peanut-buttery, with the oats adding a pleasant chewiness.
Personal tip: I’ve found that using slightly warm honey (microwave it for 10 seconds if it’s crystallized) makes the mixture come together more easily. Also, if your peanut butter is super thick, you can microwave it for 15-20 seconds to soften it before mixing. Just be careful not to overheat it.
Cooking Tips & Techniques
After making these Easy No-Bake Peanut Butter Granola Bites more times than I care to admit, I’ve picked up a few tricks that make the process smoother and the results more consistent.
Don’t overmix. I know it’s tempting to keep stirring until everything looks perfectly uniform, but overmixing can make the oats break down and turn the mixture into a paste. Stir just until everything is combined, then stop. A few streaks of peanut butter are fine—they’ll work themselves out as you roll.
Wet your hands slightly. If the mixture is sticking to your palms while rolling, lightly dampen your hands with water. The moisture creates a barrier that prevents sticking without adding enough liquid to affect the texture. This is one of those tricks I wish I’d known from the beginning—it saves so much frustration.
Use a cookie scoop for uniform sizing. I cannot stress this enough. A 1-tablespoon cookie scoop gives you perfectly even balls that all chill at the same rate. If you’re rolling by hand, try to keep them roughly the same size so they firm up consistently. Uneven sizes mean some bites will be softer than others, which isn’t a disaster, but it’s not ideal.
Let them chill fully before eating. I know, I know—waiting is hard. But the texture really does improve after 30 minutes in the fridge. The oats absorb some moisture, the peanut butter firms up, and everything comes together into that perfect chewy-but-firm consistency. If you eat them right away, they’re still good, but they’re more like a loose granola mixture than a cohesive bite.
Adjust consistency as needed. Different brands of peanut butter have different consistencies, and the humidity in your kitchen can affect how the oats absorb moisture. If your mixture seems too dry, add a tablespoon of honey or peanut butter. If it’s too wet, add a tablespoon of oats. The recipe is forgiving—trust your instincts.
Make a double batch. These disappear fast, and they keep well for up to two weeks in the fridge. I always double the recipe now because a single batch barely lasts three days in my house. Plus, having a stash in the fridge means I’m less likely to reach for less healthy snacks when hunger strikes.
One mistake I made early on: I once used crunchy peanut butter because I thought it would add texture. It didn’t work well—the peanut pieces made the bites harder to roll, and the texture was uneven. Stick with creamy peanut butter for the best results. If you want crunch, add chopped peanuts or extra chocolate chips instead.
Variations & Adaptations
One of the reasons I love this recipe is how easy it is to adapt. I’ve tried several variations over the months, and here are my favorites:
Chocolate Peanut Butter Bites: Replace 2 tablespoons of the oats with unsweetened cocoa powder. This gives the bites a chocolatey twist that pairs beautifully with the peanut butter. Add a few extra chocolate chips if you’re feeling indulgent.
Vegan Version: Swap the honey for maple syrup or agave nectar. Use dairy-free chocolate chips (most dark chocolate chips are naturally dairy-free). The texture will be slightly different—maple syrup is thinner than honey—so you might need to add an extra tablespoon of oats to compensate.
Nut-Free Option: Substitute the peanut butter with sunflower seed butter or tahini. Sunflower seed butter works particularly well, though the color will turn a slightly greenish hue (don’t worry—that’s normal due to a reaction between sunflower seeds and baking soda). Make sure to use certified nut-free oats if allergies are a concern.
Protein-Packed Bites: Add a scoop of vanilla or chocolate protein powder. Reduce the oats by about 2 tablespoons to account for the extra dry ingredient. You may need to add a little extra honey or a splash of milk to help everything bind together. This is my go-to version for post-workout snacks.
Seasonal Variations: In the fall, I add a teaspoon of pumpkin pie spice and swap the chocolate chips for dried cranberries. In the summer, I use white chocolate chips and add a tablespoon of freeze-dried strawberries. The possibilities are endless—just keep the wet-to-dry ratio roughly the same.
Coconut Peanut Butter Bites: Add 1/4 cup unsweetened shredded coconut to the mixture. Roll the finished bites in additional shredded coconut for a pretty presentation and extra texture. This is the variation I bring to parties—it looks fancier than it is.
If you’re looking for another no-bake treat that’s perfect for busy days, you might enjoy these Easy No-Bake Pumpkin Pie with Perfect Gingersnap Crust. It’s a different kind of no-bake magic, but just as satisfying.
Serving & Storage Suggestions
These Easy No-Bake Peanut Butter Granola Bites are best served cold, straight from the refrigerator. The chill keeps them firm and gives them that satisfying texture that makes you want to eat three in a row. I like to arrange them on a small plate or in a bowl for easy grabbing.
How to serve them:
- As a midday snack with a cup of coffee or tea
- After a workout for a quick protein boost
- In lunchboxes for kids (or adults—no judgment here)
- On a snack board alongside fresh fruit and cheese for an easy appetizer
- Crumbled over yogurt or oatmeal for extra texture and flavor
Storage Instructions:
- Refrigerator: Store in an airtight container for up to 2 weeks. Place parchment paper between layers to prevent sticking. They actually get better after a day or two as the flavors meld together.
- Freezer: These freeze beautifully. Place the bites in a single layer on a baking sheet and freeze until solid (about 1 hour), then transfer to a freezer-safe bag or container. They’ll keep for up to 3 months. You can eat them straight from the freezer—they’re like little frozen peanut butter treats—or let them thaw for 5-10 minutes at room temperature.
- Room Temperature: If you’re taking them on a road trip or packing them in a lunchbox, they’ll hold up at room temperature for up to 5 days. Just keep them in a cool, dry place away from heat sources. In hot weather, I recommend keeping them refrigerated until you’re ready to eat them.
Reheating: These are meant to be eaten cold or at room temperature, so no reheating is needed. If they’ve been in the freezer and you want them softer, let them sit on the counter for 10 minutes before eating.
Flavor development: I’ve noticed that these bites taste even better after a day or two in the fridge. The oats soften slightly, the flavors meld together, and everything becomes more cohesive. If you can resist eating them all on day one, save a few for later—you’ll be rewarded.
If you’re looking for a breakfast option that’s equally quick and satisfying, you’ll love these Creamy Overnight Peanut Butter Protein Oats. They’re another 5-minute prep recipe that makes busy mornings so much easier.
Nutritional Information & Benefits
Per serving (1 bite, based on 20 bites per batch):
- Calories: 120
- Total Fat: 7g
- Saturated Fat: 2g
- Carbohydrates: 13g
- Fiber: 2g
- Sugar: 8g
- Protein: 4g
Note: Nutritional values are approximate and will vary based on the specific brands and ingredients you use.
Health Benefits:
- Oats: Provide complex carbohydrates for sustained energy and beta-glucan, a type of soluble fiber that supports heart health. They also keep you feeling full longer, which helps with portion control.
- Peanut Butter: Packed with protein, healthy monounsaturated fats, and vitamin E. It’s also a good source of magnesium, which supports muscle function and energy production.
- Flaxseed: Rich in omega-3 fatty acids and lignans, which have antioxidant properties. Ground flaxseed is easier for your body to digest than whole seeds.
- Honey: Contains natural antioxidants and has antibacterial properties. While it’s still sugar, it’s less processed than refined sugar and provides a touch of sweetness with some added benefits.
Dietary Considerations:
– Can be made gluten-free by using certified gluten-free oats
– Can be made vegan by substituting maple syrup for honey and using dairy-free chocolate chips
– Nut-free option available using sunflower seed butter
– No refined sugar (if using natural peanut butter without added sugar)
– Contains no eggs, dairy (except chocolate chips, which can be swapped), or artificial ingredients
Potential Allergens:
– Peanuts (can be substituted)
– Oats (naturally gluten-free but may contain trace gluten; use certified gluten-free oats if needed)
– Chocolate (may contain dairy; use dairy-free chips if needed)
I love that I can feel good about eating these snacks. They satisfy my sweet tooth without the crash that comes from processed sugar, and they actually keep me full between meals. That’s a win in my book.
Conclusion
These Easy No-Bake Peanut Butter Granola Bites have become a staple in my kitchen for a reason. They’re quick, they’re simple, and they deliver exactly what you want from a snack—satisfying flavor, good texture, and enough staying power to get you through to your next meal. No complicated steps, no obscure ingredients, no hours of prep.
What I love most about this recipe is how forgiving it is. You can customize it based on what you have in your pantry, adjust the sweetness to your liking, and make it work for your dietary needs. It’s the kind of recipe that feels like it was made for you, even though it’s simple enough for anyone to make.
I’d love to hear how these turn out for you. Did you add anything special? Swap an ingredient? Make a double batch because one wasn’t enough? Drop a comment below and let me know—I read every single one, and your variations often inspire my next batch.
If you’re looking for another easy snack that’s perfect for game day or movie night, check out this Easy Sweet and Salty Football Snack Mix. It’s another no-fuss recipe that disappears fast.
And if you’re in the mood for something savory, this Classic Chicken Salad with Grapes and Pecans makes an excellent lunch that pairs perfectly with a couple of these bites on the side.
Happy snacking, friends. And remember—the best recipes are the ones you actually make. These bites are so easy, there’s no excuse not to.
Frequently Asked Questions
Can I use quick oats instead of rolled oats?
Yes, you can use quick oats, but the texture will be softer and less chewy. Rolled oats give the bites a more substantial texture that holds up better over time. If you only have quick oats, reduce the honey slightly since they absorb liquid more quickly.
How long do these last at room temperature?
These bites will keep at room temperature for up to 5 days if stored in an airtight container in a cool, dry place. However, they hold their shape and texture best when refrigerated. In hot or humid weather, I recommend keeping them in the fridge.
Can I make these without honey?
Absolutely. Maple syrup, agave nectar, or brown rice syrup all work as substitutes. Keep in mind that different sweeteners have different consistencies—maple syrup is thinner than honey, so you may need to add an extra tablespoon of oats to compensate. Date syrup also works and adds a nice caramel-like flavor.
My mixture is too dry. What did I do wrong?
This usually happens if your peanut butter is particularly thick or if you measured the oats generously. Simply add a tablespoon of honey or peanut butter and mix again. You can also add a teaspoon of water or milk if needed, though this will slightly change the texture. The mixture should be cohesive and slightly sticky, not crumbly.
Can I freeze these bites?
Yes, they freeze beautifully. Place them in a single layer on a baking sheet and freeze until solid, then transfer to a freezer-safe bag or container. They’ll keep for up to 3 months. You can eat them straight from the freezer (they’re like little frozen treats) or let them thaw for 5-10 minutes at room temperature.
Pin This Recipe!
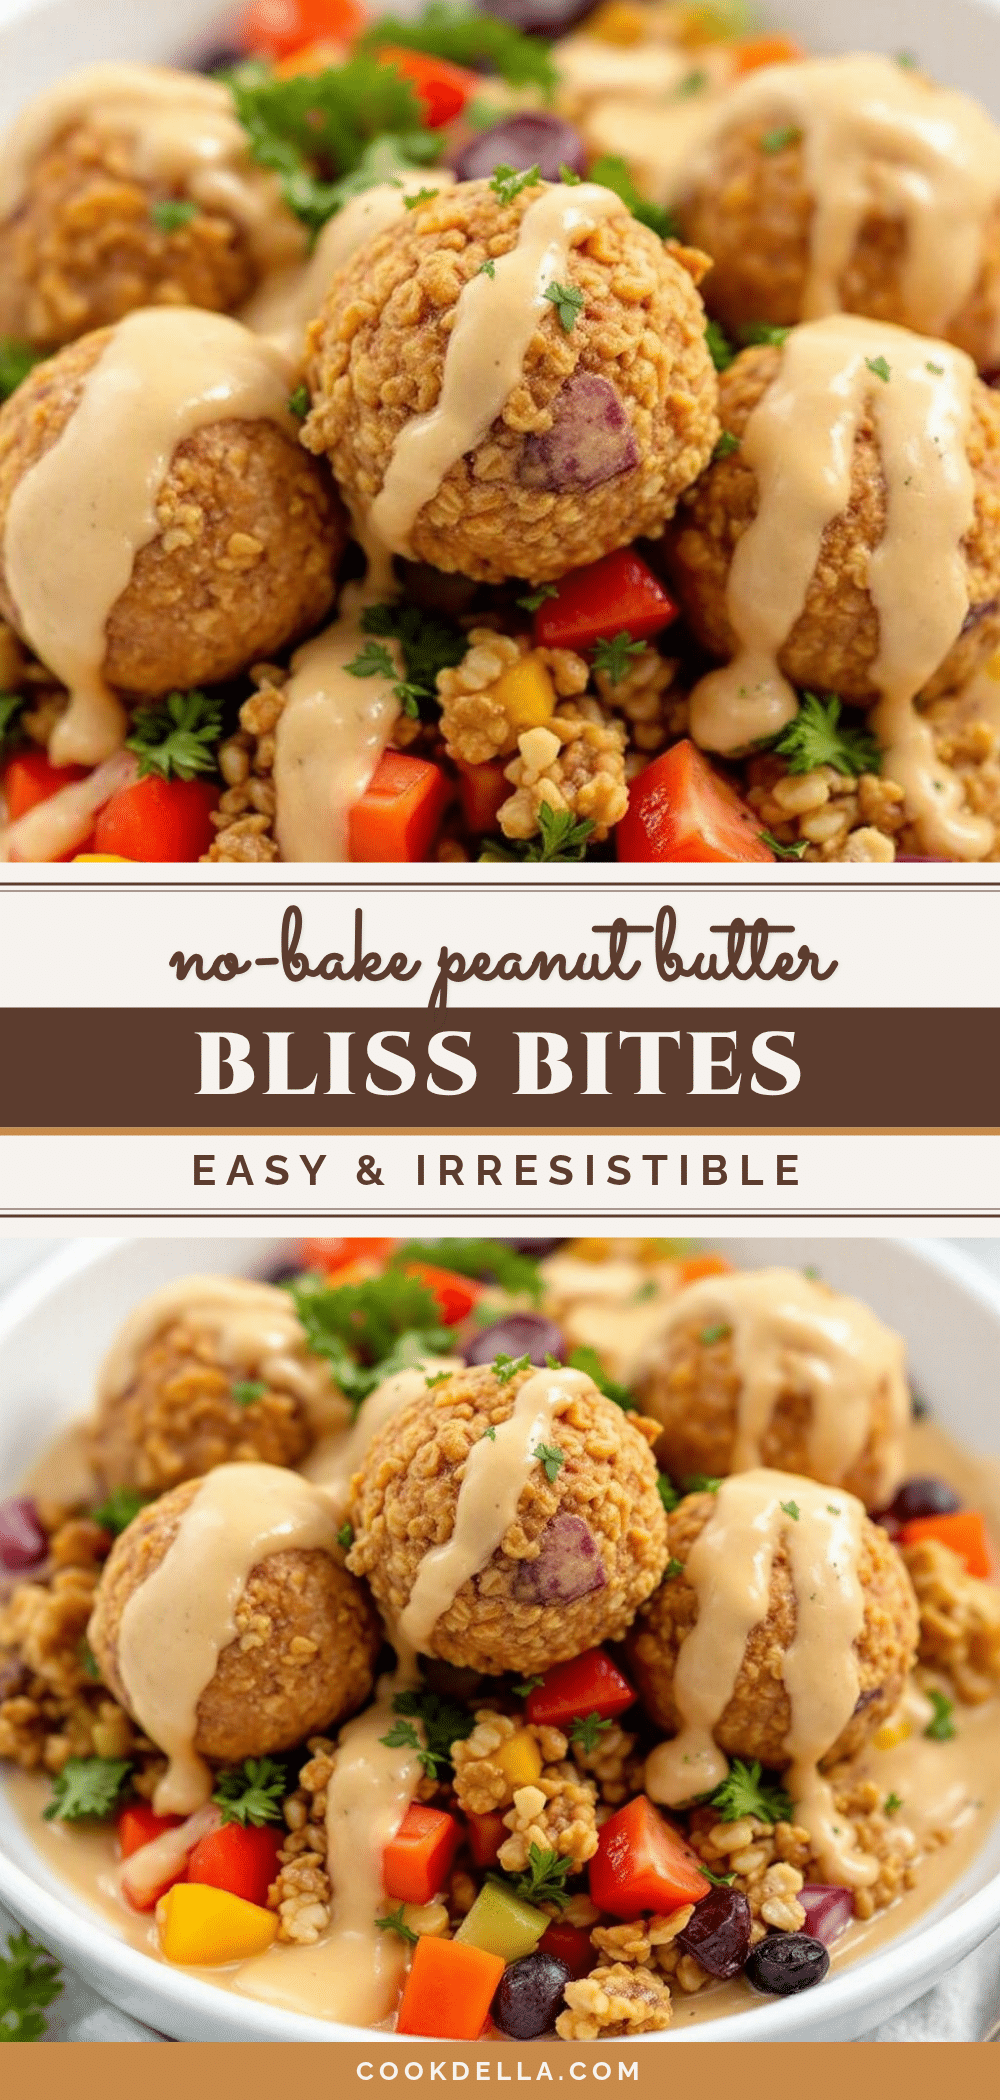
Easy No-Bake Peanut Butter Granola Bites (Best 5-Minute Snack)

These no-bake peanut butter granola bites are ready in 5 minutes with simple pantry staples. They’re chewy, satisfying, and perfect for busy days.
- Prep Time: 5 minutes
- Cook Time: 0 minutes
- Total Time: 35 minutes (includes chilling)
- Yield: 18-20 bites 1x
- Category: Snack
- Cuisine: American
Ingredients
- 1 cup (100g) rolled oats
- 2 tablespoons (14g) ground flaxseed (optional)
- Pinch of salt
- 1/2 cup (128g) creamy peanut butter
- 1/3 cup (113g) honey
- 1/2 teaspoon vanilla extract
- 1/3 cup (60g) mini chocolate chips
Instructions
- In a large mixing bowl, combine rolled oats, ground flaxseed (if using), and a pinch of salt. Stir together.
- Add creamy peanut butter, honey, and vanilla extract. Stir until fully combined and no dry patches remain.
- Fold in mini chocolate chips until evenly distributed.
- If mixture is too sticky, refrigerate for 10-15 minutes.
- Using a 1-tablespoon cookie scoop or spoon, portion mixture and roll into balls. Place on a parchment-lined baking sheet.
- Refrigerate for at least 30 minutes until firm.
- Transfer to an airtight container. Store in refrigerator for up to 2 weeks or at room temperature for up to 5 days.
Notes
For best texture, chill for at least 30 minutes. If mixture is too dry, add a tablespoon of honey or peanut butter. If too wet, add a tablespoon of oats. Wet hands slightly to prevent sticking when rolling.
Nutrition
- Serving Size: 1 bite
- Calories: 120
- Sugar: 8
- Fat: 7
- Saturated Fat: 2
- Carbohydrates: 13
- Fiber: 2
- Protein: 4
Keywords: no-bake, peanut butter, granola bites, energy bites, 5-minute snack, healthy snack, easy snack


